You've finally found the perfect present, but it comes without a box or in that molded plastic packaging like headphones that's near impossible to wrap seamlessly. But, you try and make do with what ends up being a wrinkly, crinkly wrap job and 20 pieces of tape. No matter how great the gift, your recipient -- having received your lumpy, hot mess -- is secretly thinking, "Thanks...I guess?"
Beautiful gift-wrapping is kinda like fashion's first impression: a well-dressed box gets noticed, while a funky-monkey number can be shortchanged no matter how cool the contents.
And gift bags can be expensive or a car's ride away.
At zulily, we love easy solutions that take the hassles out of every day living. We've come up with a very clever idea that can be done in a snap, and all you need is wrapping paper, scissors and tape--supplies you likely have lying around the house and were planning on using anyway.
To prove just how easy it is? My third grader will demo.
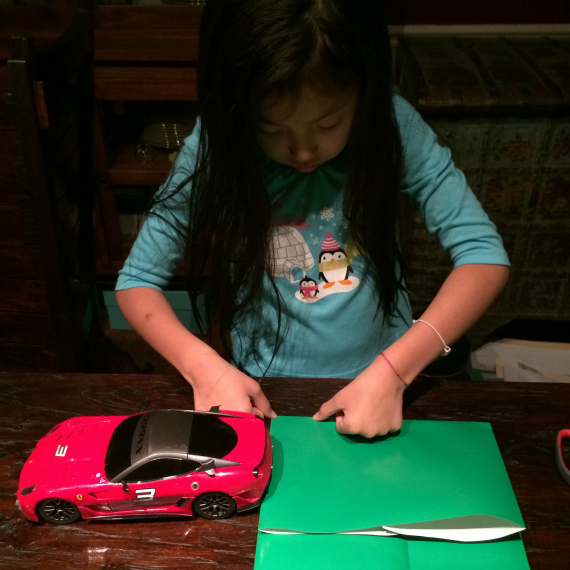
Below, the supplies: scissors, tape and wrapping paper of a medium weight. Too thin and the paper will wrinkle and potentially rip. Too thick and it will be hard to manipulate and fold for our purposes, though truly any paper will do.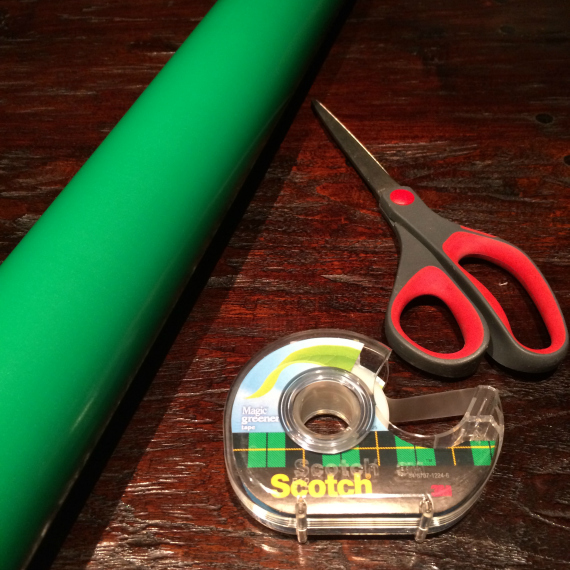
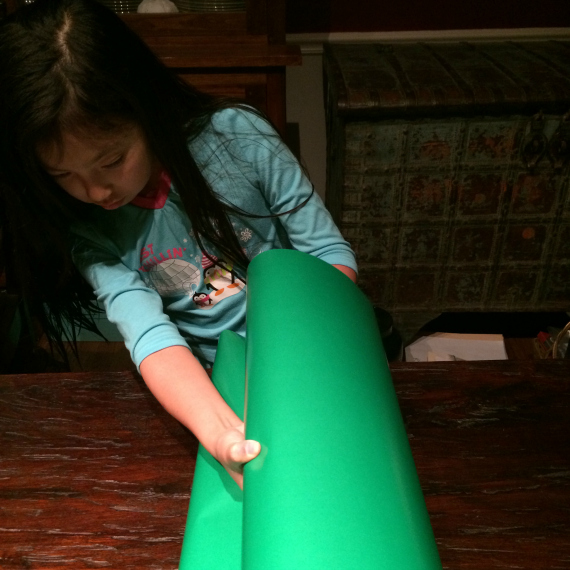
1. Roll out your paper, placing your gift in the middle: here we have a toy car for her brother. Make sure you have enough paper to completely cover the gift. 
2. Then cut lengthwise.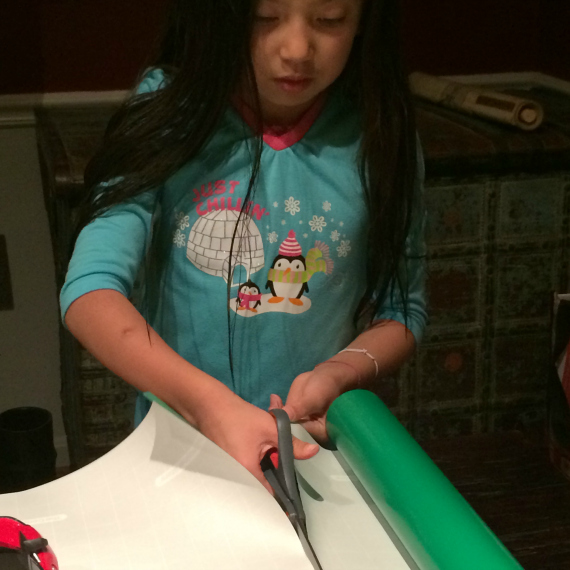
3. Fold your edges to meet and overlap slightly in the center, and tape along the seam from top to bottom. It helps if your tape is fairly continuous as this will make for fewer gaps, but it need not be perfect. 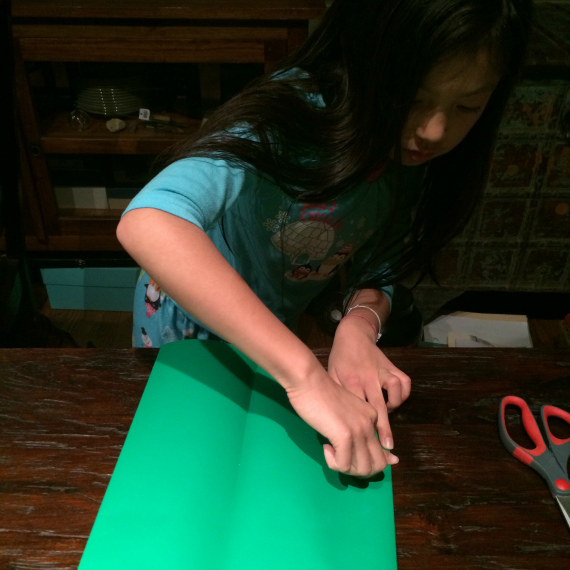
Tip: If you are prone to paper cuts like I am with all of this dry weather, put on a little non-greasy hand lotion before you start. This will help ward away serious slices.
4. Keeping in mind how wide your present is, fold over the bottom of the paper so that it slightly exceeds this width. This is your base, because we're all about the base, 'bout the base! (We do encourage dancing while wrapping.)
5. Now this part is like origami. Open up the base and fold it towards the center onto itself: making two triangles that touch to become a diamond or square. Seriously, it looks trickier than it is.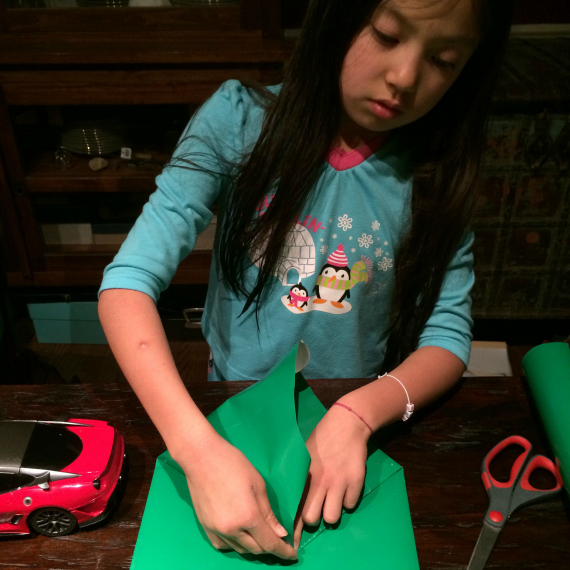
6. Take the top and bottom points of your diamond and fold them toward the center crease, and tape.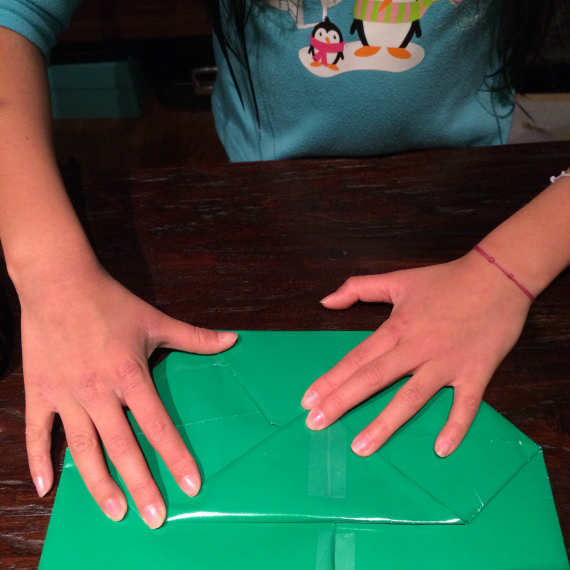
7. You can eyeball cutting off any excess paper from the top. 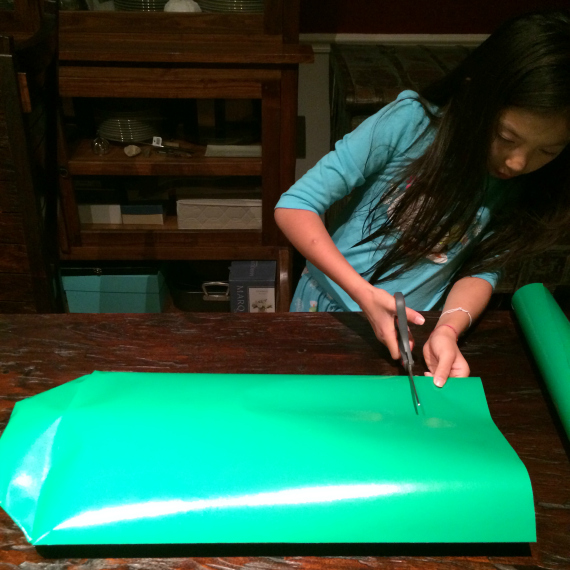
8. Now you're ready to place your gift inside your custom-made gift bag. Fold over the top once or twice... however many times you wish, and tape to secure.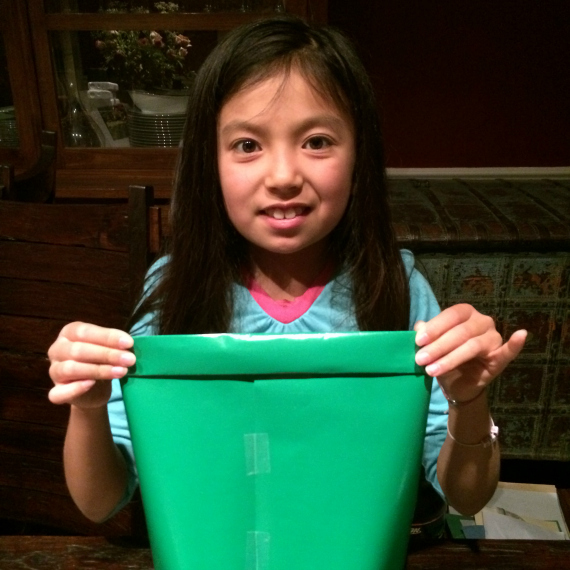
9. You can add a bow for extra beauty and viola! You've made your very own bag from scratch that can be made to fit any odd-shaped item for any occasion, even beyond the holidays.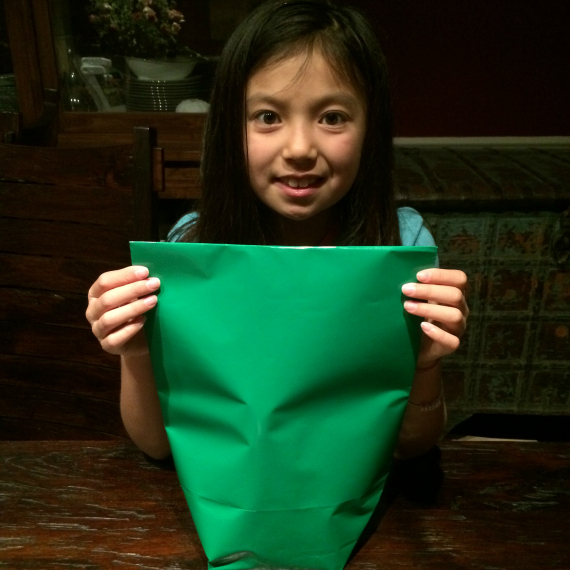
See this bag being made on The Meredith Vieira Show and view more how-to pictures!