
Megan Cieloha moves frequently with her husband and three young boys so she has the luxury of always finding something new to explore. But, this also means she can't rely on constant "go-to" spots for great light and interesting settings for her photos. As a result, she has mastered how to quickly find the right light no matter where is and teaches her technique in her popular class for Click Photo School, Mastering Natural Light Indoors. Here, she shares her tips for finding the best light indoors.
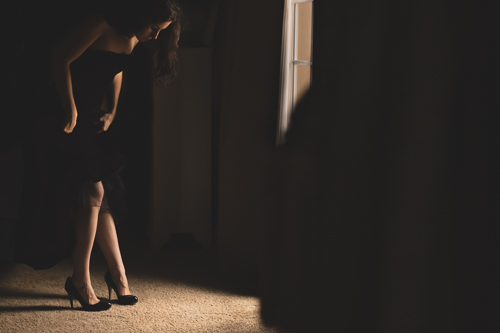
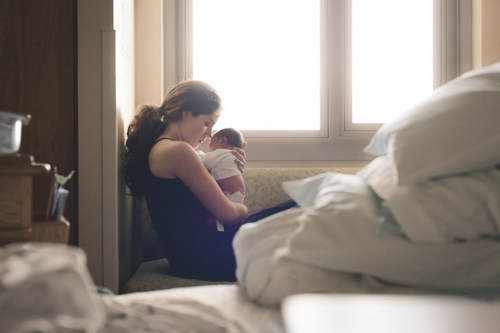
1: Stick close to the edges of the room.
The most common complaint Megan hears from her students in Mastering Natural Light Indoors is "I don't have enough light!" After working with Megan, their most frequent lament at the end of the class is: "I have too much light!" When you are just starting out with natural light indoors, Megan advises pulling your subject out of the middle of the room. Position them close to the window or door that you plan to light them with. Doing so will not only give you more light to work with (allowing for faster shutter speeds/narrow aperture/lower ISO) but will likely increase the dimension that the light source provides, due to an increased contrast between light and shadow.

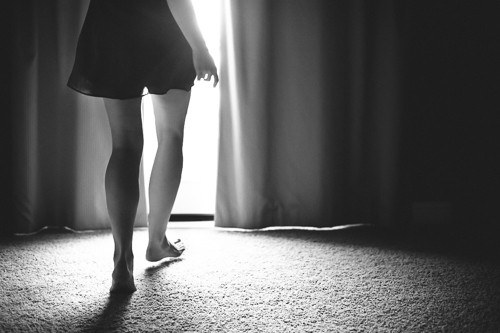
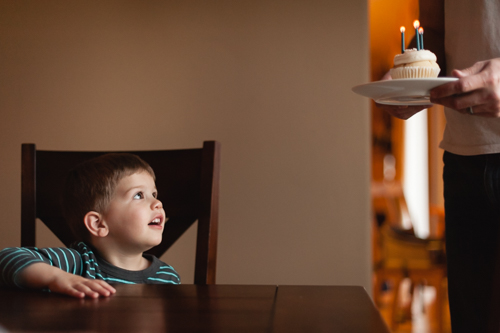
2: Look for pools of light.
For a quick and easy way to spot a useable indoor lighting situation, Megan suggests looking for an area of brightness, surrounded by darkness, or relative darkness. In this situation you have two options. First, you can choose to place your subject directly in the light. This will create greater contrast between the highlights and shadows in the resulting image, but can be tricky to expose well. Second, you can put the subject just outside of the pool of light. Doing so will allow that very bright spot of light to illuminate your subject reflectively, resulting in light that is dimensional, but not quite as contrasty and harsh as the direct light.

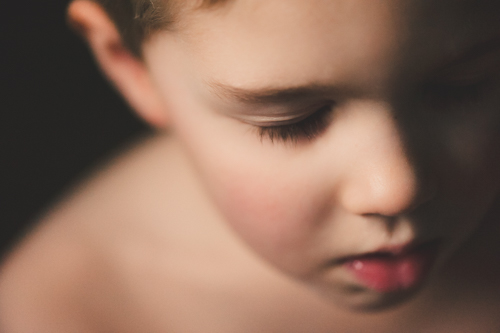
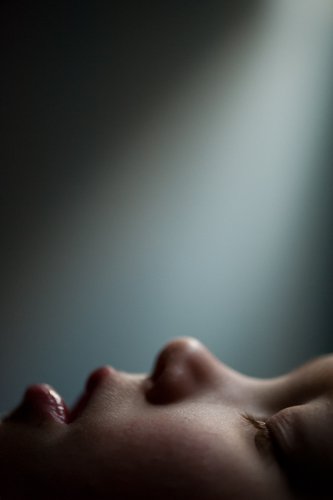
3: Keep your subject on an angle.
According to Megan, shadows make an image. Without shadows, photographs feel one-dimensional and lack in depth. As a rule of thumb, try to always place your subject at an angle to your light source. This will allow some of the light to be blocked by parts of their face/body and create shadows. There are instances in which facing the subject directly towards the light (using "flat light") can be the best choice, but in general, positioning subjects on an angle will produce reliably attractive and dimensional imagery.

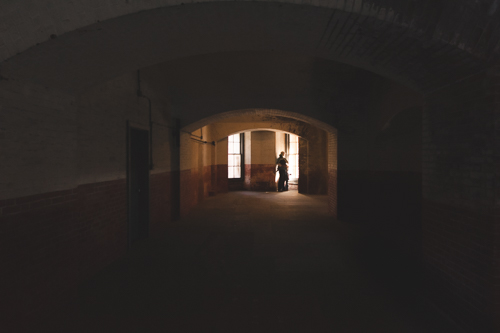
4: Expose for the most important part of the scene.
When shooting in many indoor natural light situations, Megan advises that you will have to accept lost detail either in the highlights ("blown highlights") or the shadows ("clipped shadows") due to the fact that, while amazing, DSLR sensors still cannot record the same range of tonal values as the human eye can see. While becoming comfortable with indoor light, be sure to correctly expose for whatever is most important within your frame. If manually exposing, spot meter off your subject (metering at 0 to +2/3 is generally suitable for light/medium skin tones, 0 to -1/3 for darker skin tones.) While shooting in auto mode on a Nikon (Canon always meters from the middle focal point), you will not be able to select the focal point that your camera meters from. Even if you are not yet comfortable shooting in manual mode, consider switching to one of the semi-automatic modes (such as aperture priority, where you decide the aperture setting and the camera chooses the other 2 settings of the exposure triangle) to allow for targeted exposure metering by toggling your focus point over the most important part of the scene, whether it's a person, an object, or part of a landscape.

With utilizing Megan's tips and a little practice, you can become just as comfortable shooting indoors as you are outside.
All images Megan Cieloha and used with permission.