Ah, the shot ski. This particular instrument of revelry (or torture, depending on your height) is possibly the second best use for a ski and an excellent way to immortalize those classic boards that you just can't seem to part with. Originally created by Ullr himself to reward and extol the most valiant and skillful skiers, the shot ski was soon appropriated by snow riders of every ilk. However, Ullr continues to have the last laugh as unprepared initiates are rewarded with more booze down their shirts than in their mouths.
The components of a shot ski are relatively simple: a ski and some shot glasses (four is the accepted number). However, these are just the basic components. There are actually several different types of shot skis. These versions range from a "Green Circle" level all the way up to the "Double Black Diamond" level. The version you choose is up to you, dependent on your general level of handiness and, possibly, how handy your friends are. Power tools are optional, but always fun to play with.
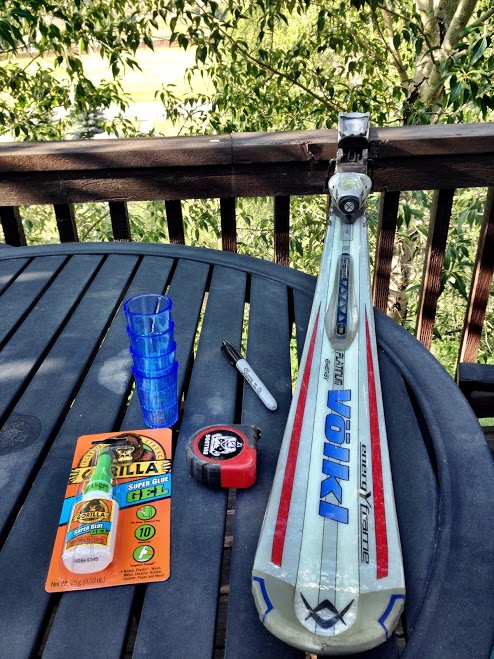
- An old ski
- A Sharpie®
- Shot glasses (4). Pick a hard plastic version if your friends are clumsy. Go with glass if you're classy.
- 8 Solo cups
- A ruler or measuring tape
- Heavy-duty glue (for the Green and Blue versions. We like Gorilla glue. Epoxy is necessary for glassware)
- Velcro (for the Black Diamond version)
- An electric drill (for the Black Diamond and Double Black Diamond versions)
- A Phillips head screwdriver (for the Double Black Diamond version)
- Various bits and screws and perhaps washers and assorted hardware (for the Black Diamond and Double Black Diamond versions)
- Liquor (for the shooting)
Instructions for Assembling
Green Circle
Supplies needed: Minimal
Difficulty: Easier than riding up a magic carpet

1. Find a tall friend and appropriate his or her super long ski. The longer the ski, the more shot glasses you'll be able to fit and the more people you can involve in your shot ski shenanigans.
2. Don't bother removing the binding. That requires more effort and, depending how long the binding has been attached, could be a major pain.
3. Flip the ski so that you're looking at the base.
4. Clean off the ski. If you glue on dirt, the glue will stick to the dirt.
5. Mark where you want to secure the shot glasses, with plenty of space in-between so that head bonks are at a minimum. Avoid the tip and tail so that participants have something to grip. Between 18 and 20 inches is a good rule of thumb, but feel free to adjust to your satisfaction and on the length of the ski.
6. Glue the plastic shot glasses to the ski in the places that you marked. Plastic is your best bet as glass will break if you drop the shot ski. There is a very good chance that you will--at some point--drop the shot ski. Especially since you didn't bother to remove the binding.
7. Gather the friends. Fill the shot ski. Stick the guy you don't like near the brake on the binding but be aware that he might poke his eye out because of your laziness.
8. Deploy the shot ski. Repeat as necessary.
Blue Square
Supplies needed: Same as green circle, with the addition of something to remove the binding
Difficulty: Easier than finding your rental skis on the rack during Christmas break
Steps:
1. Find an old ski. Some ski towns have bins where old skis and boots go to languish in the hot summer sun. Go there and don't feel bad about leaving lonely onlys.
2. Use an electric drill to remove the bindings. Depending on how old the bindings are, you may find that it takes more steps than it should. To relieve frustration, take a shot of whatever liquor you have handy.
3. Since you removed the bindings, you can assemble the shot glasses on the top of the ski. Measure the ski and mark where you want to place the glasses.
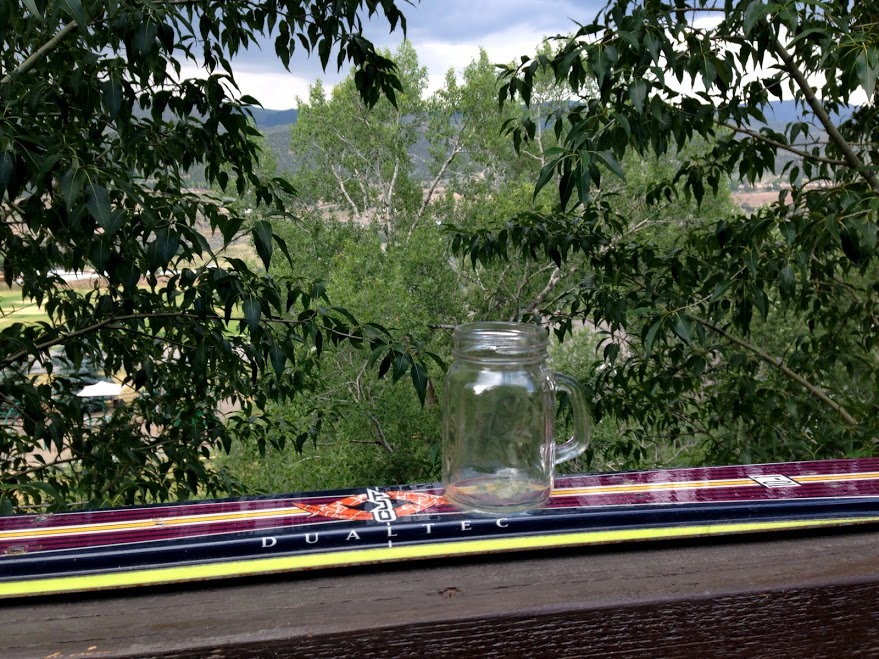
4. Glue the shot glasses onto the ski in the places you marked. These particular shot glasses look like Mason jars, are extra big and come with lids, which are cool and earn bonus points.
5. Gather the friends. Fill the shot glasses with a tasty concoction, like moonshine. That's what Mason jars are for.
6. Deploy the shot ski. Repeat as necessary.
Black Diamond
Supplies needed: Same as above, minus the glue. Add the drill, a 1.5" Forstner bit and Velcro.
Difficulty: Easier than a snowboarder riding the T-Bar
Steps:
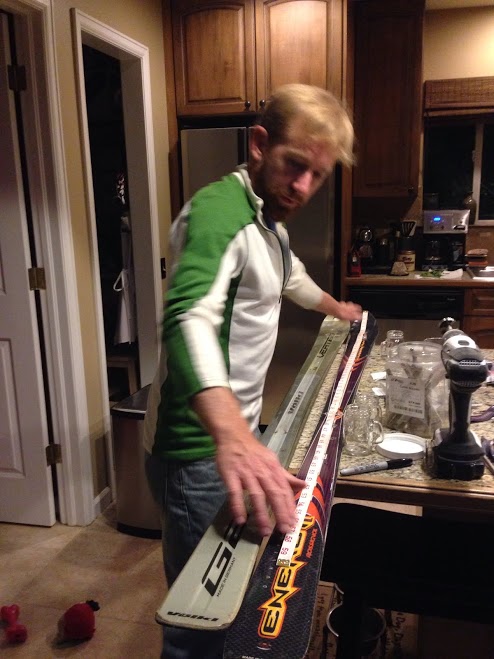
1. Take the ski, which you have already cleaned off and removed the binding (see first two steps for blue square). Measure the ski and mark where you want to place the glasses.
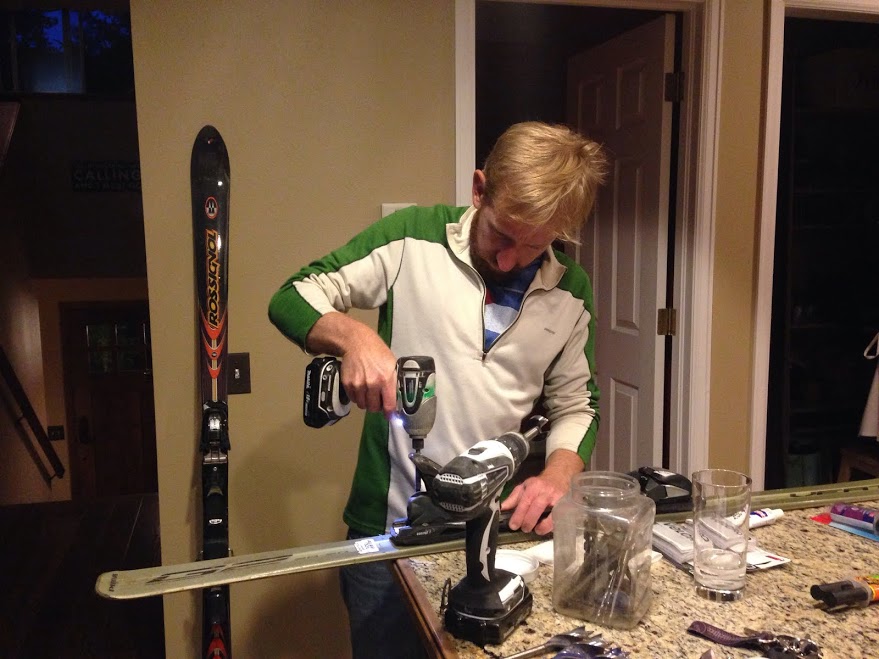
2. Put on some sort of eye protection. You're using tools. It's also advisable to do this step outside. Unless it's dark. Then it's perfectly fine to use power tools in the kitchen.
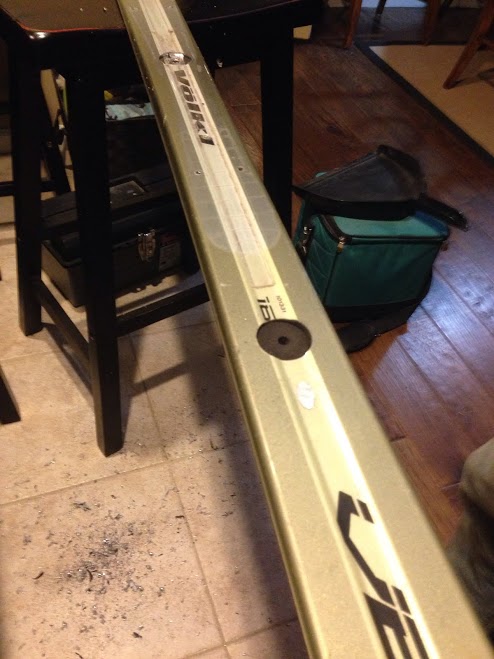
3. Using the drill equipped with a 1.5" Forstner bit, drill a hole through the topsheet down into the core of the ski. A Forstner bit cuts a smooth, flat hole, excavating the material from inside the hole as it cuts, which is what you want. A note on the bit: This was the right size for the shot glasses that I used, but they do come in different diameters. Measure the base of your shot glass to get the correct size.
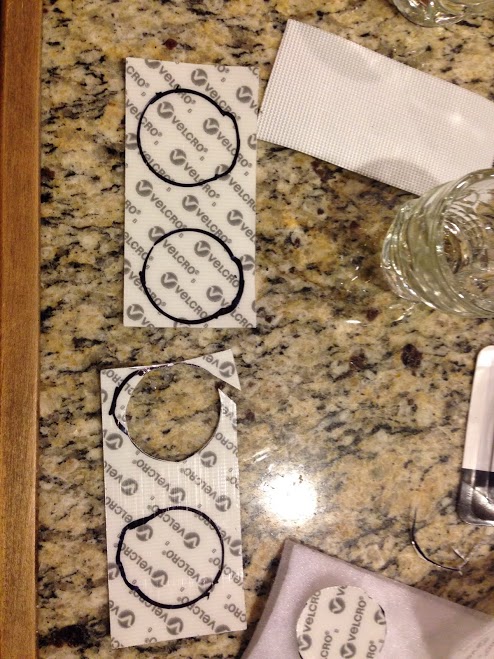
4. Trace the bottom of your shot glass onto the back of the Velcro. Cut out the circles on both pieces of Velcro. Affix one side to the bottom of your shot glass and the other into the holes that you've cut into the ski.*
5. Attach the shot glasses.
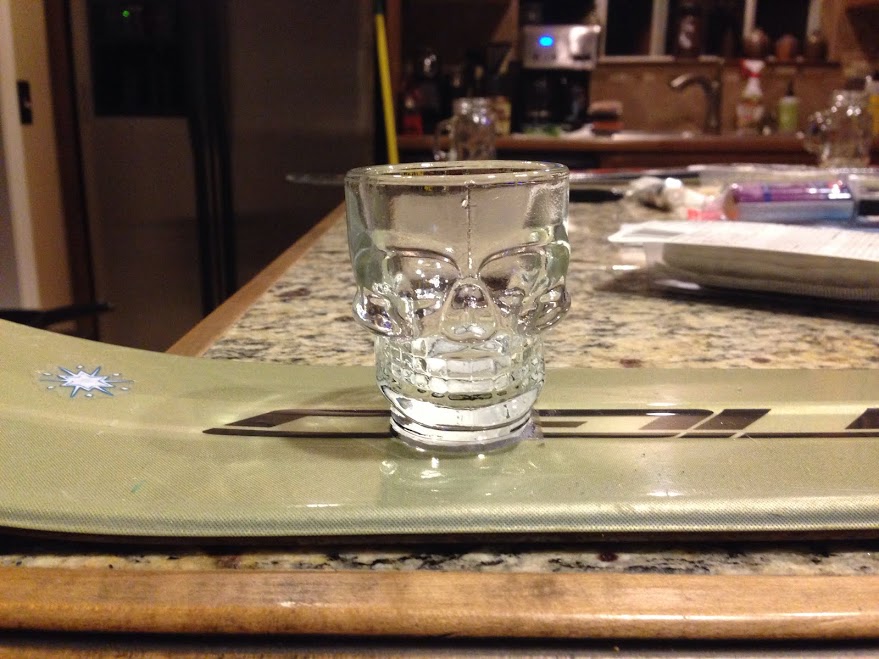
6. Gather the friends. Fill the shot glasses with a tasty concoction, like Brennivín, Iceland's signature schnapps. These shot glasses are shaped like skulls, and Brennivín is called the Black Death. Appropriate, no?
7. Deploy the shot ski. Repeat as necessary.
*This version uses Velcro for sanitary purposes. With Velcro, you can take the shot glasses off easily and wash them so that the residue of last night's debauchery doesn't stick forever. Because that's just gross.
Double Black Diamond
Supplies needed: Same as above, minus the Velcro. Add the Solo cups, four 1/2" screws and spacers as necessary.
Difficulty: Easier than landing a cameo in the next Warren Miller film
Steps:
1. Take your clean, binding-less ski and measure out where you want to place your Solo cups. Yes. Solo cups. This bad boy is for car bombs.
2. Using the drill, pre-drill holes for the screws into the ski. Be careful not to drill completely through the ski.
3. Drill the screws through the pre-drilled holes. Then take the screws back out again. This will make sense in a minute.

4. Drill holes in the bottom of the Solo cups. Place the screw into the Solo cup and, using a Phillips head screwdriver, affix the cup onto the ski (this is much easier than trying to fit a drill into a Solo cup).

5. Place the other Solo cups into the ones that are affixed to the ski. This way, you can throw them out afterwards. Again: Be sanitary.
6. Gather the friends. Fill the cups with Guinness. Place shot glasses containing half Jameson whiskey and half Baileys next to the cups.
7. Drop the shot glasses into the cups. Deploy the shot ski. Repeat as necessary.
Check out the finished products!
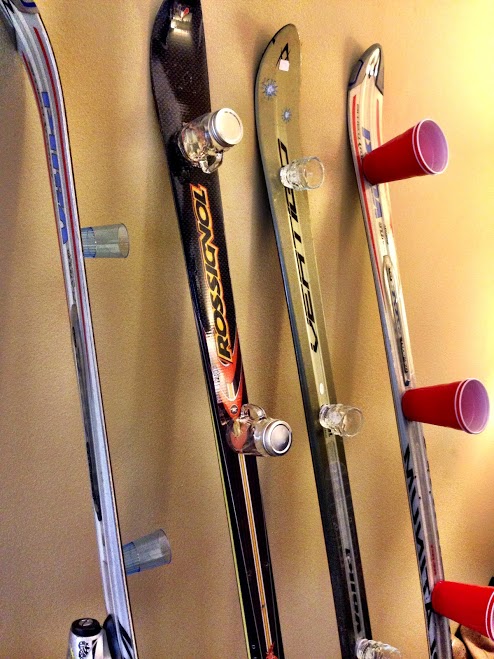
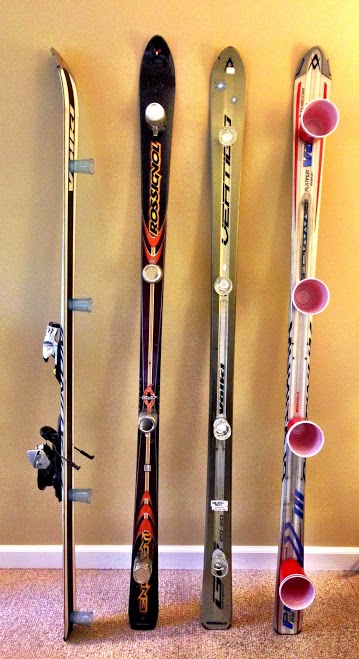
These are just a few versions of shot skis; the possibilities are endless. All it takes is a bit of creativity and motivation to dream up the next best thing.
WARNING: It is possible to buy a pre-made shot ski. However, doing so is like wearing jorts and snowblades on the slopes: it's legal, but not advisable.
This post originally ran on the Liftopia blog.