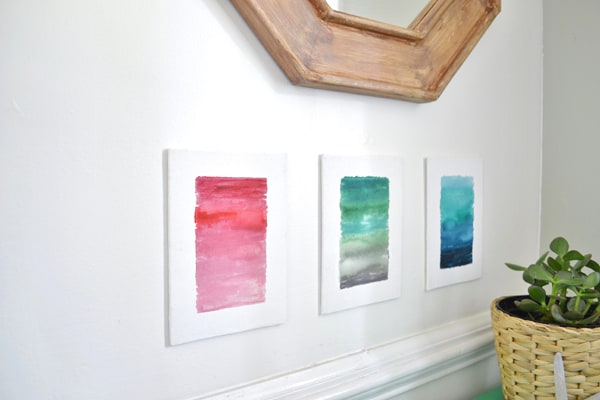
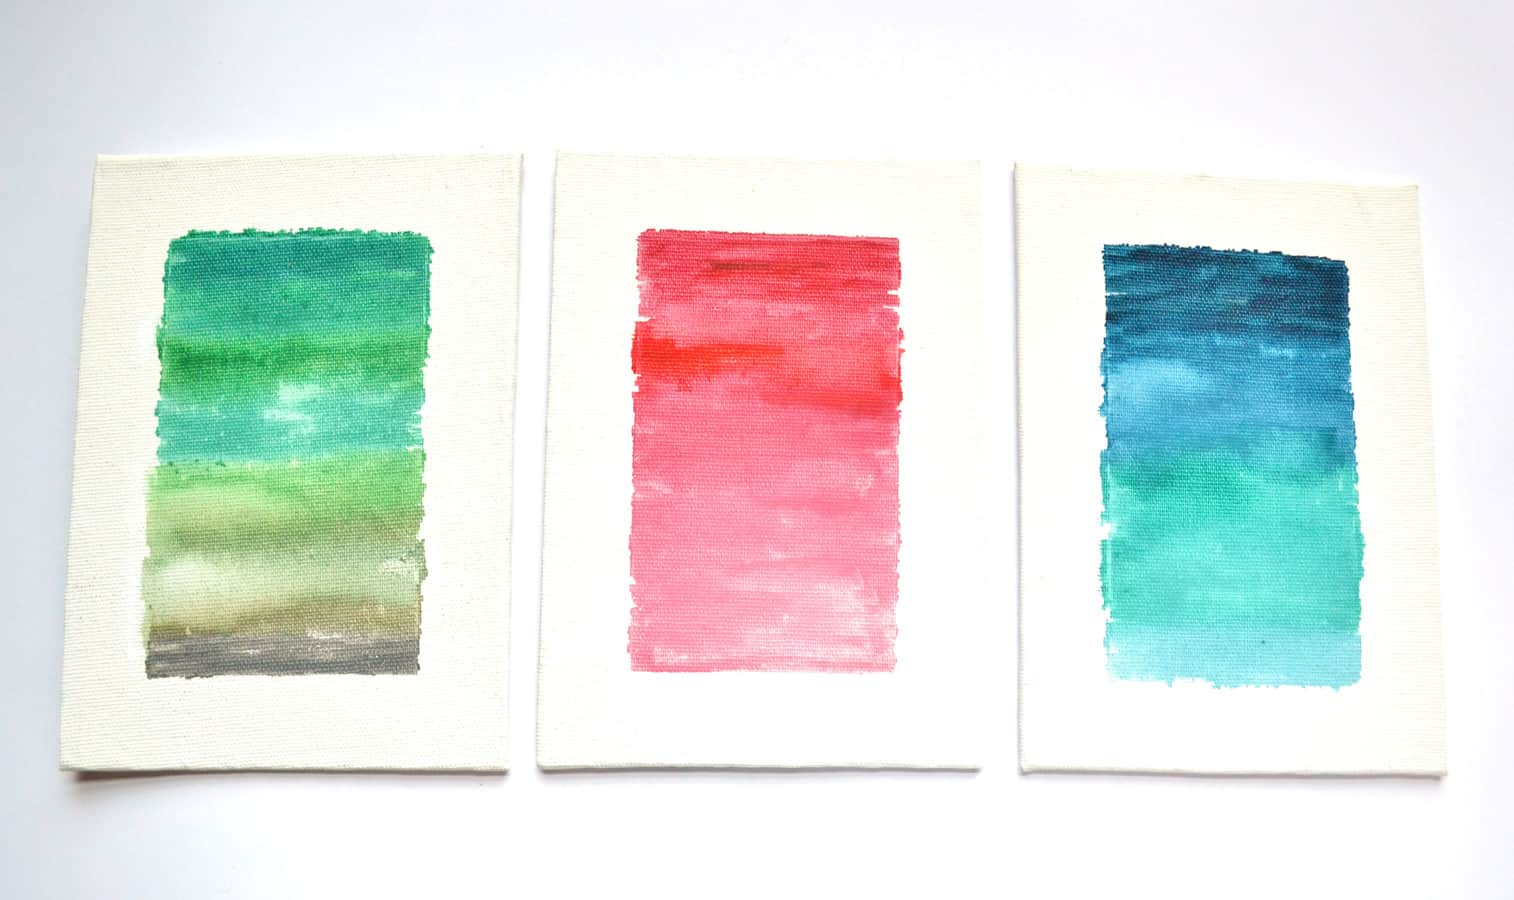
I love simple, yet impressive, DIY projects and crafts. And I also love all kinds of canvas art. Canvas art is easy, inexpensive, and requires no artistic skills (really!). When I wanted a little something to add some color to my foyer, I decided to create some simple watercolor canvases, and I love how they turned out!
Materials:
5x7 flat canvases*
watercolor brush
painters tape
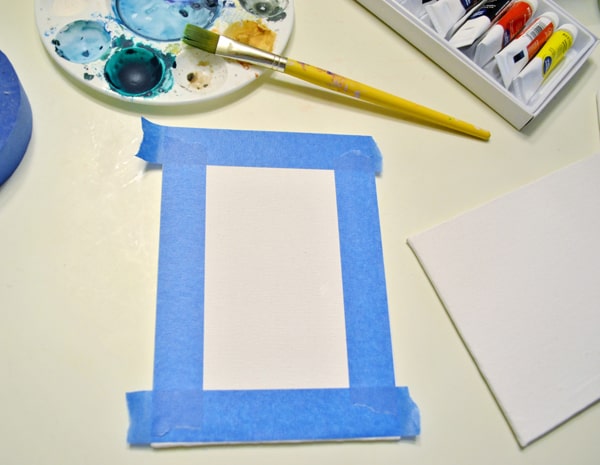
Step 1: Take your painters tape, and tape a border around each canvas. I made my border width the same width as the painters tape, but obviously you can change this up if you want.
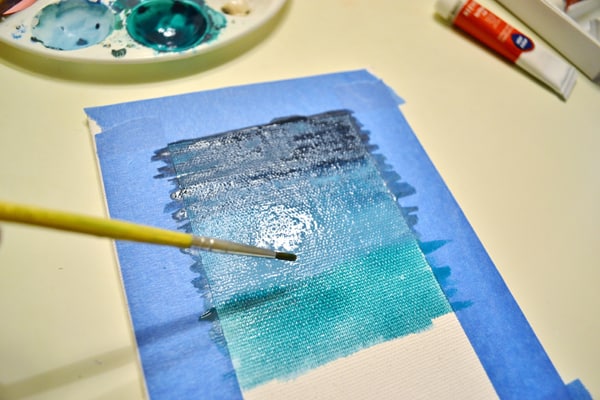
Step 2: Decide on the color scheme for your canvas, and start applying your first color. I made this one all blue, and I wanted it to go from dark (navy) to light, though, as you can see in the first photo, I decided it hang it upside down instead.
Step 2: Add a second color, blending it into the first. If it's not blending well, just add a little bit of water to your brush and apply it where the two colors meet. If it's too watery, just take a paper towel and blot the excess. Watercolors are very forgiving like that.
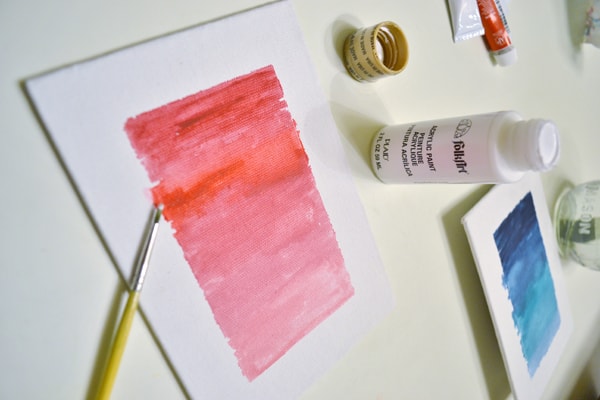
Step 4: Remove the tape. Because of the texture of the canvas and the wateriness of the paint, you will probably not get very precise lines, even if you firmly press down your painters tape at the beginning, like I did. This is OK! Even better, in my opinion. But, if there are places where the paint is bleeding more than you'd like, there's an easy fix....
...just take some white acrylic paint and a clean brush, and fix any areas you aren't happy with.
For under $1 per canvas, and watercolor paint that I'll use again and again, this was quite the low-budget, high-impact project.
*affiliate link
Linda is the founder of burlap+blue, a space dedicated to helping women live life more creatively. She is inspired by creativity, good books and the everyday. She lives with her husband and kids in Richmond, VA. Read more on her blog, shop her new Printables Shop, and connect with her on Twitter and Instagram.