By: Alex Robinson

Credit: Cole Saladino/Thrillist
Ah, fall. The season of pumpkin spice lattes, pumpkin pie, Oktoberfest, pumpkin picking (?), pumpkin carving, and finally, pumpkin kegs. That's right, pumpkin kegs.
While the majority of your peers will be trying their artistic hand at carving jack-o'-lanterns and getting upset when theirs doesn't look like the one in the picture, you'll be kicking back and enjoying pints of fresh pumpkin ale, poured straight from the admirable pumpkin keg you just made. Sounds nice, right? It only takes about 15 minutes and will hold anywhere from six to 10 beers depending on its size.
No tricks here, pal. Only treats.
Credit: Cole Saladino/Thrillist
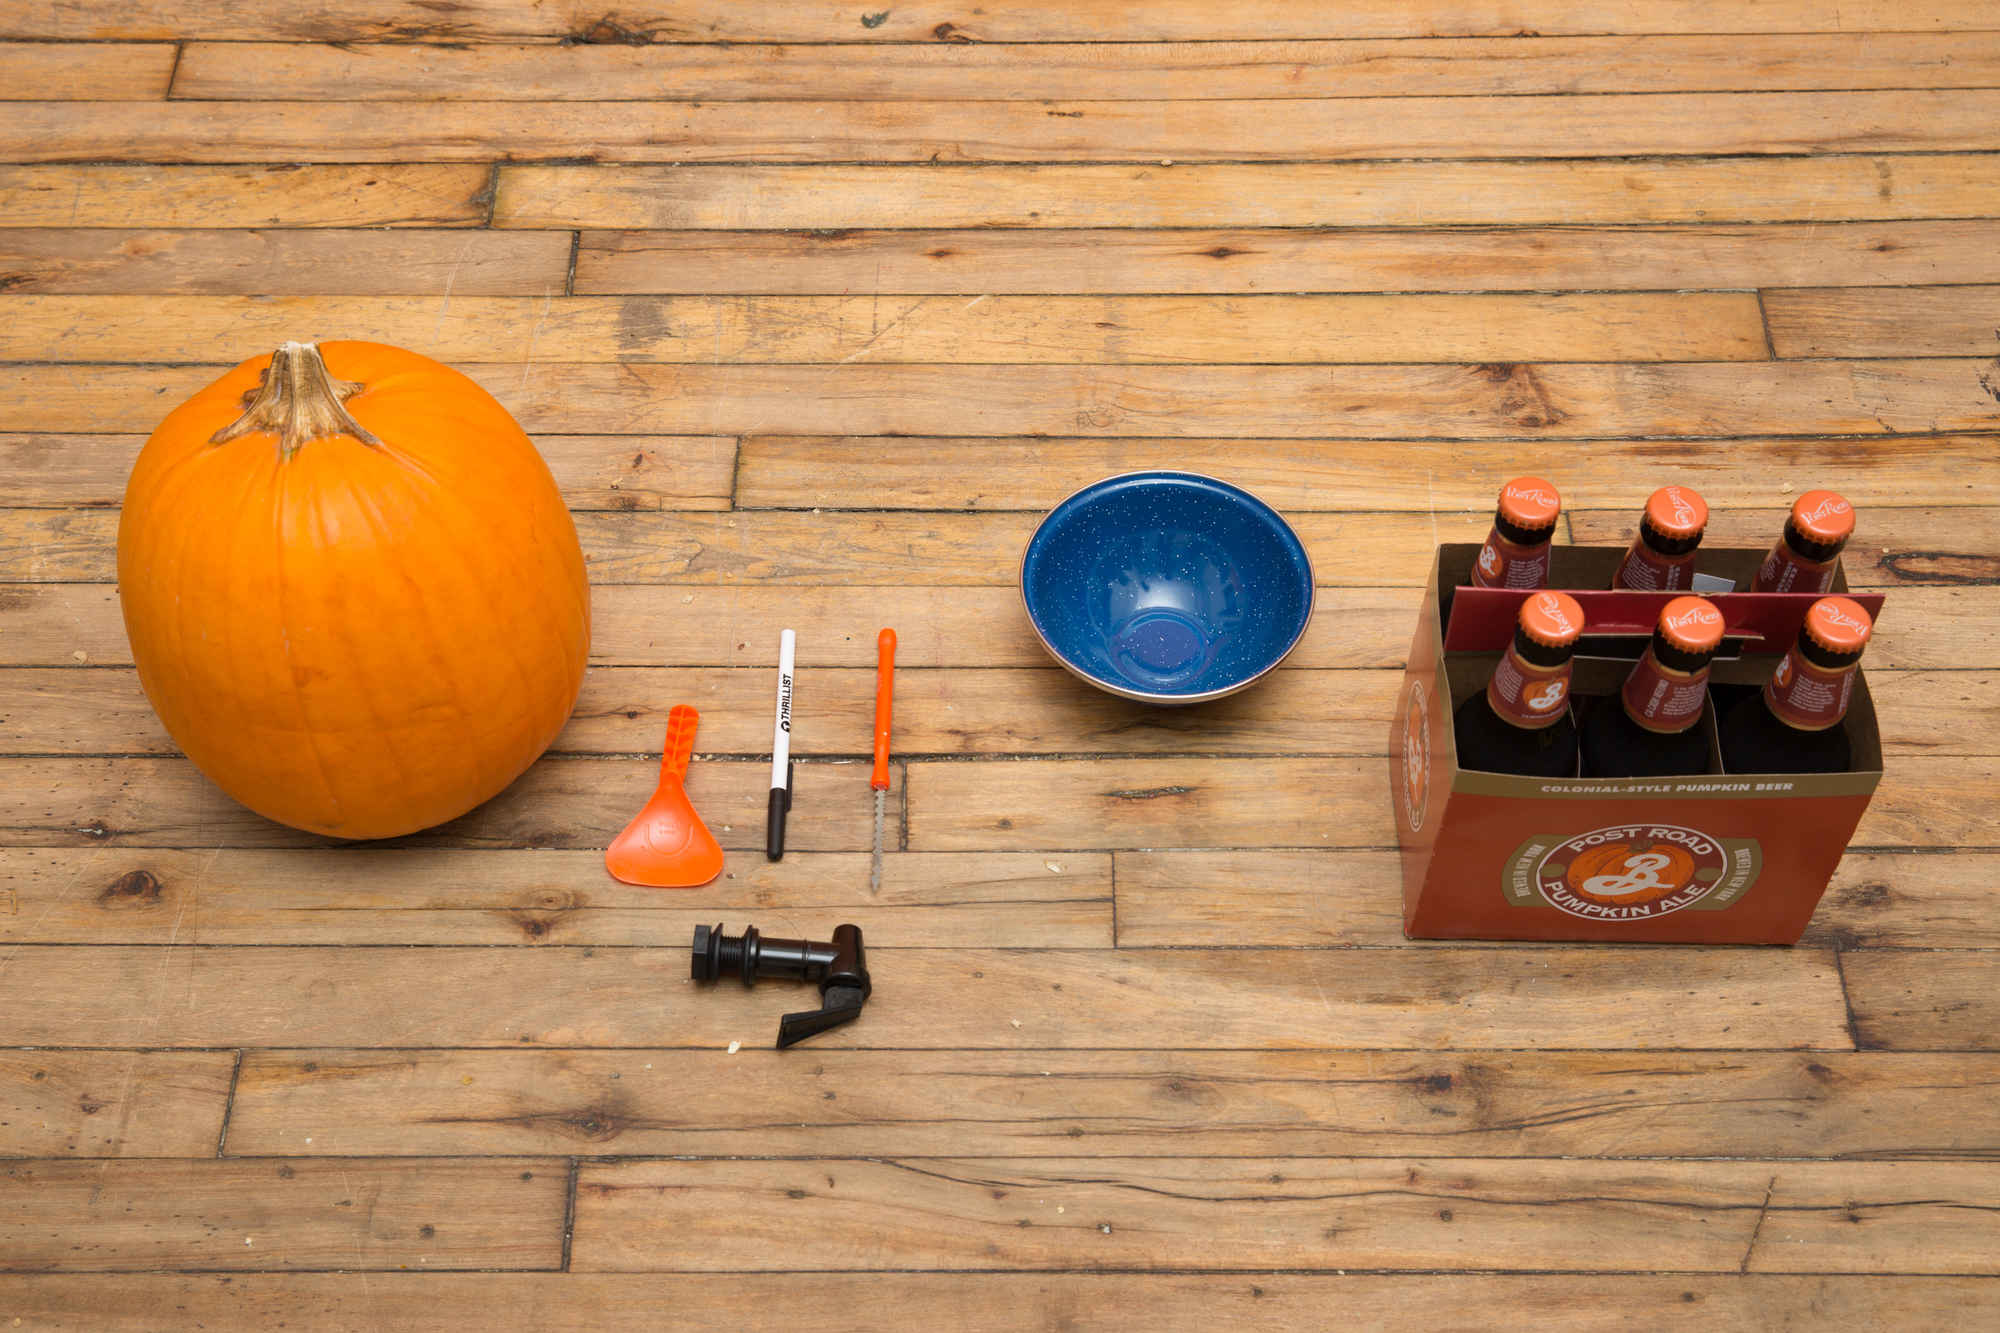
Materials
• 1 big, dumb, boring pumpkin
• A pumpkin carving kit (or serrated knife and large spoon)
• A bowl to discard those delicious seeds
• A pen
• A spigot
• A sixer of pumpkin beer (your choice!)
Credit: Cole Saladino/Thrillist
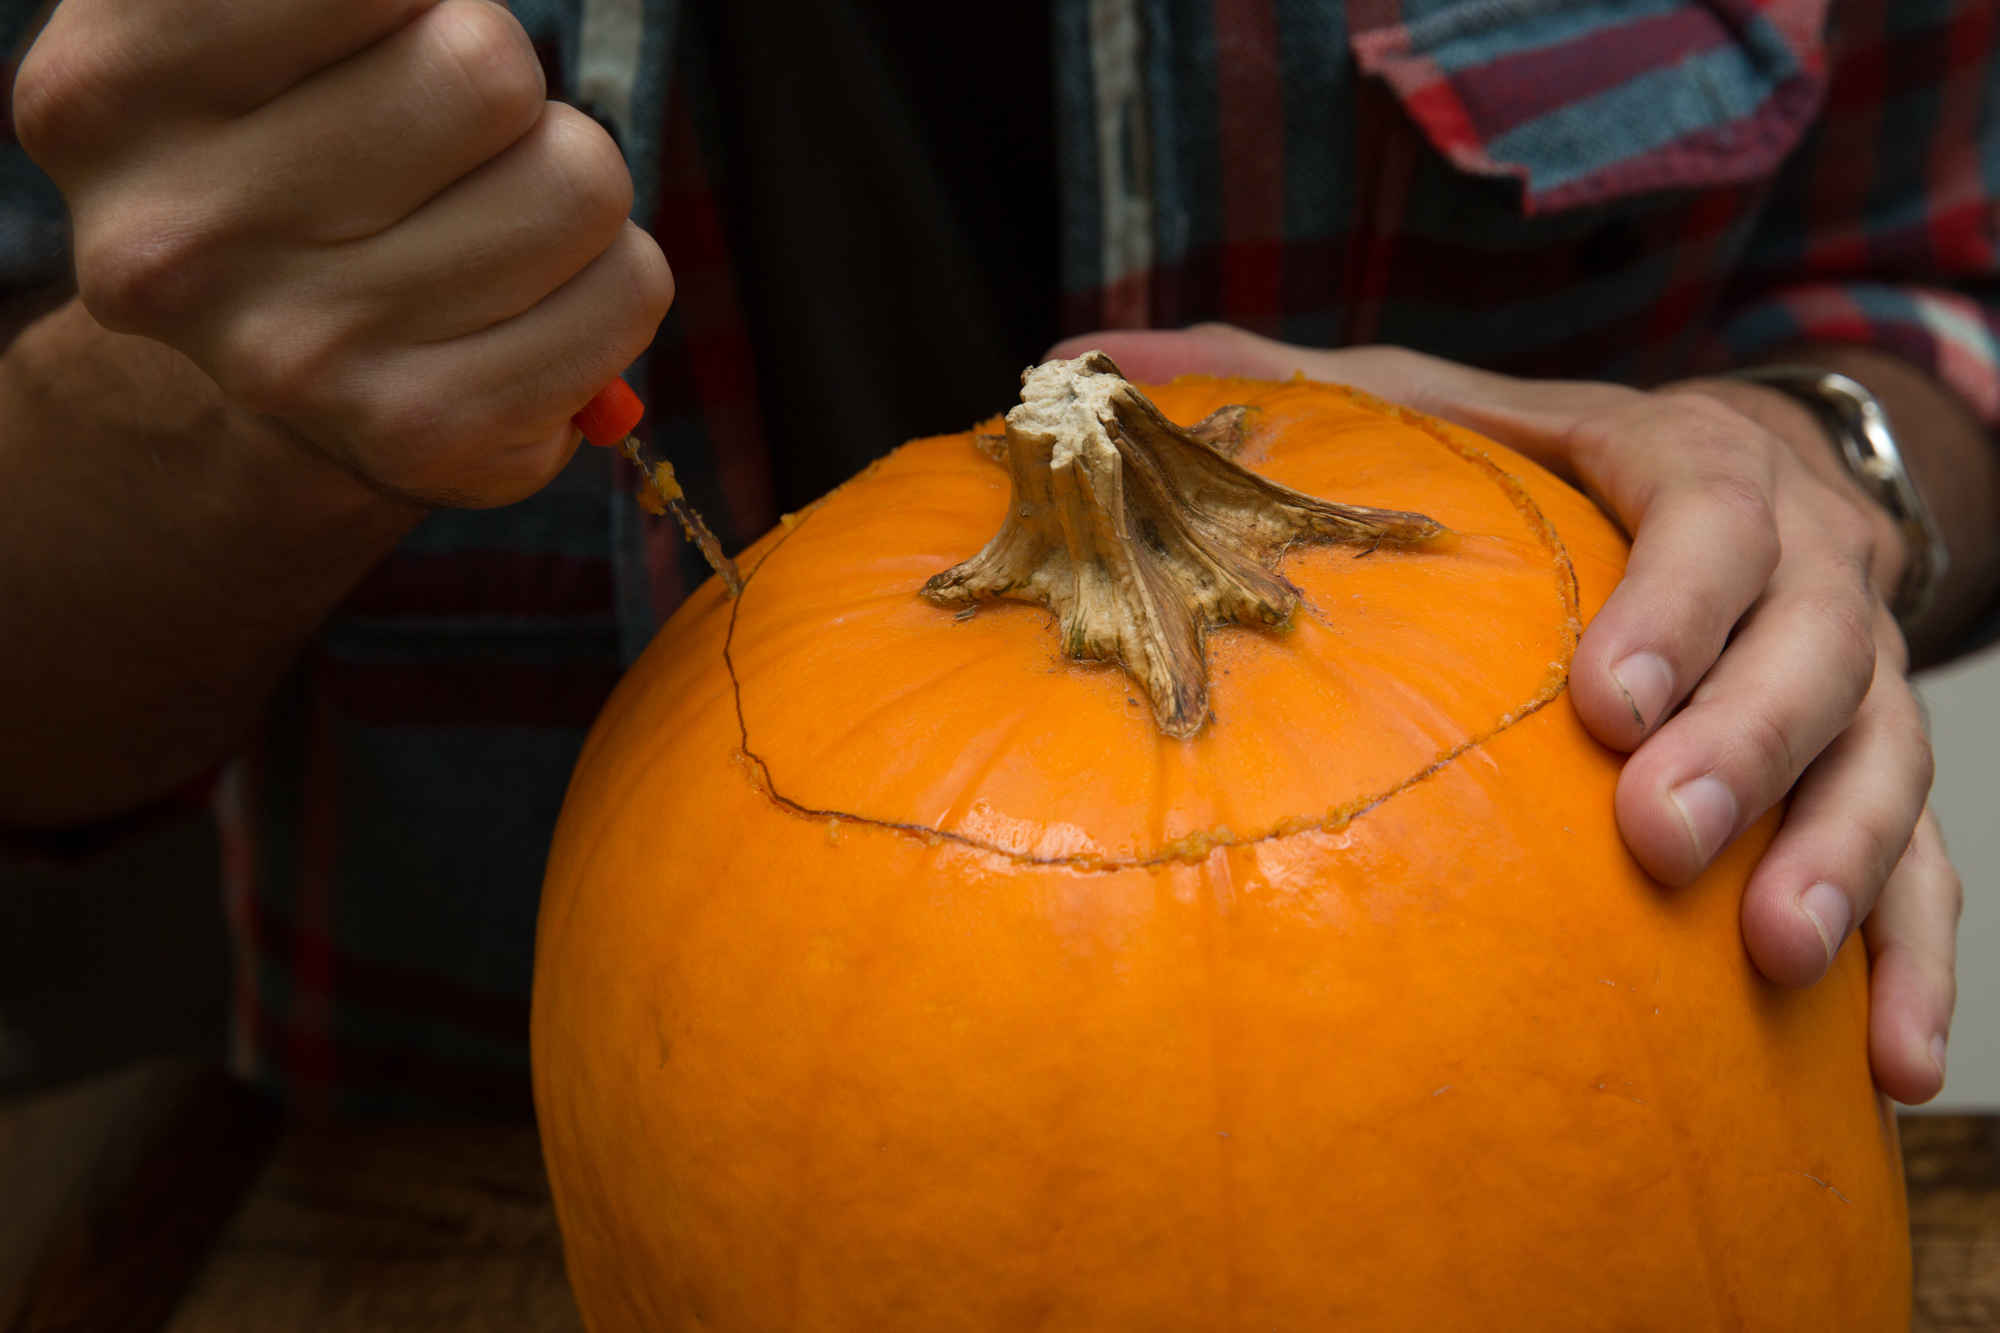
Step 1: Crop the top
Take a pen and draw a circle around the top of the pumpkin. This will help you carve out a nice, clean incision to rip the top off.
Credit: Cole Saladino/Thrillist
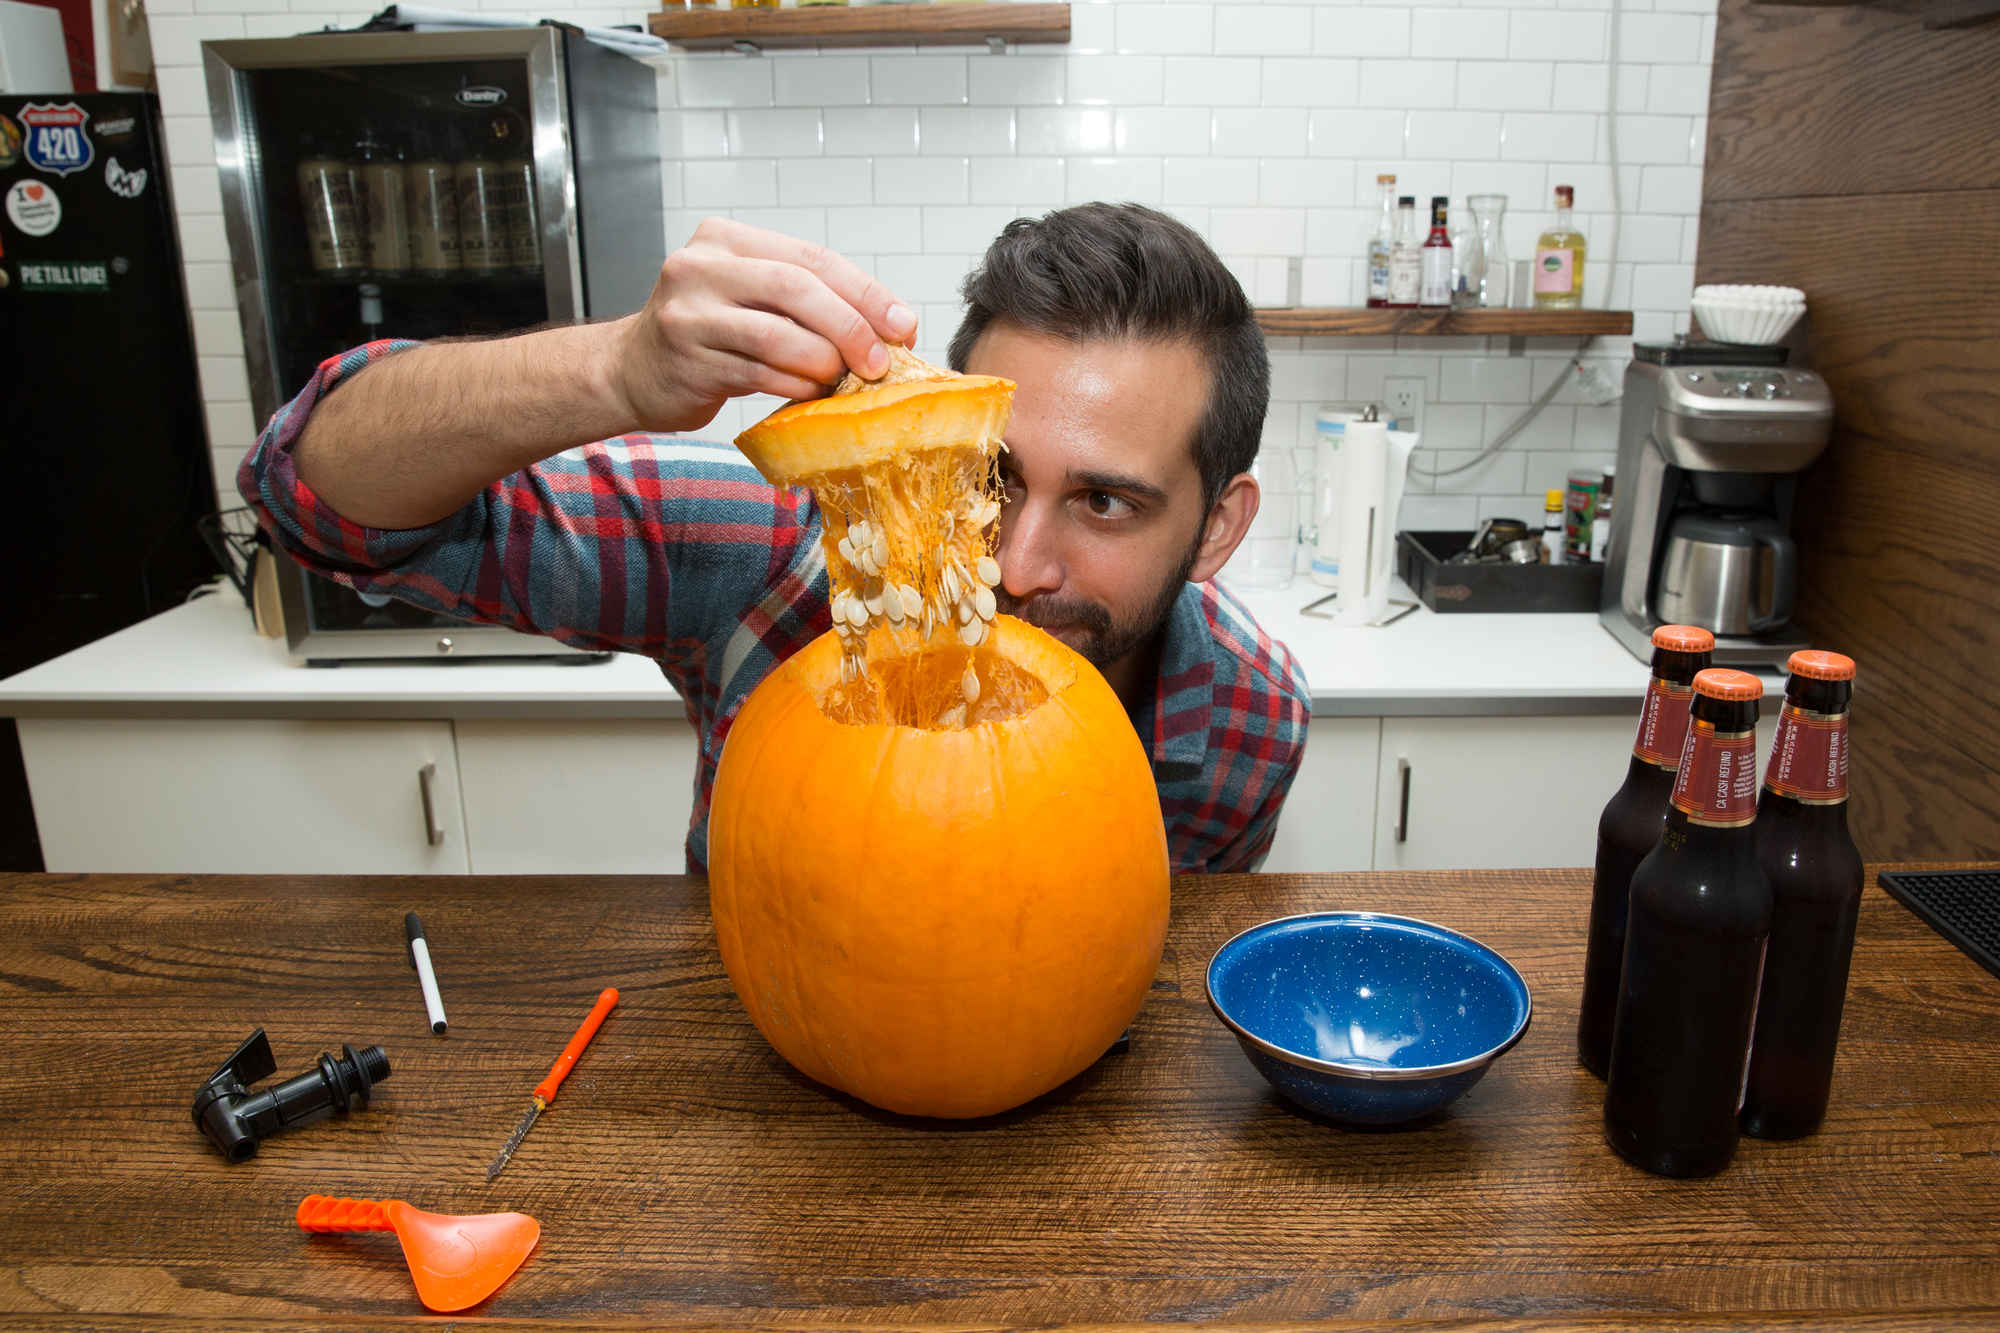
Step 2: Clean the keg
Remove the top and put it aside. It's time to mine this giant gourd for its delicious seeds.
Credit: Cole Saladino/Thrillist
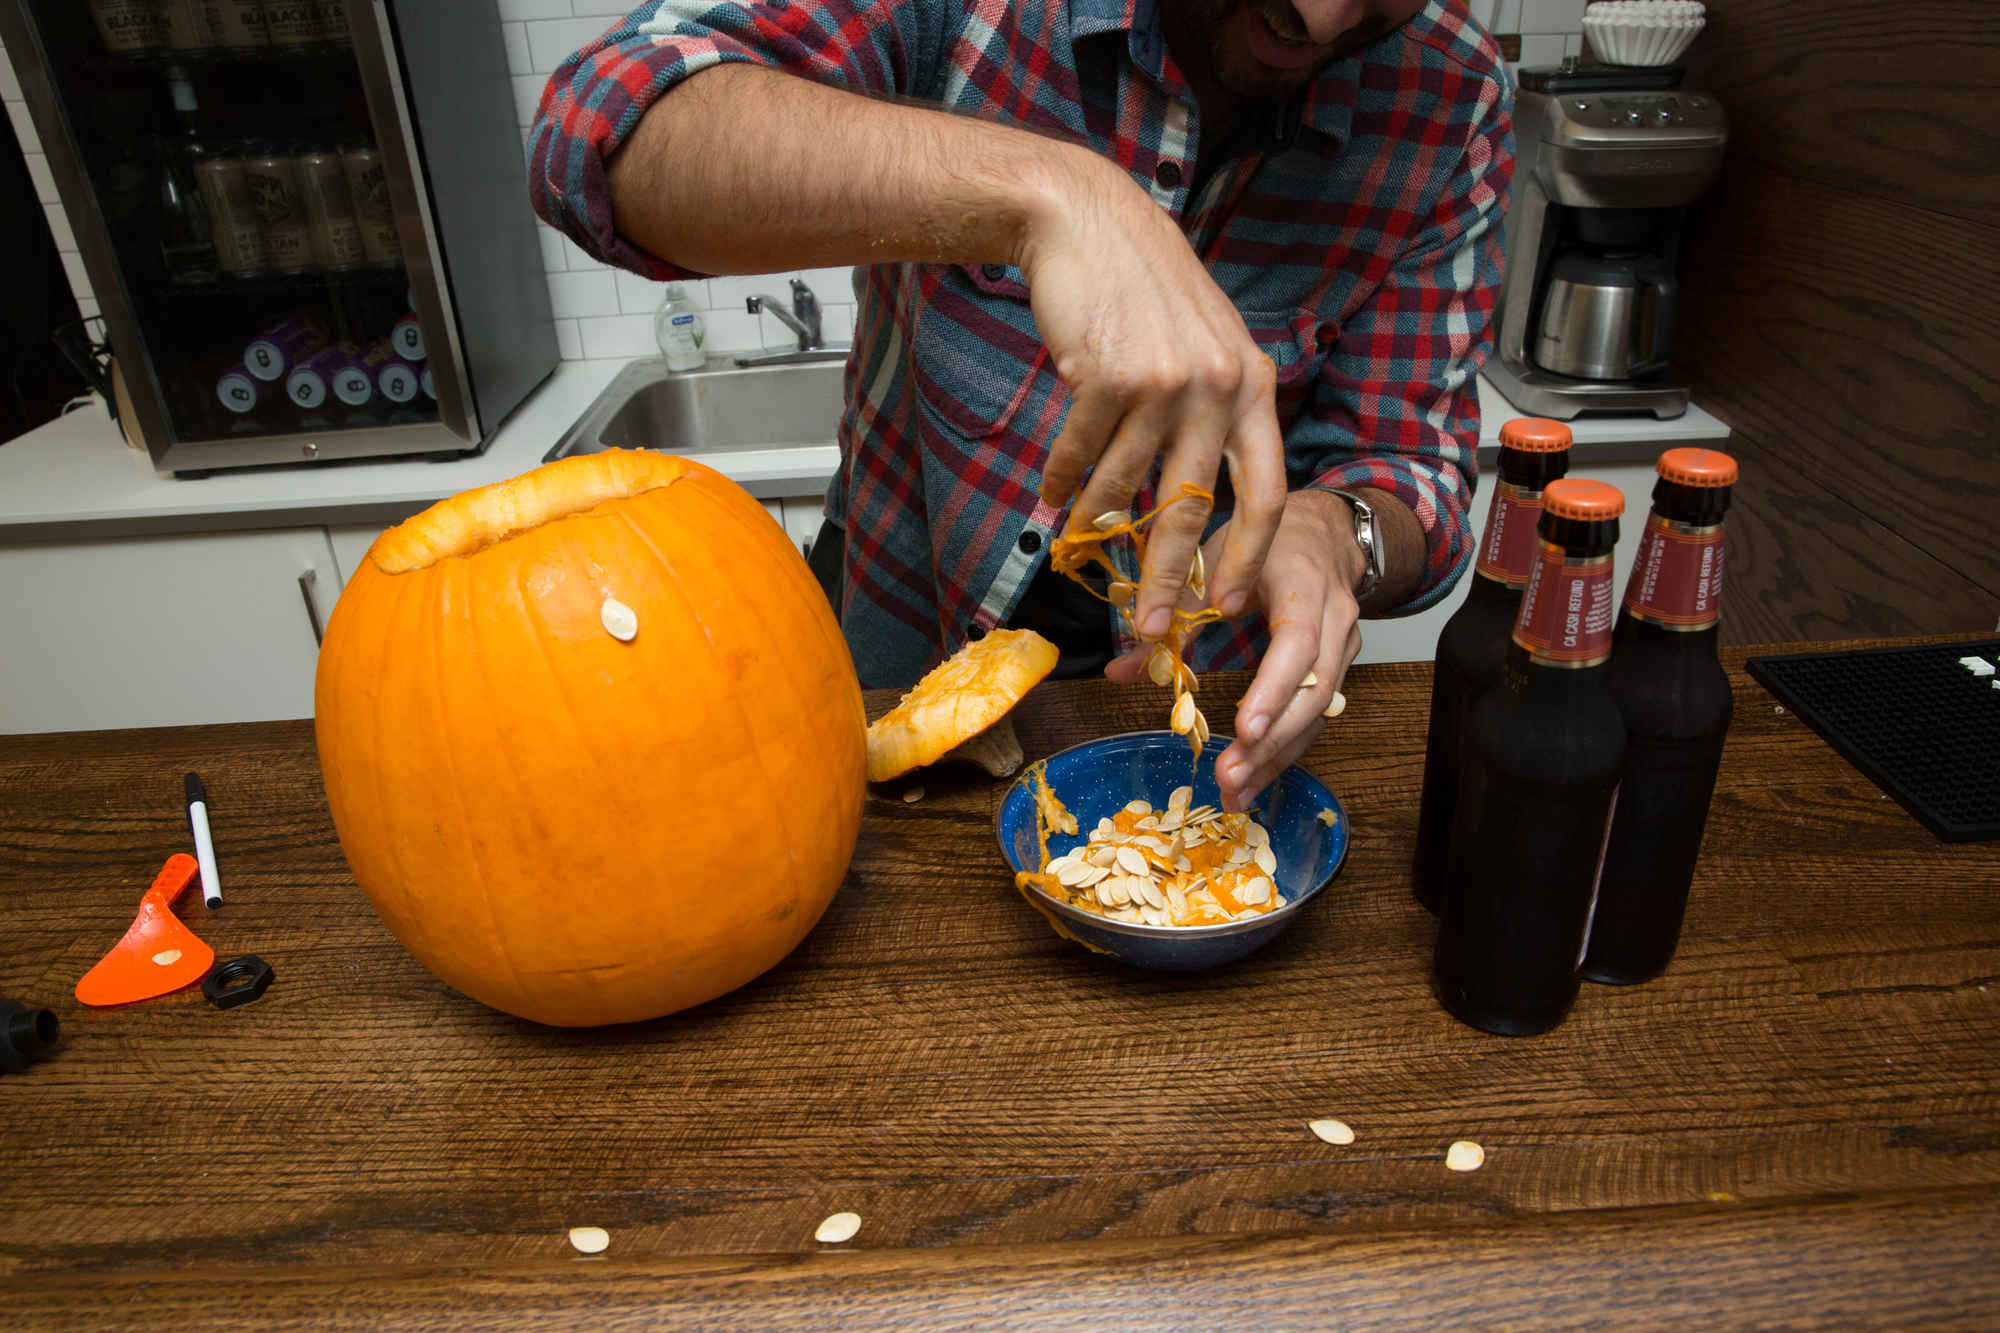
Step 3: Discard seeds
You can either keep the seeds for some nice roasting later, or plant them to grow a pumpkin patch of your own.
Credit: Cole Saladino/Thrillist
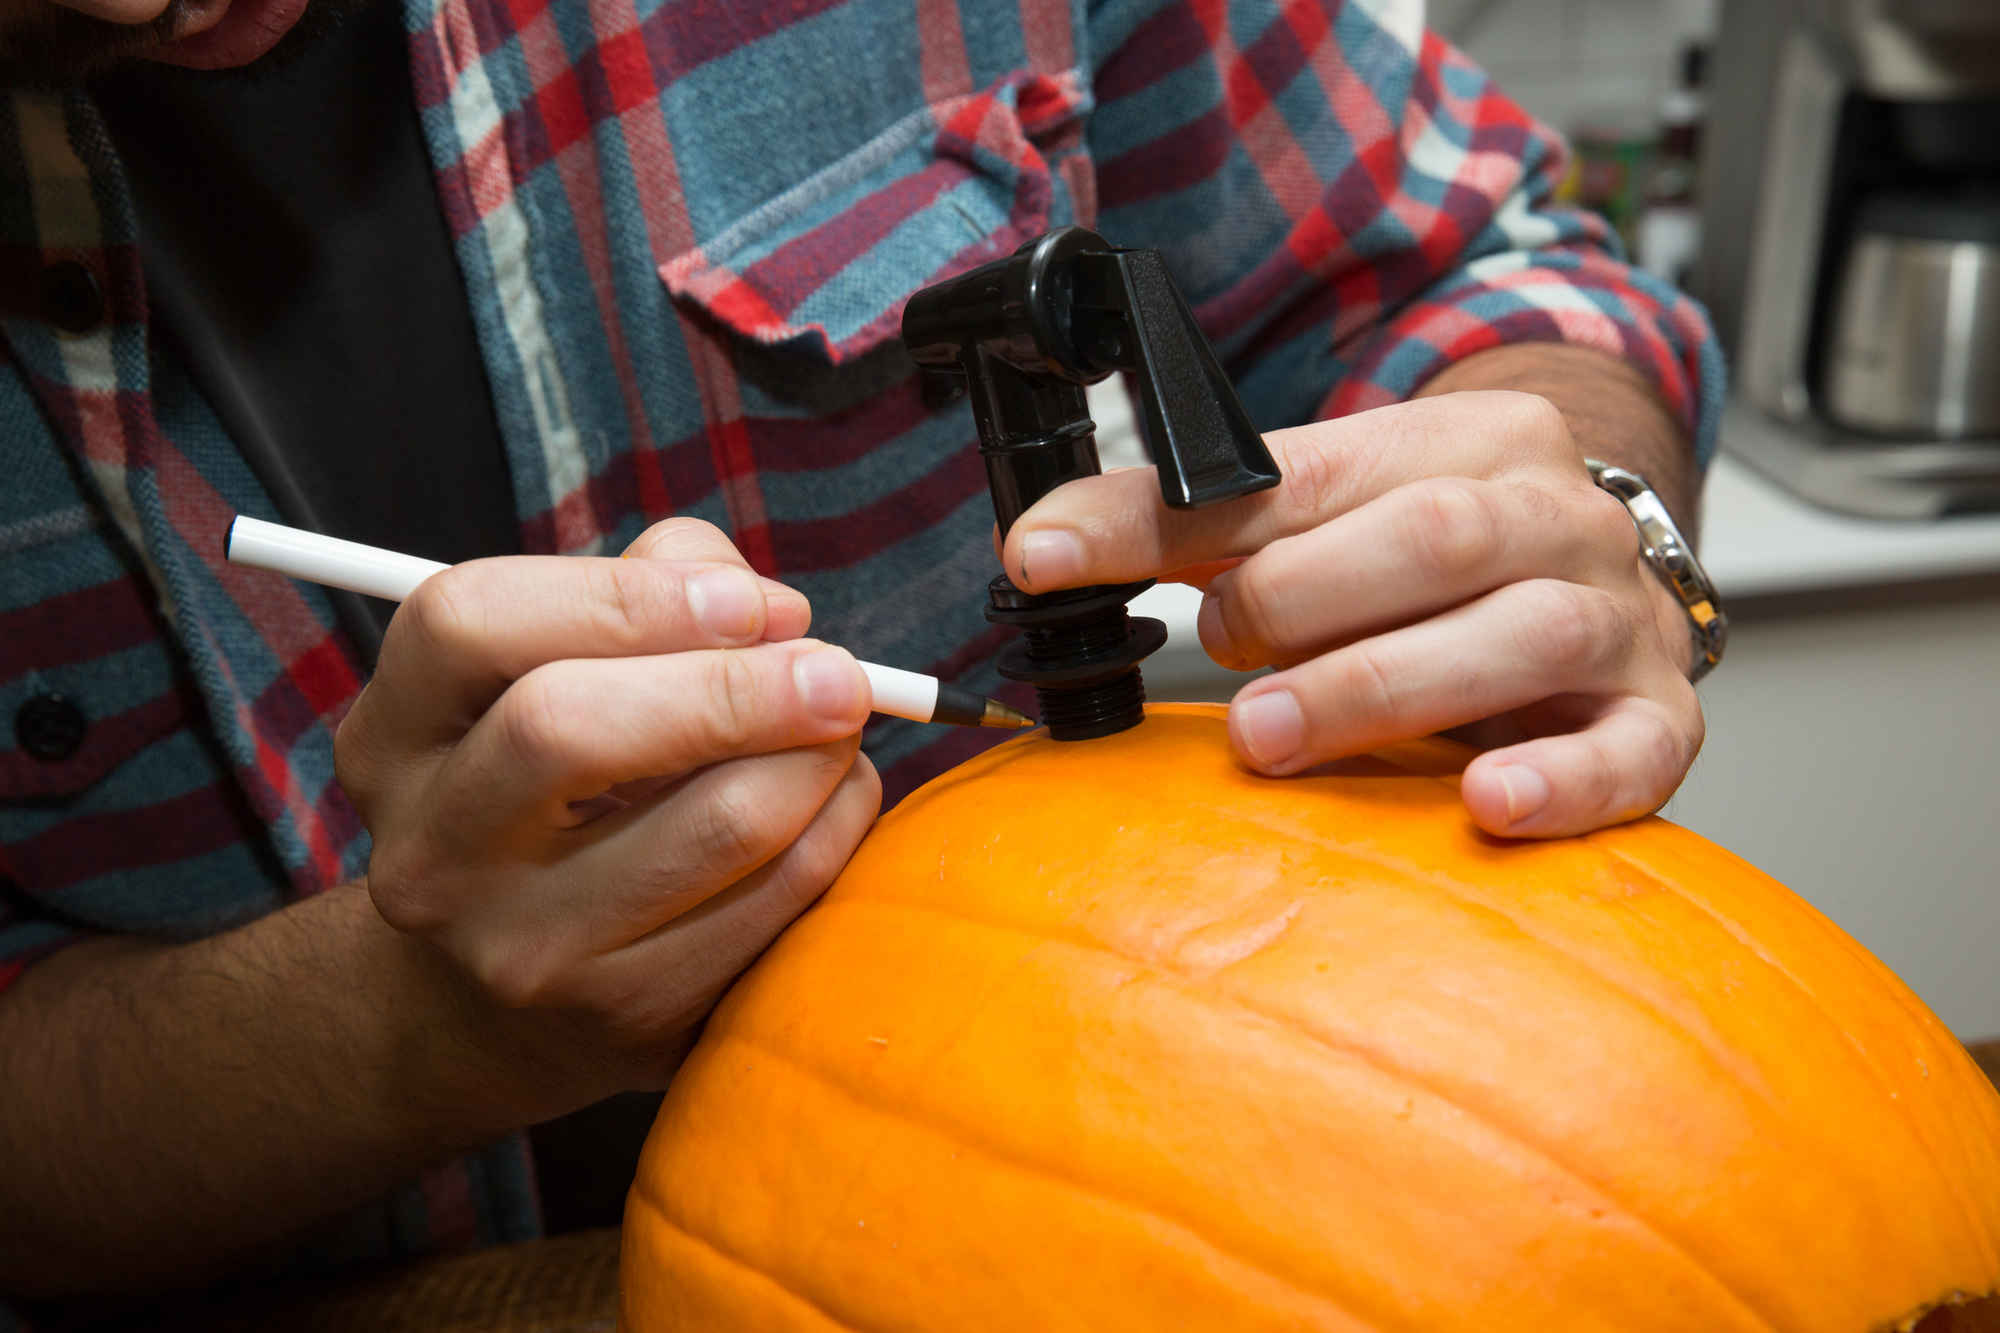
Step 4: Outline the spigot
This will provide a perfect circle for you to cut out, in which your spigot will snugly fit.
More from Thrillist:
Like Thrillist on Facebook: www.facebook.com/Thrillist
Also on HuffPost:
