If you are looking for unique, last-minute gifts, try adding a handmade touch and DIY-ing something special. Hand lettering is a great way to add personalization and thoughtfulness to your gifts. I've compiled 3 simple ideas that you can DIY using hand-lettered elements. The recipient will be thrilled to receive a gift with your personal, heartfelt touch.
1. Custom Mugs
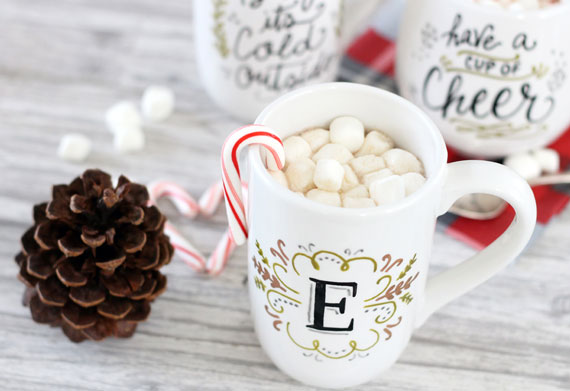
Add your own phrases, monograms, and special greetings to a ceramic mug. I used PaintedByMe markers and ceramic mugs. First, draw the design on the mug. If you make a mistake, simply erase and try again. The mug won't become permanent until you bake it in the oven.
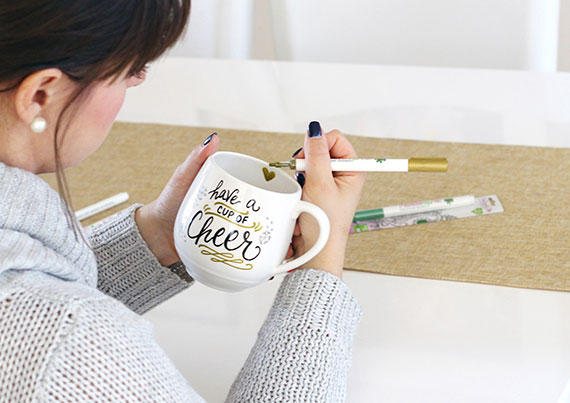
Once you are happy with the design, bake it at 375 degrees for 40 minutes. Be sure to place the mug into a cool, non-preheated oven and allow the mug to heat up as the oven heats up. The same thing goes for cool down. Allow the mug to cool completely in the oven before handling. After PaintedByMe mugs are baked, they are food, microwave and dishwasher safe.

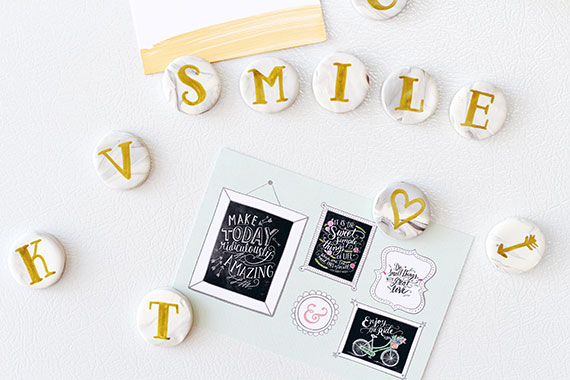
2. Marble Alphabet Magnets
Do you remember those colorful, plastic alphabet magnets when you were a kid? I used to love rearranging them on the fridge. This DIY is a sophisticated, grown-up version of alphabet magnets! They would make the cutest handmade stocking stuffer. You could include the entire alphabet or just the recipient's name.
To make the magnets you will need:
8 oz. bar of white polymer clay (I used Sculpey brand)
2 oz. bar of gray polymer clay
A rolling pin (or something to use as a rolling pin)
Object used to cut out circles in the clay (I used a lid from a cosmetic product since it was the perfect size: about 1.25 inches)
Baking sheet
Parchment paper
Small magnets
First, you will need to warm the clay in your hands to make it pliable. You don't need to start with the entire 8 oz. package of white clay, but be sure you are using a lot more white than gray. This will give the white marble effect without the gray overpowering it.
Twist and pull the gray clay into the white so that it subtly combines. Make sure not to work it too much, so that you get pretty marble streaks. Form the white and gray clay into a ball and roll it out onto a parchment lined baking sheet until they clay is about a 1/4 inch thick.
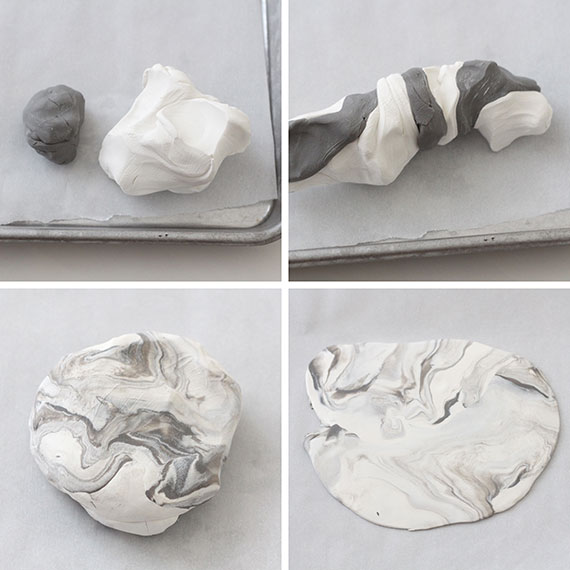
Use a cosmetic cap (or any object you can find to use as a cutter) and cut out your circles in the clay. You will need to twist the caps to be sure the clay releases and doesn't get stuck inside.
Lay out your circles on the parchment and bake in the oven according to the instructions on your clay package. (Sculpey clay is baked at 275 °F for 15 minutes per 1/4 in. thickness.)
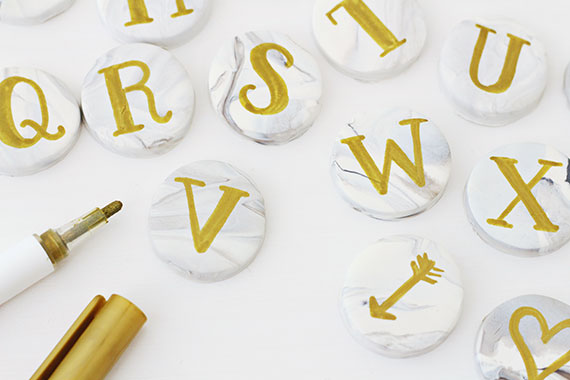
Once your marble circles are removed from the oven, and cooled completely, use a gold paint pen to draw your letters! I chose a serif lettering style and also added some fun heart and arrows to a few of them. Adhere magnets to the back of the marble circles using glue or purchase circle magnets that already have adhesive on them.
3. Hand-Lettered Notepads
Making your own notepad is easier than you think and it's fun to add hand-lettered encouragements and messages to the pages.
You will need:
Paper
Light Cardboard (cardboard from a cereal box works well!)
Paper Cutter
Rubber Cement
Brush markers (I used Tombow)
If you are ambitious, you can opt to hand-lettered a different phrase onto each page. This is great if you are recycling pages for your notepad. Another option is to letter a few phrases, digitally convert them, then print out as many pages as you need. I used quartered 8 1/2" x 11" sheets.
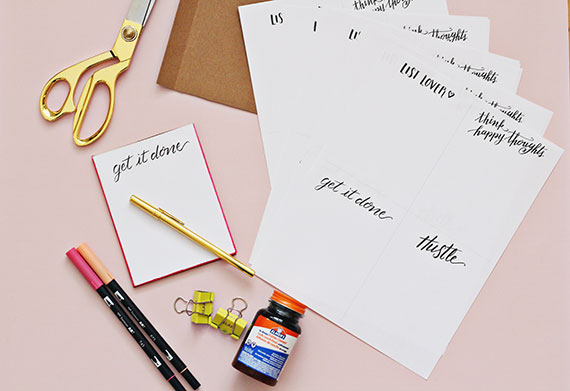
Print the pages and cut them to size using a paper cutter. Also, cut the cardboard backing to size and assemble the pages with the cardboard backing. Holding the end tight with clips, brush a few coats of rubber cement on the top, being sure to saturate the entire end. Once it dries, you can use a marker to color the edges of the notepads for a fun pop of color.


I hope these ideas inspire you to add a little hand-lettering to your holiday gifts!