Everyone is getting a little restless for spring and judging by the weather it is not going to take that much longer -- spring is right around the corner! Even though many of us are in areas where it is still too cold to start planting outside, why not turn your home into a seed laboratory for immediate spring satisfaction. There are all kinds of seeds out there to choose from, whether you are a veggie gardener, flower person, herb enthusiast or all of the above. It can be a fun weekend project, very easy on the wallet and a creative experiment for us botany geeks out there.
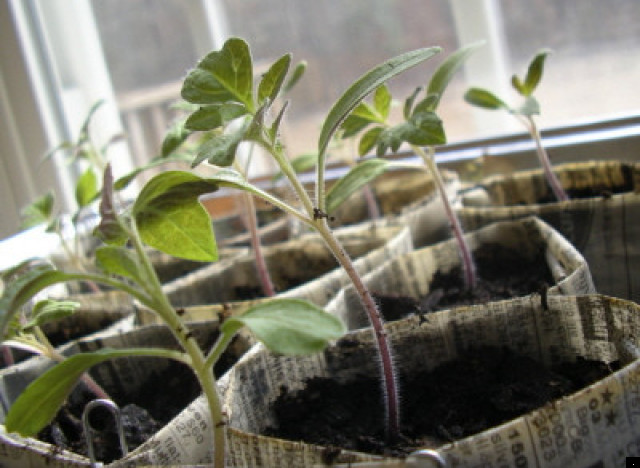
Flickr photo by jspatchwork
When perusing the variety of seeds make sure you read the package for instructions. Some seeds may require a period of pre-chilling or soaking while some of them could just be sprinkled on top of your seed starting mix or planted individually. The amount of seeds in each package might appear overwhelming but you can always save some for next year by keeping them cool and dark. Keep in mind that not all seeds will germinate (to no fault of your own) and if they do germinate they might not survive. Plant more than you are planning on moving outside and if your green thumb and luck prevail the extra transplants always make for a nice mother's day gift. Most seed packages will have an expiration date or packaged date on them -- the fresher they are normally the greater germination rate they will have. Some companies have also tested germination rates of said seeds and will list it on the package.
There are many seed starting flats or containers available that you can purchase but you can also be DYI and recycle household vessels like egg cartons. If you do end up choosing to recycle, make sure the used containers are disinfected by soaking 1 part bleach to 10 parts water. It is best to use a soilless mixture, which is predominantly sphagnum peat moss, for your seed starts because of its inherent good drainage and sterile properties. Seed starting mix is available at most garden centers or you can get creative by making your own.
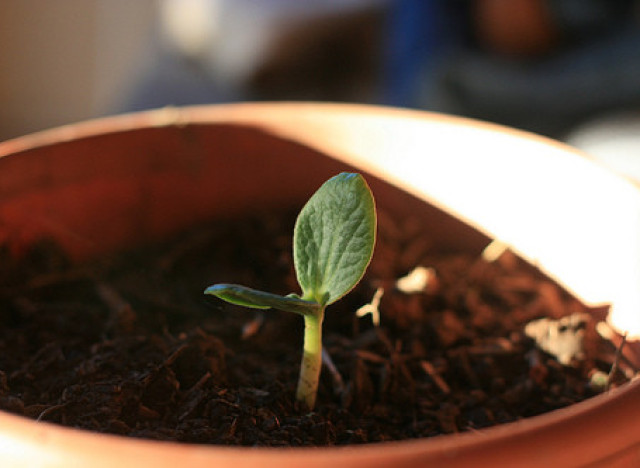
Flickr photo by joe.lipson
When your containers are prepared and filled, cover the seeds with some more mix checking the seed package for planting depth. Generally the smaller the seed, the less mix on top. Moisten the soil and cover them loosely with some sort of plastic or clear top to hold in heat and moisture. Place your seed starts in a warm place away from drafts and check them daily to make sure they are not drying out and at the same time not wet. Most seeds do not need to be in direct sunrays until they start to grow. Make sure there is air circulation under your cover from time to time so that mold does not develop and when you start to see life you can remove the cover. The first signs of green popping up through the soil can be pretty exciting but do not be too brazen and assume that they are ready to be transplanted. When you see what looks like the first set of leaves you can start gradually moving them to a light source. That 'first leaf set' is actually not leaves at all, but instead a leaf-like structure that is part of the seed continuing to feed the plant until the true leaves appear. The 'false leaves', or cotyledons, will wither as the actually leaves form. By time you see the true leaves you should be giving your seedlings as much light as possible, if you have a grow light now is a good time to break it out of the closet and use it. When the true leaves come out you can start fertilizing and it is now safe to move them. If you were lucky enough to have multiple seed starts in one pot, go ahead and separate them into their own homes but be gentle as to not destroy the fragile root system.
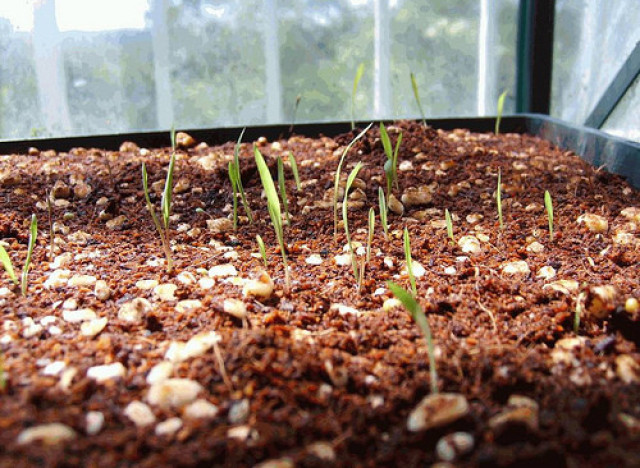
Flickr photo by John Tann
Just as the weather starts to turn and people are once again putting on their flip flops and getting out the sunglasses, you can start hardening off your plants for the big move outside. Gradually introduce them to their new outdoor home by moving them out for more time day by day until they are ready to make the permanent move. You will be ahead of the game and have a certain satisfaction that you started from scratch. Happy planting and happy Spring...soon...soon.