Thinning sucks. It sucks in hair and it sucks in gardening.
First of all, it's completely antithetical to the process of growing and nurturing things. You don't raise four kids, keep them warm and give them plenty of light and water only to pick just the strongest one to send to kindergarten. (Or do you? I don't know, I'm not a parent).
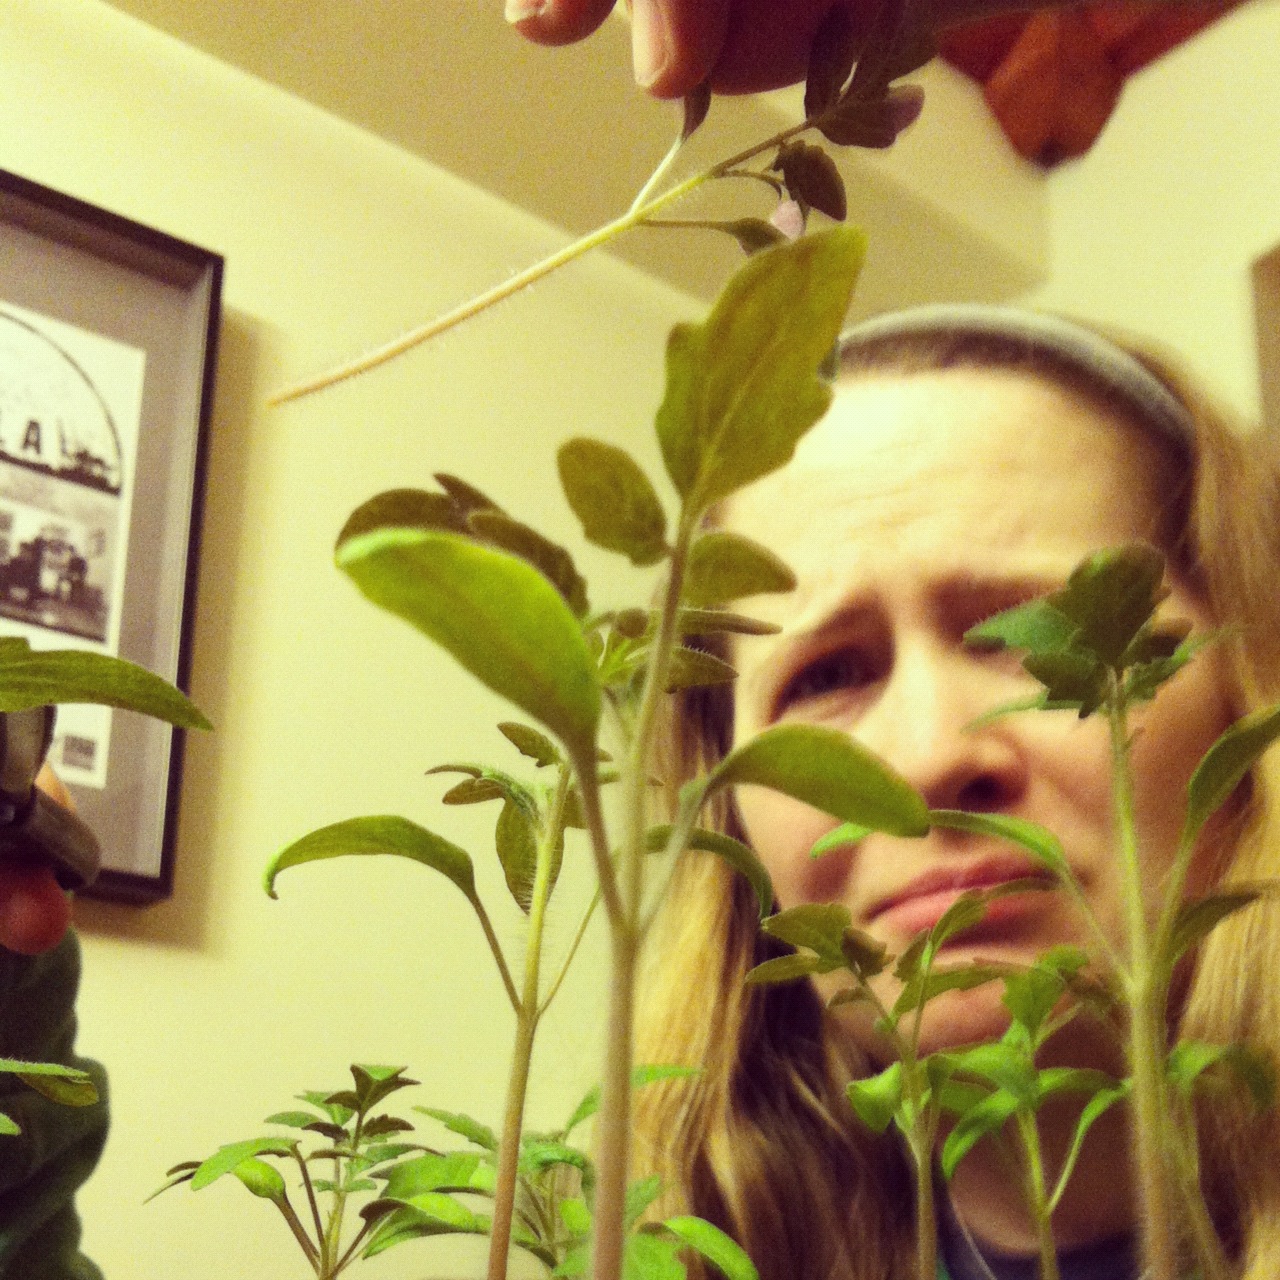
Second, it's nerve-wracking. Which is really the best seedling in the group? The tallest, the stoutest, the one with the most leaves? What if the one you pick has some hidden flaw that's not yet perceptible? What if you keep the evil twin and discard the one who would have taken care of you when you're old?
Nevertheless, crowded seedlings won't flourish, and since seed isn't perfect you always have to sow more than you plant to keep. So you really have no alternative but to thin. In fact, it's such an unbearable necessity there's even a tomato called Sophie's Choice. (I'm assuming, of course, the name is the work of a frustrated, green-thumbed movie buff and not just a seed saver named Sophie).
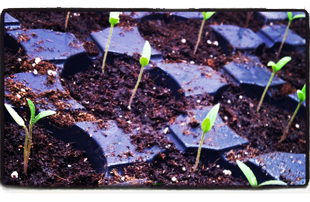
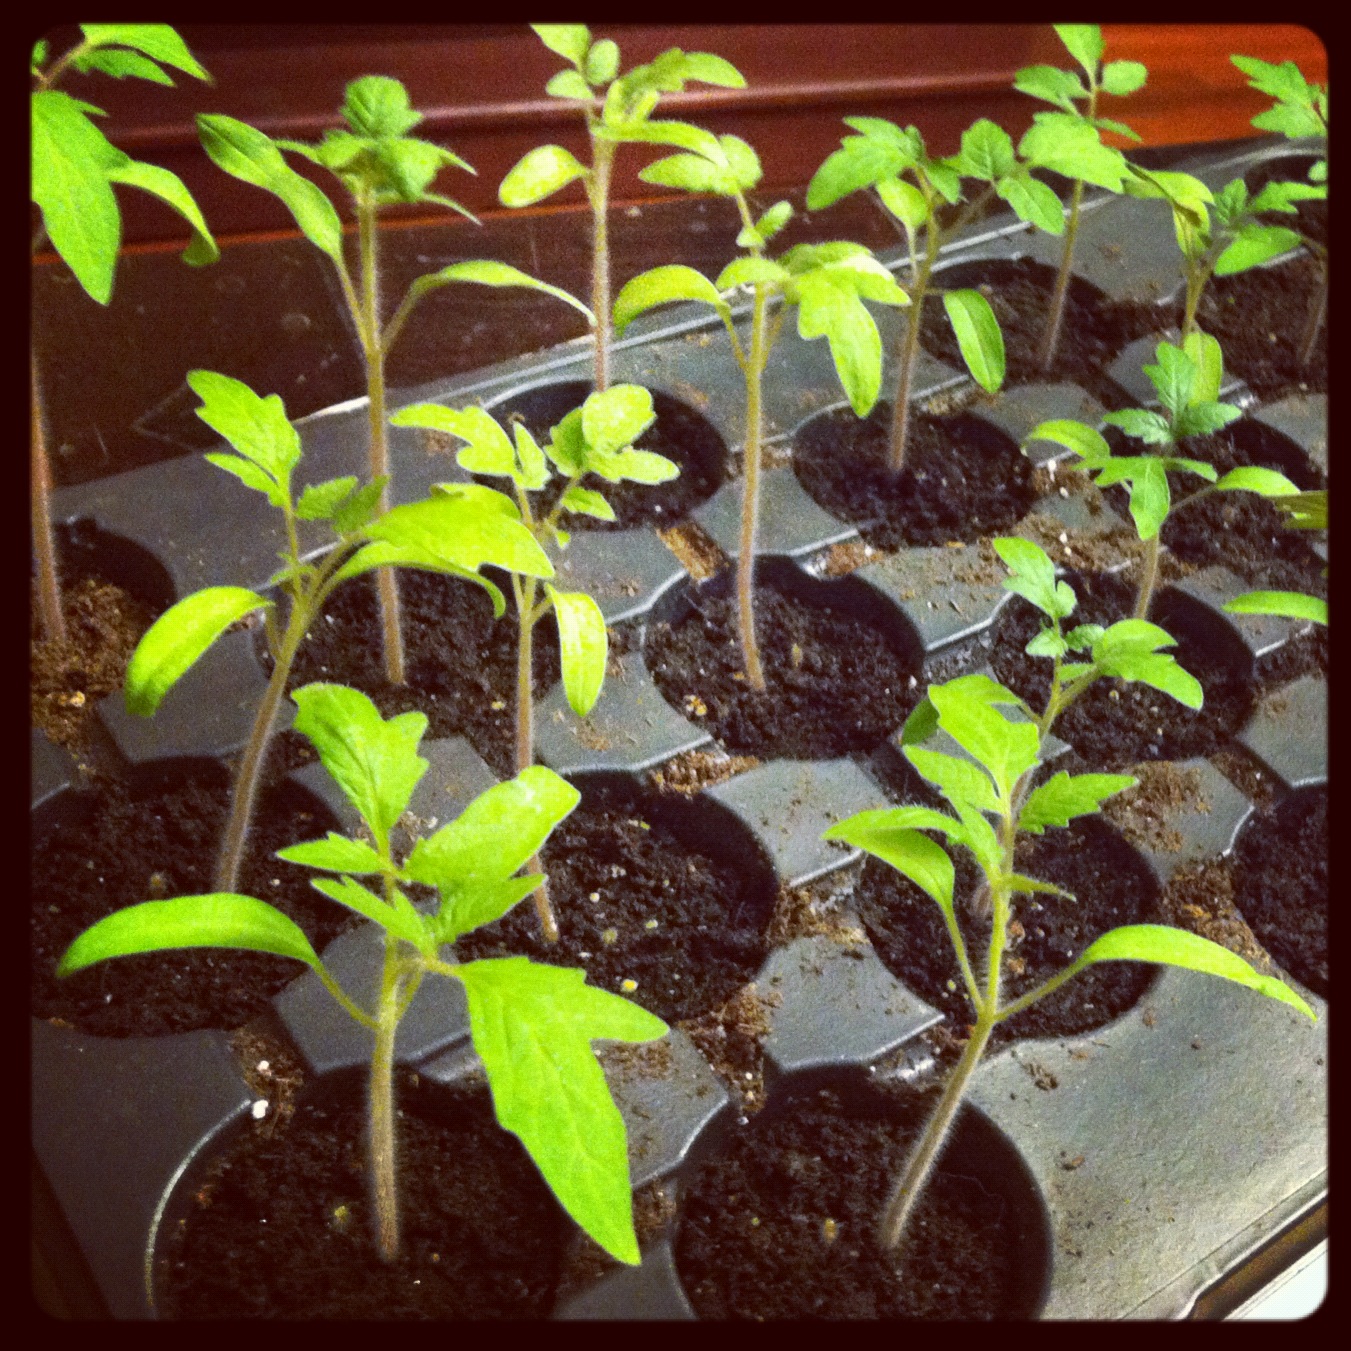
I sowed two tomato seeds in each pod of my tray. Once they had at least two sets of true leaves (the first two to come up don't stick around for long, they're just there to get things started... sort of like nature's fluffer) it was time to thin them.
"But we ALL love you and want to be friends!"
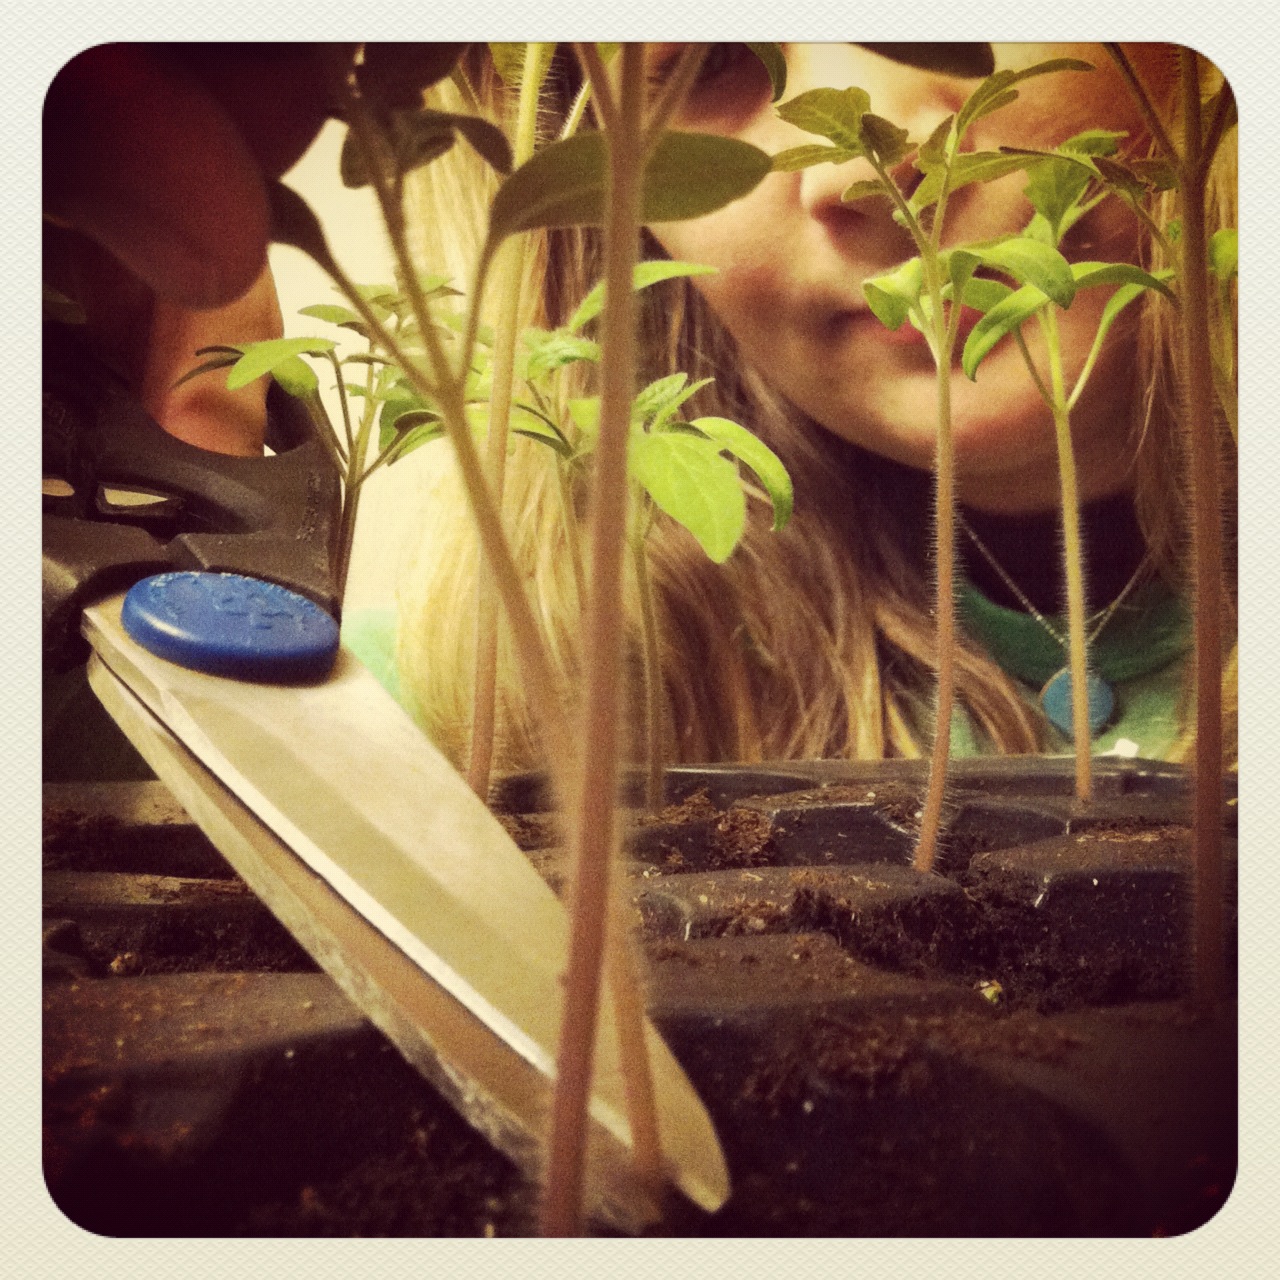
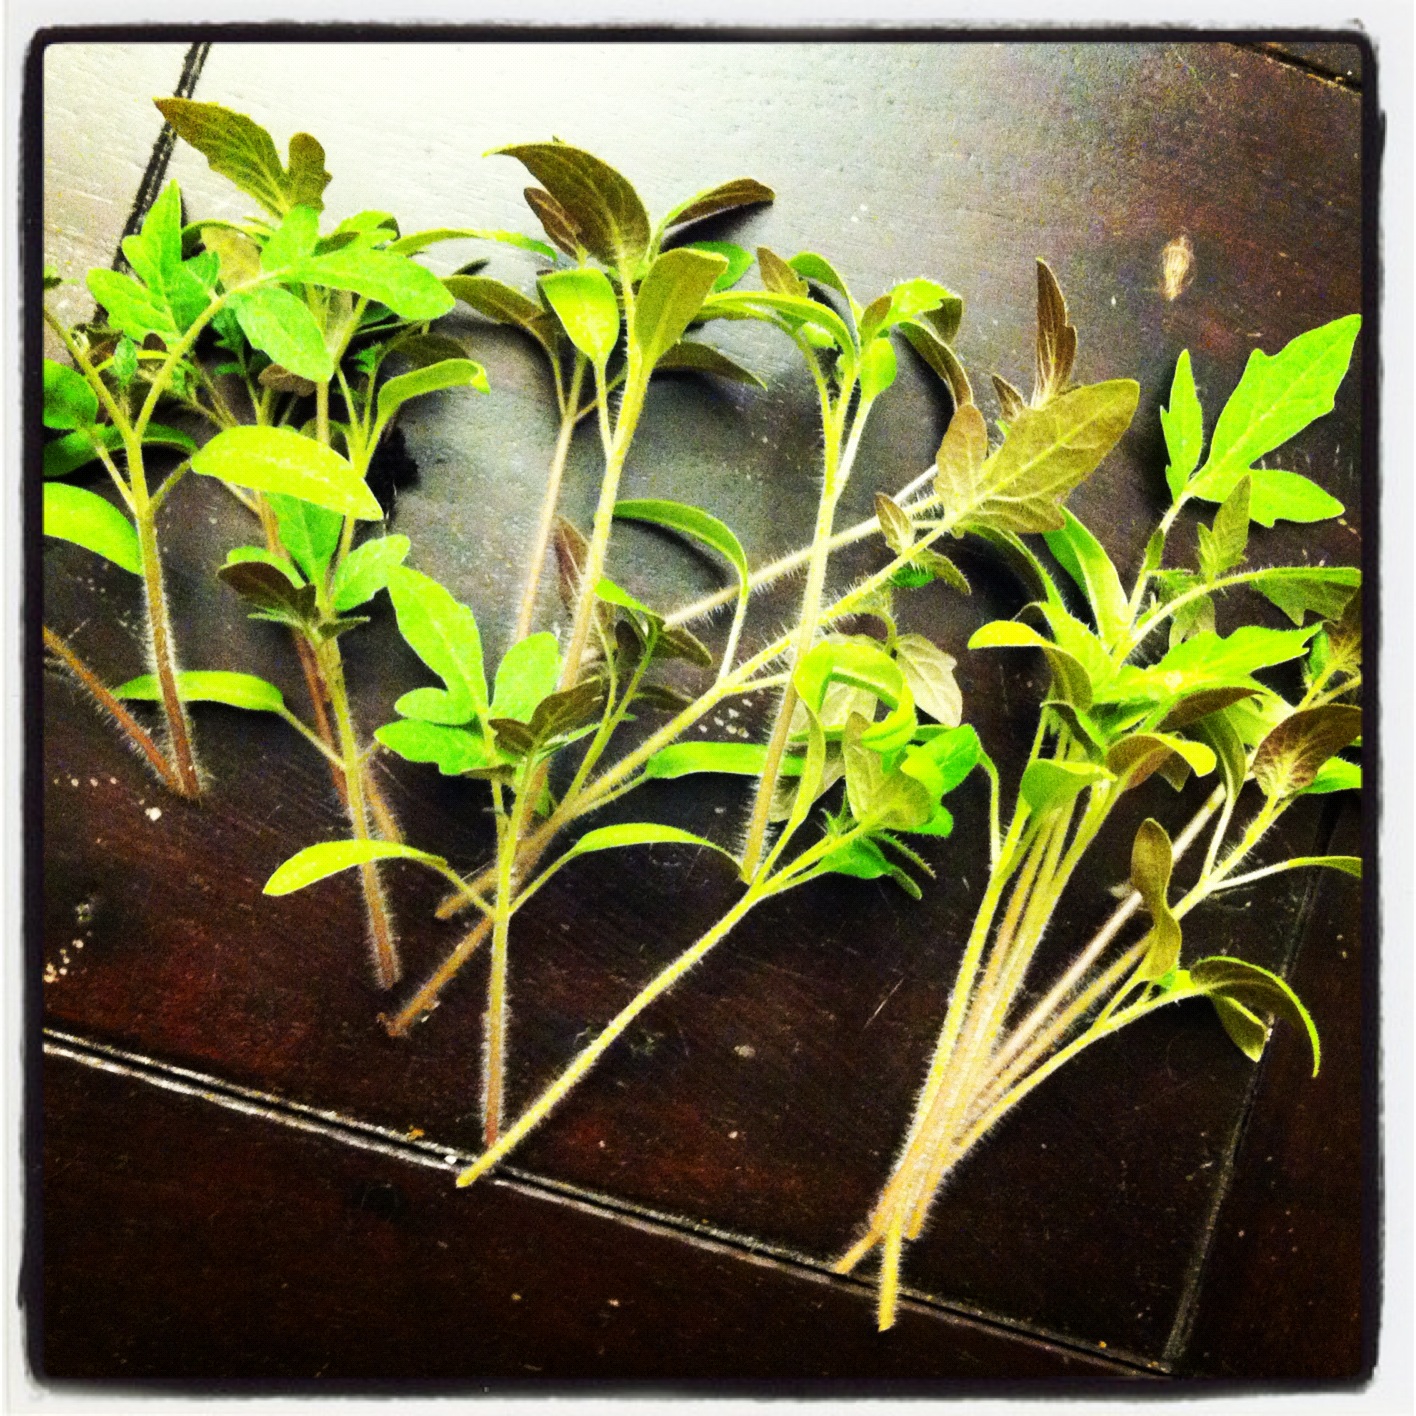
You can pull the whole seedling right out, but you run the risk of dislodging the keeper, so I opted to just cut my victims off at the soil line.
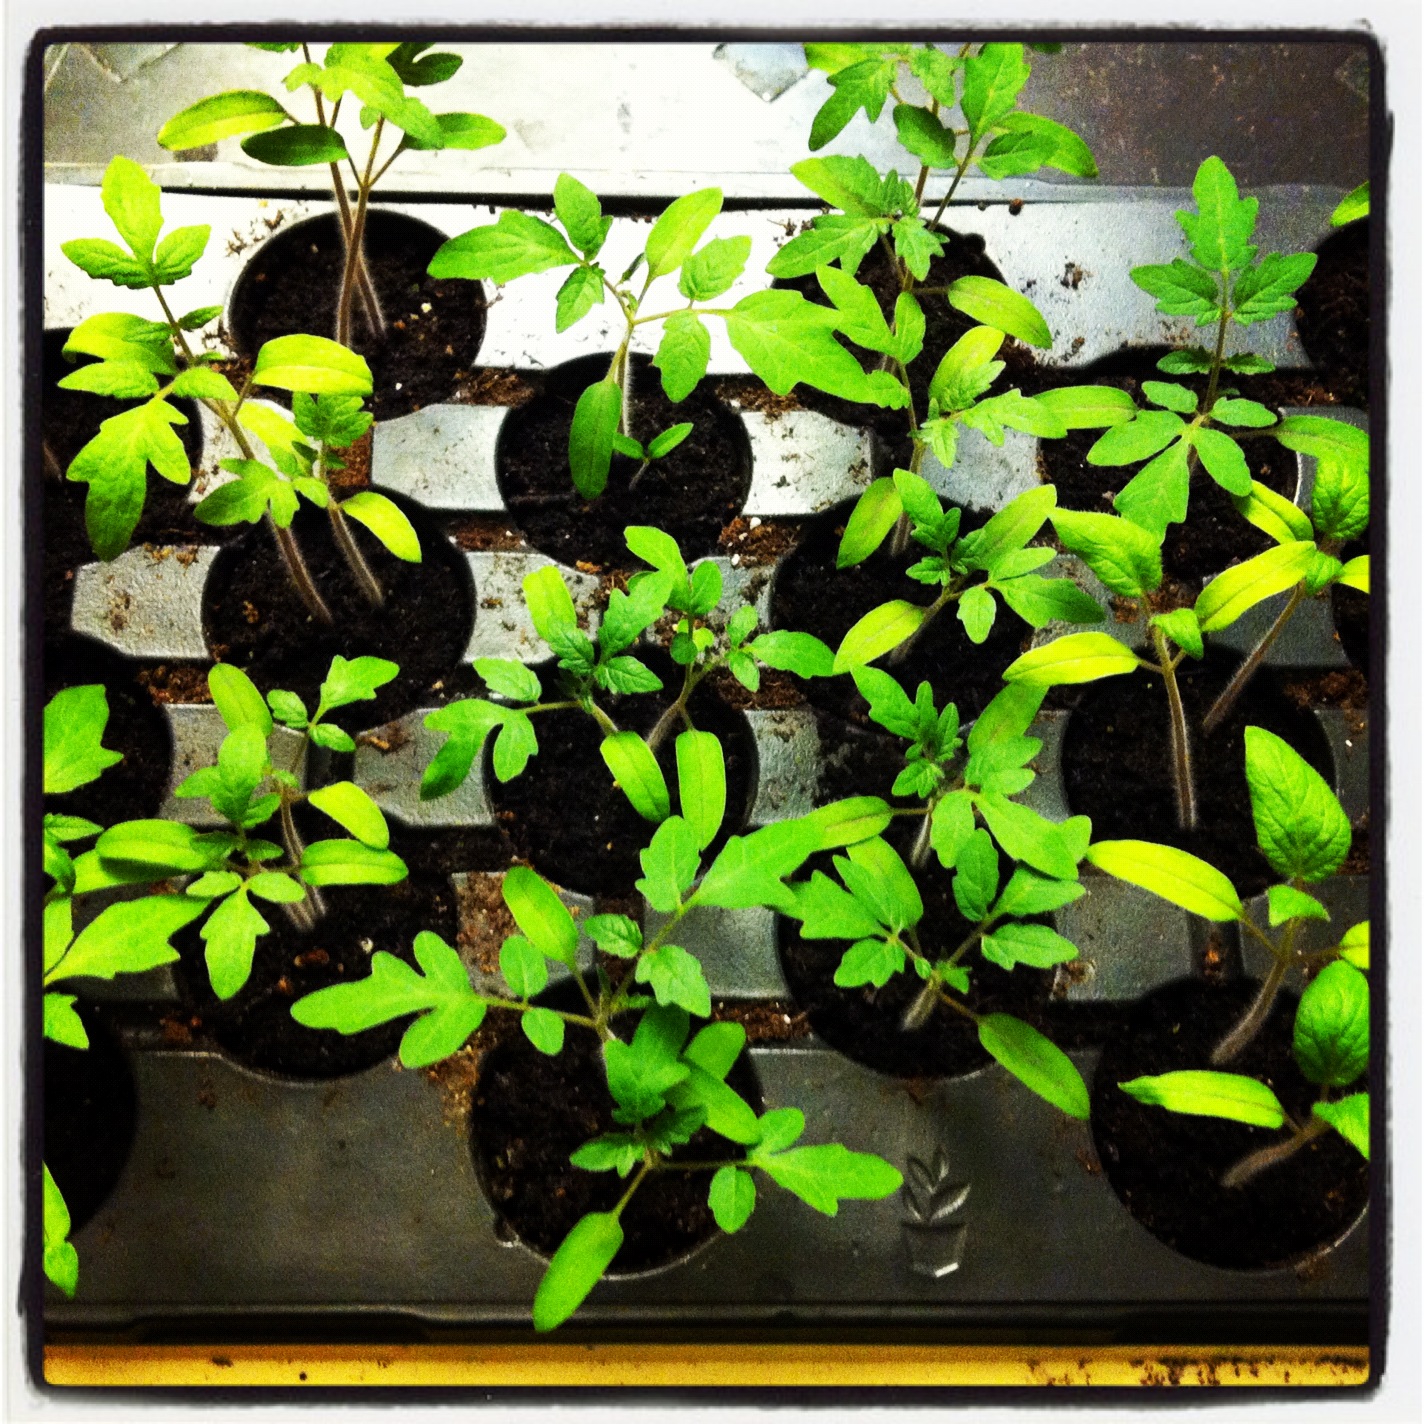
We're growing 6 different kinds of tomatoes; after the thinning we're left with 4 of each kind. We'll probably only plant 1-2 out in the garden, so this is just the first culling. Fortunately, by the time we're next ready to reduce our number of plants, they'll be big enough to pawn off on our friends... no need for any wet work.
"Where'd the rest of our friends go?"
In the past I've tried moving the thinned seedlings to other pots, but at this age, they just seem too tender to make the move. It's like with Mrs. Brisby's son Timothy in "The Secret Of NIMH"... you have to move the whole house because he's just too weak to make the trip on his... I'm giving up on this analogy right now.
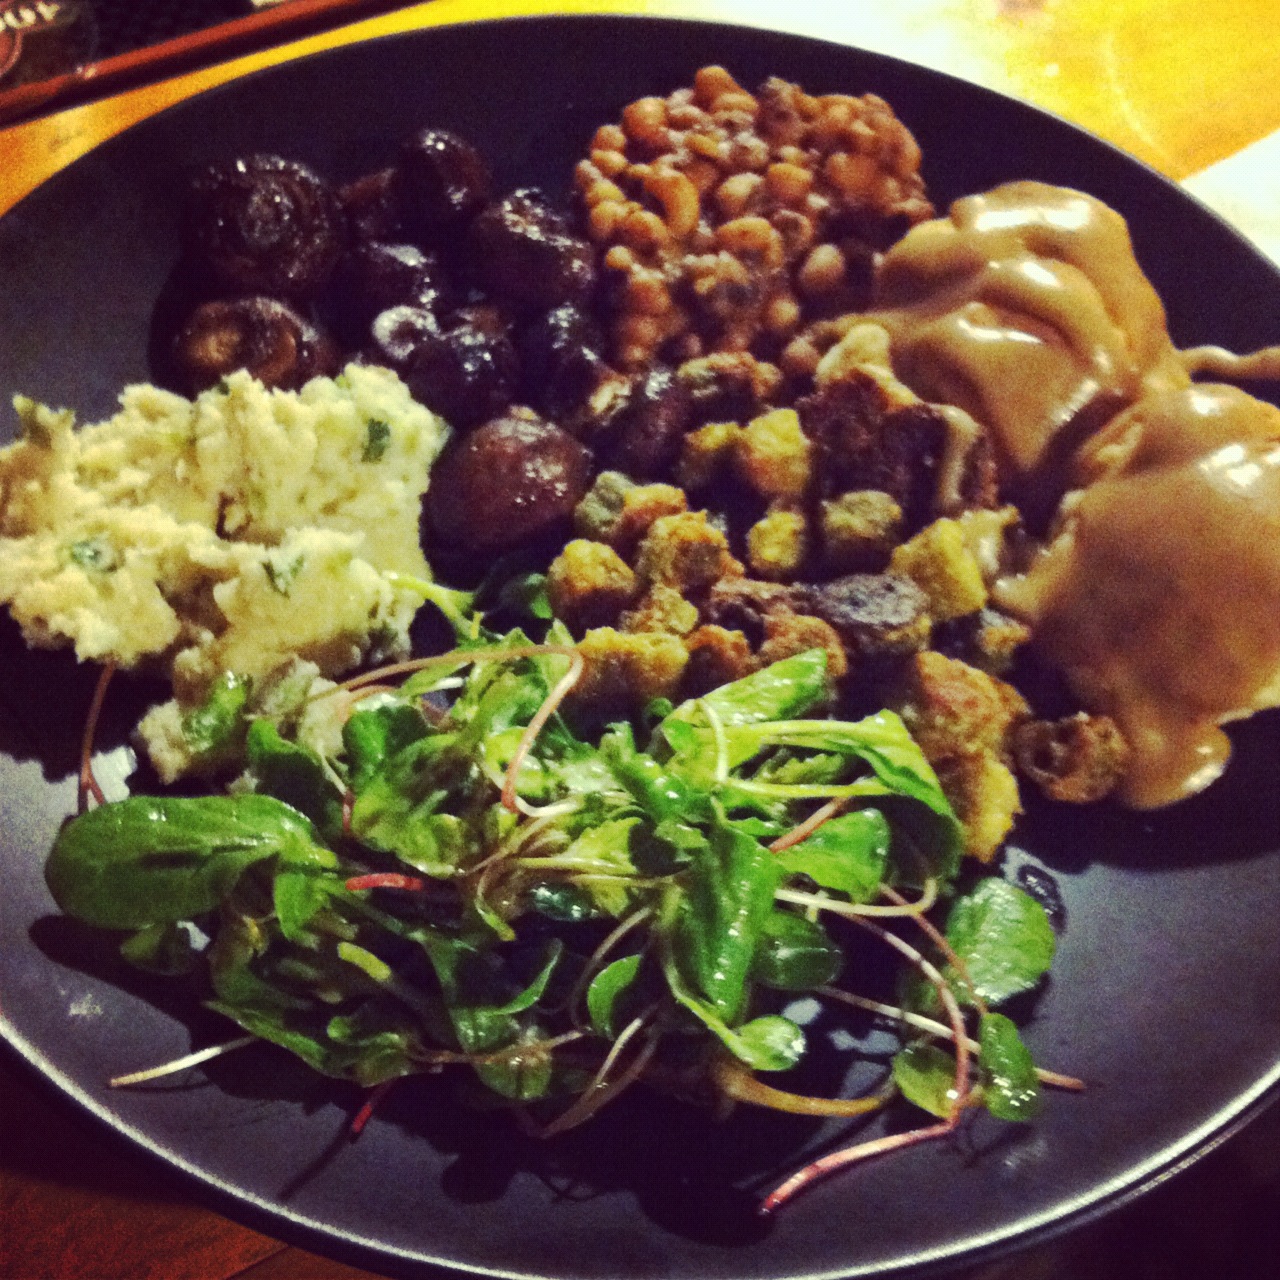
Depending on how you look at things, there is one happy outcome of having to thin tomato seedlings. The tiny plants smell and taste delicious, making them perfect for tossing into salads. So you don't have to simply chuck them in the trash... you can eat them. Murder, and then eat them. Just like all the best people.
Veggie dinner featuring tomato seedlings in the salad.
When life hands you murder, make murderade.
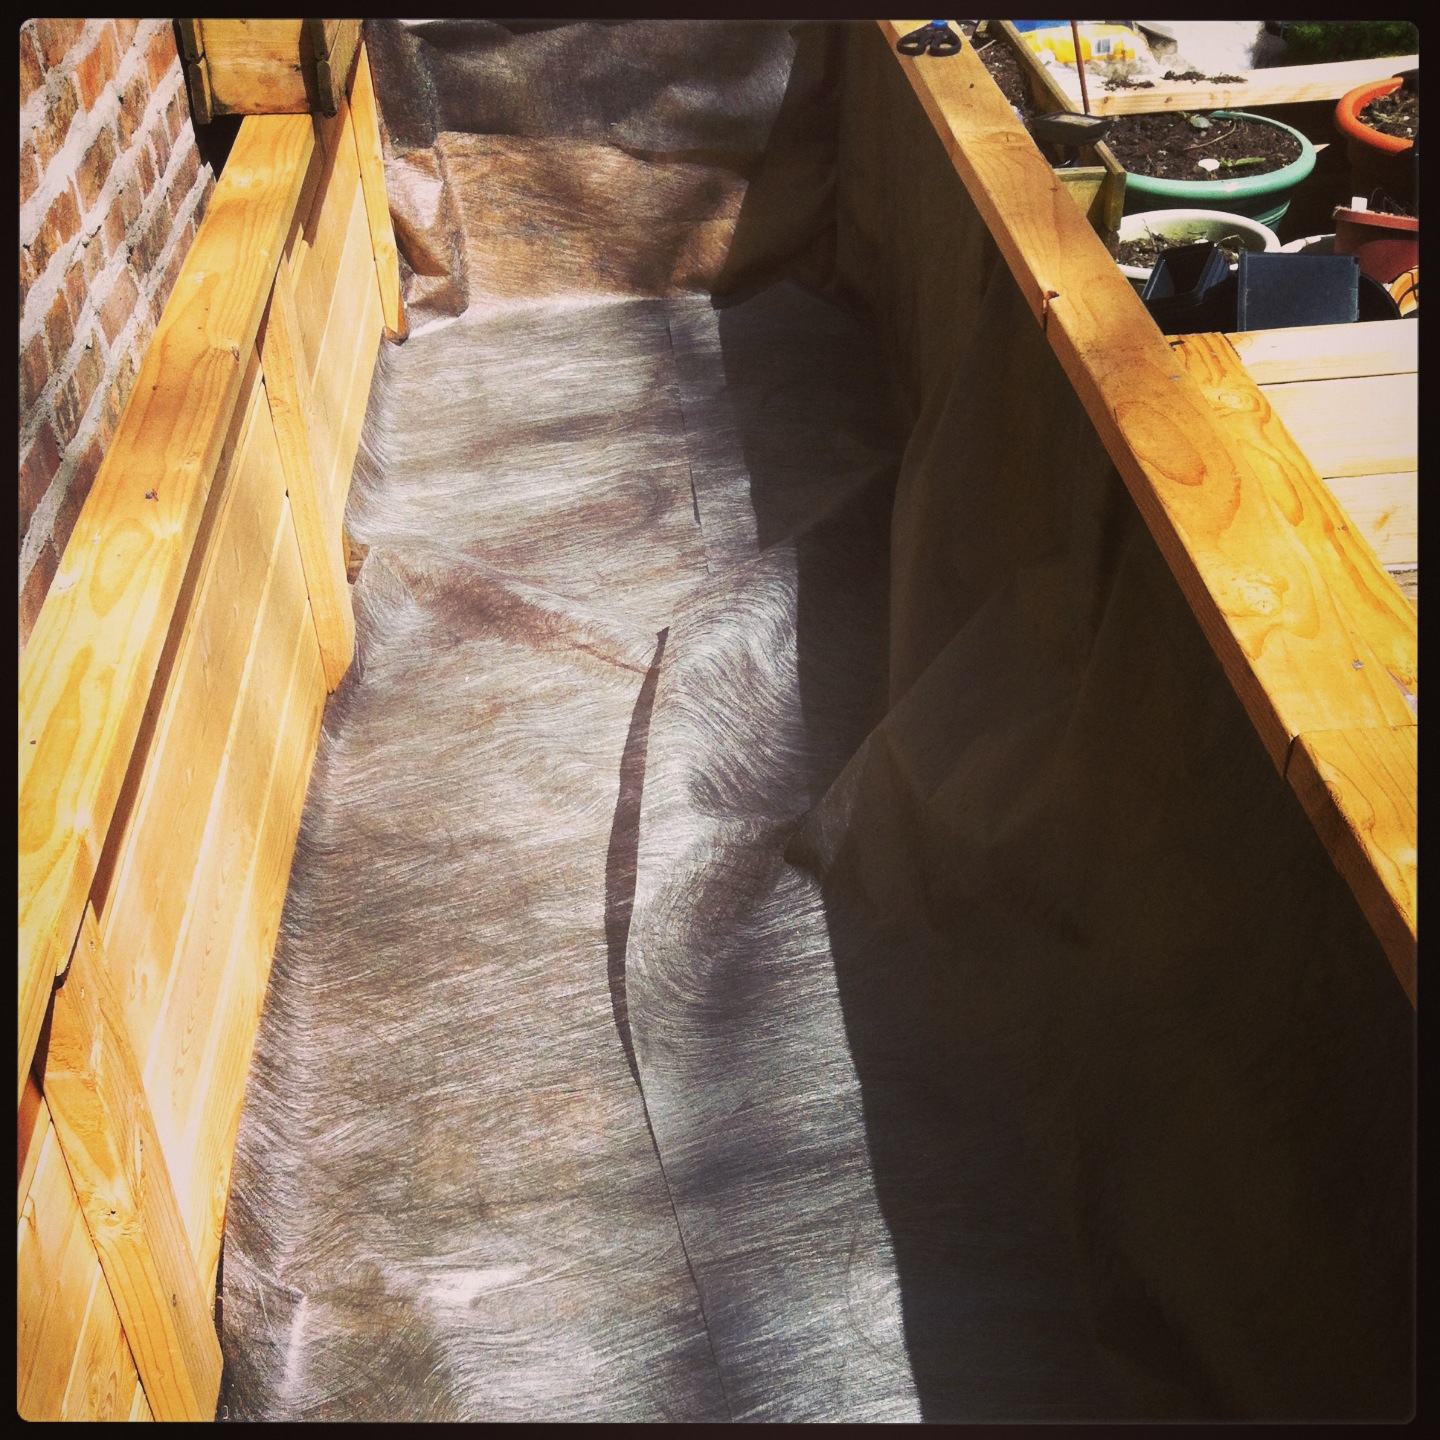
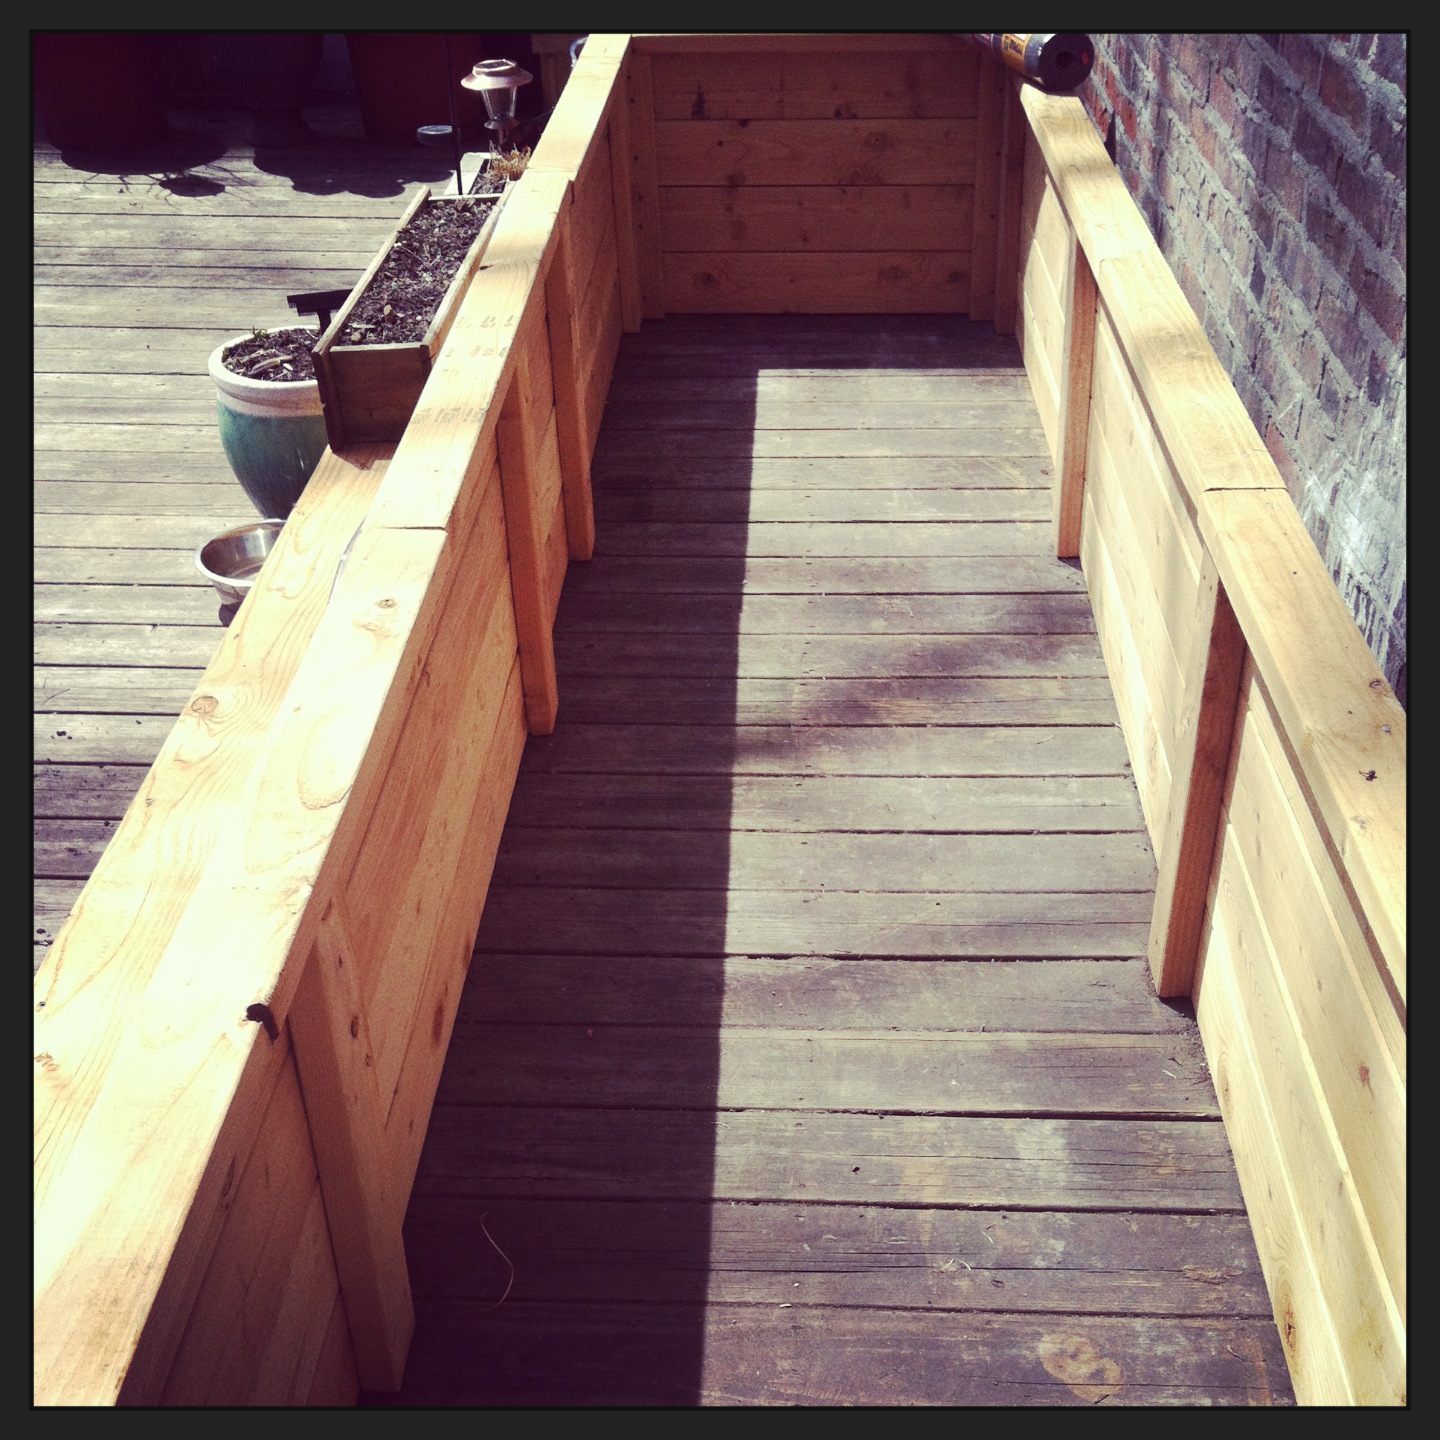
All our seedlings have now been thinned and things are humming along indoors. Here's a quick update on where the garden is. My roommate Corey finished building our two-part vegetable bin.
After that, I ordered 100 30-lb bags of Great Gardens compost, made by LICompost on Long Island, and 28 bags of gravel. Corey and my husband Sean carried all the bags from our street to the backyard and did all the heavy lifting for the 3-step process below (apparently, I owe them dinner forever for this):
Step 1: I lined the inside with landscape fabric
This will help keep roots in check and slow the inevitable rotting process of the wooden bin. We should get 5-10 years out of this thing with the help of the fabric.
Step 2: We added 3 inches of gravel for drainage
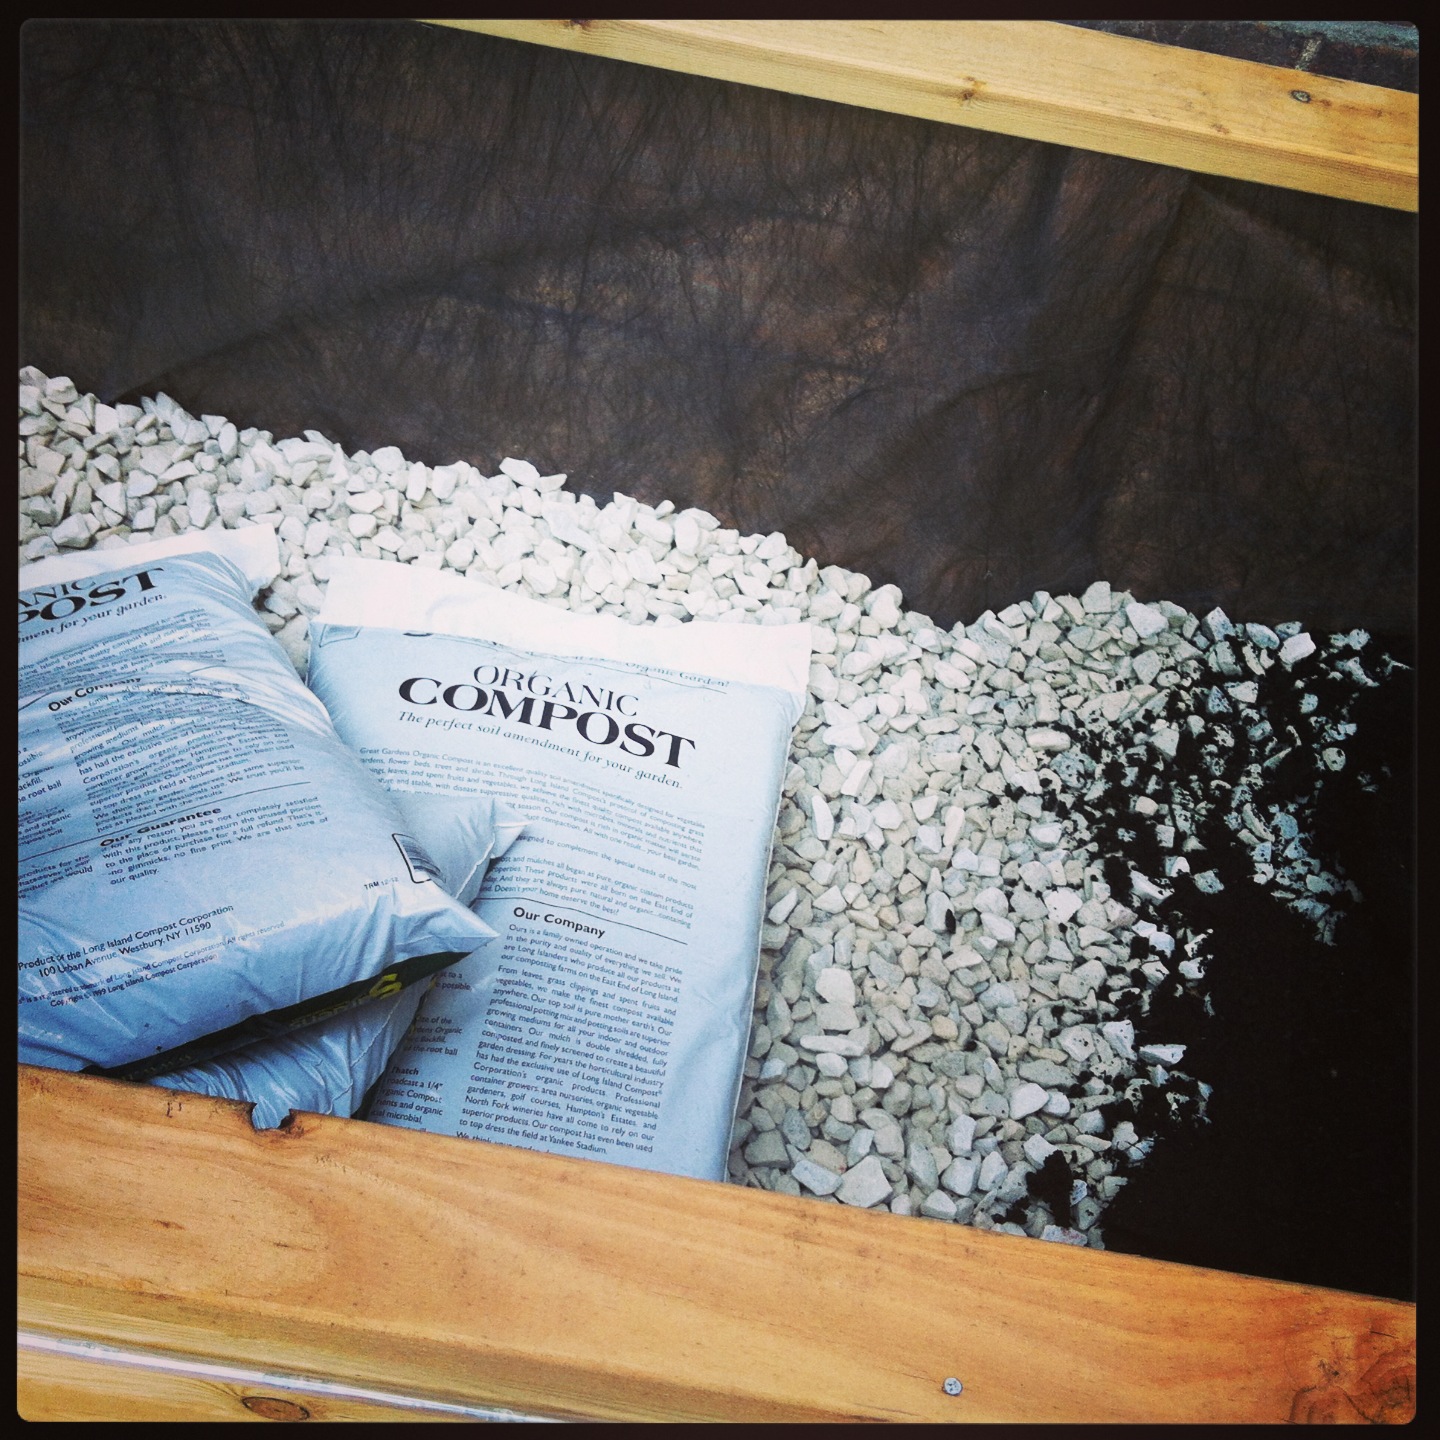
The gravel makes it easy for water to escape through the bottom of the planter.
Step 3: We filled the bin to the top with compost
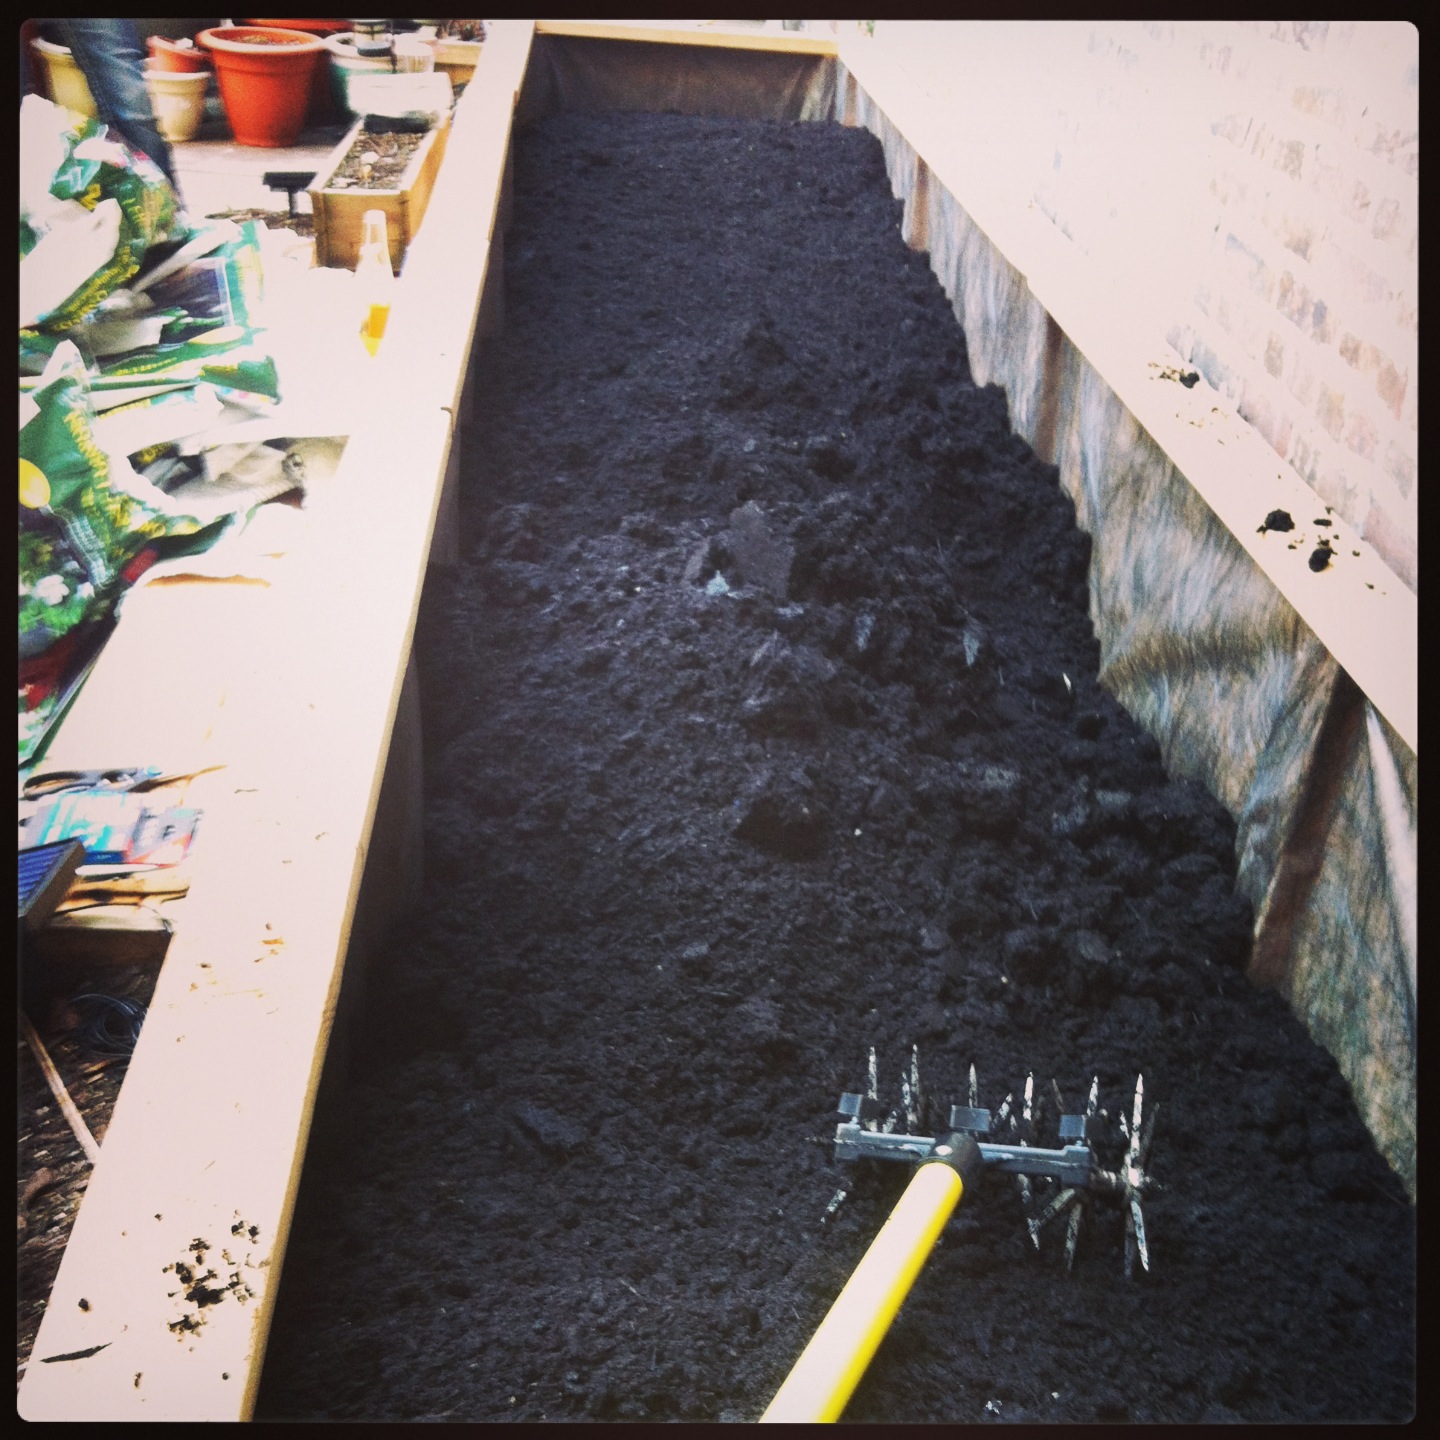
We want to be able to amend the planting medium in here every year, rather than discarding and replacing it, so compost was the best choice. Plus, plants love it.
This left us a few inches shy of the top, so I'll probably have to do another smaller order of compost and several bags of mulch to help retain water. But basically, at this point, we're ready to plant.
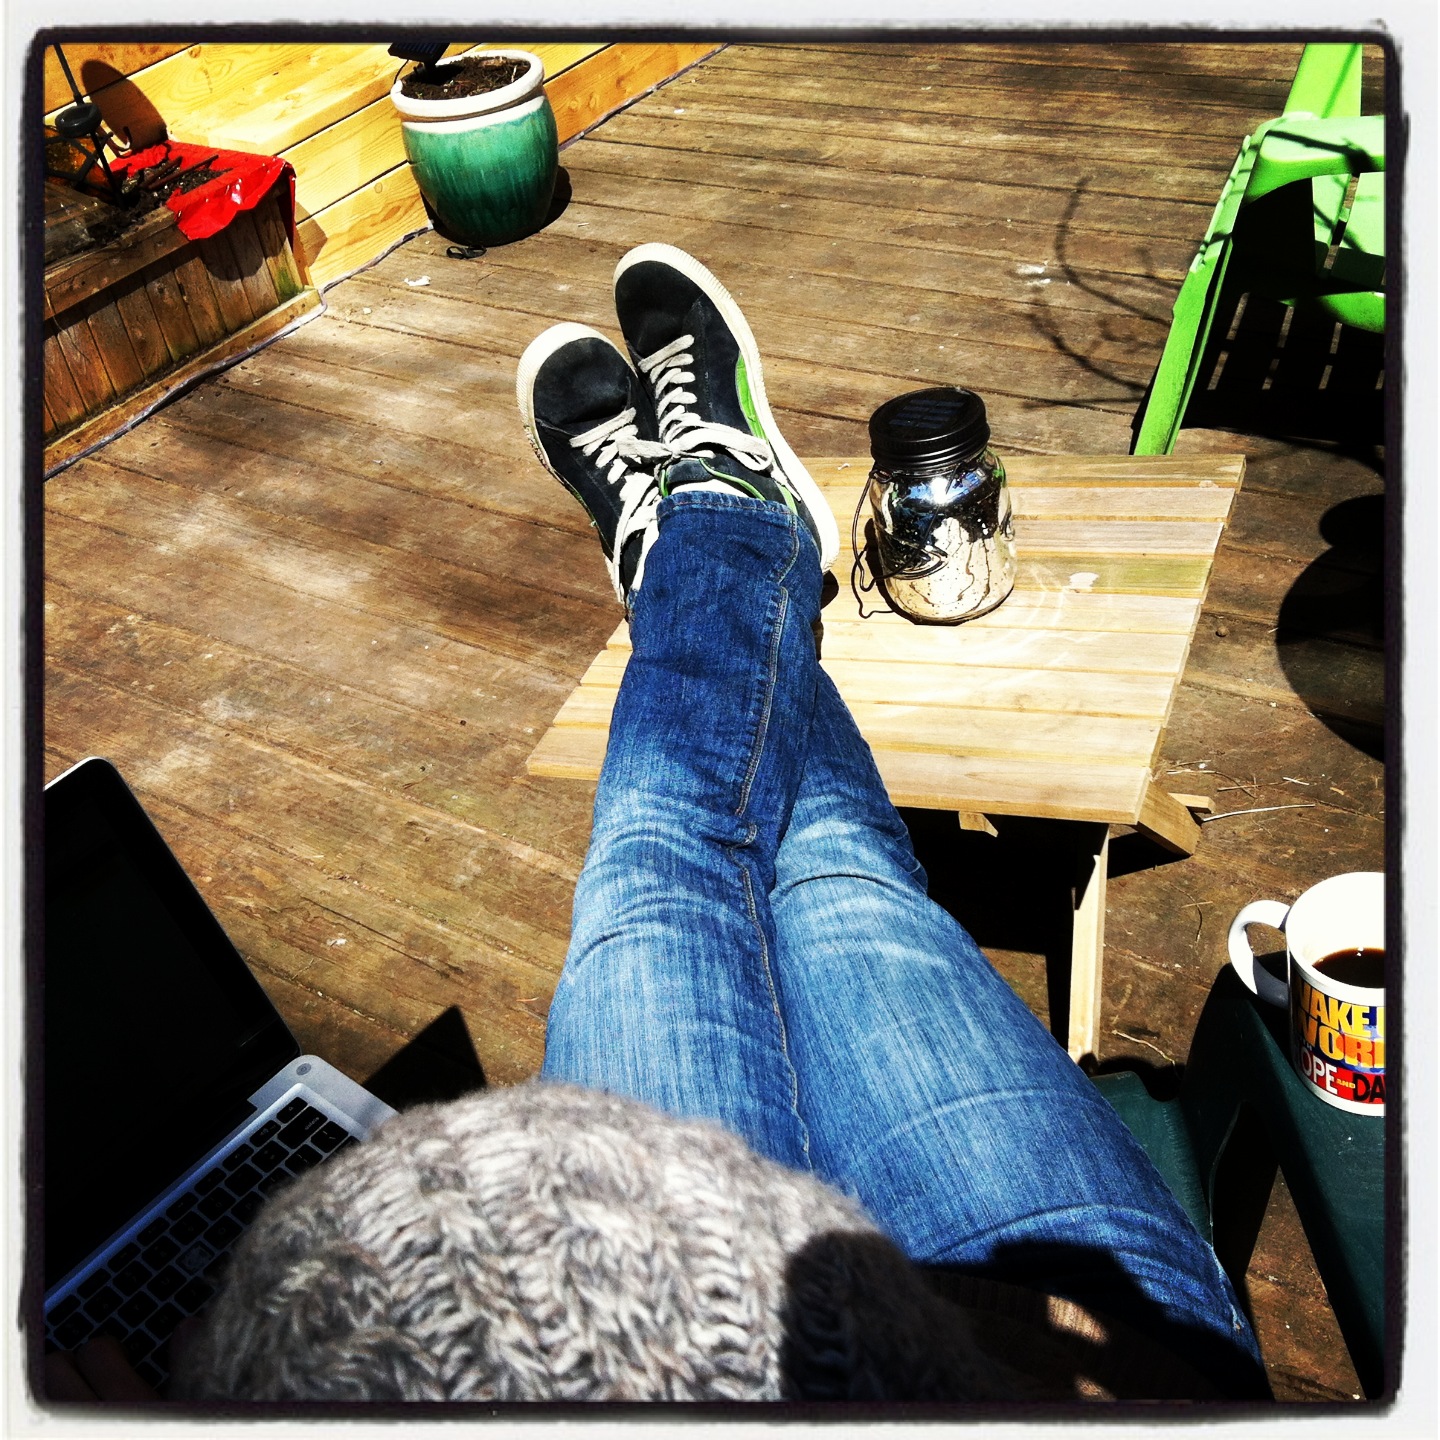
Even with nothing really growing yet this already my favorite place to work.
Our 2024 Coverage Needs You
It's Another Trump-Biden Showdown — And We Need Your Help
The Future Of Democracy Is At Stake
Our 2024 Coverage Needs You
Your Loyalty Means The World To Us
As Americans head to the polls in 2024, the very future of our country is at stake. At HuffPost, we believe that a free press is critical to creating well-informed voters. That's why our journalism is free for everyone, even though other newsrooms retreat behind expensive paywalls.
Our journalists will continue to cover the twists and turns during this historic presidential election. With your help, we'll bring you hard-hitting investigations, well-researched analysis and timely takes you can't find elsewhere. Reporting in this current political climate is a responsibility we do not take lightly, and we thank you for your support.
Contribute as little as $2 to keep our news free for all.
Can't afford to donate? Support HuffPost by creating a free account and log in while you read.
The 2024 election is heating up, and women's rights, health care, voting rights, and the very future of democracy are all at stake. Donald Trump will face Joe Biden in the most consequential vote of our time. And HuffPost will be there, covering every twist and turn. America's future hangs in the balance. Would you consider contributing to support our journalism and keep it free for all during this critical season?
HuffPost believes news should be accessible to everyone, regardless of their ability to pay for it. We rely on readers like you to help fund our work. Any contribution you can make — even as little as $2 — goes directly toward supporting the impactful journalism that we will continue to produce this year. Thank you for being part of our story.
Can't afford to donate? Support HuffPost by creating a free account and log in while you read.
It's official: Donald Trump will face Joe Biden this fall in the presidential election. As we face the most consequential presidential election of our time, HuffPost is committed to bringing you up-to-date, accurate news about the 2024 race. While other outlets have retreated behind paywalls, you can trust our news will stay free.
But we can't do it without your help. Reader funding is one of the key ways we support our newsroom. Would you consider making a donation to help fund our news during this critical time? Your contributions are vital to supporting a free press.
Contribute as little as $2 to keep our journalism free and accessible to all.
Can't afford to donate? Support HuffPost by creating a free account and log in while you read.
As Americans head to the polls in 2024, the very future of our country is at stake. At HuffPost, we believe that a free press is critical to creating well-informed voters. That's why our journalism is free for everyone, even though other newsrooms retreat behind expensive paywalls.
Our journalists will continue to cover the twists and turns during this historic presidential election. With your help, we'll bring you hard-hitting investigations, well-researched analysis and timely takes you can't find elsewhere. Reporting in this current political climate is a responsibility we do not take lightly, and we thank you for your support.
Contribute as little as $2 to keep our news free for all.
Can't afford to donate? Support HuffPost by creating a free account and log in while you read.
Dear HuffPost Reader
Thank you for your past contribution to HuffPost. We are sincerely grateful for readers like you who help us ensure that we can keep our journalism free for everyone.
The stakes are high this year, and our 2024 coverage could use continued support. Would you consider becoming a regular HuffPost contributor?
Dear HuffPost Reader
Thank you for your past contribution to HuffPost. We are sincerely grateful for readers like you who help us ensure that we can keep our journalism free for everyone.
The stakes are high this year, and our 2024 coverage could use continued support. If circumstances have changed since you last contributed, we hope you'll consider contributing to HuffPost once more.
Already contributed? Log in to hide these messages.