Mini French Silk Pies. Easy to make than you probably think and decadently DELICIOUS! Silky, creamy, chocolate bliss topped with homemade whipped cream. All in bite size mini pies!
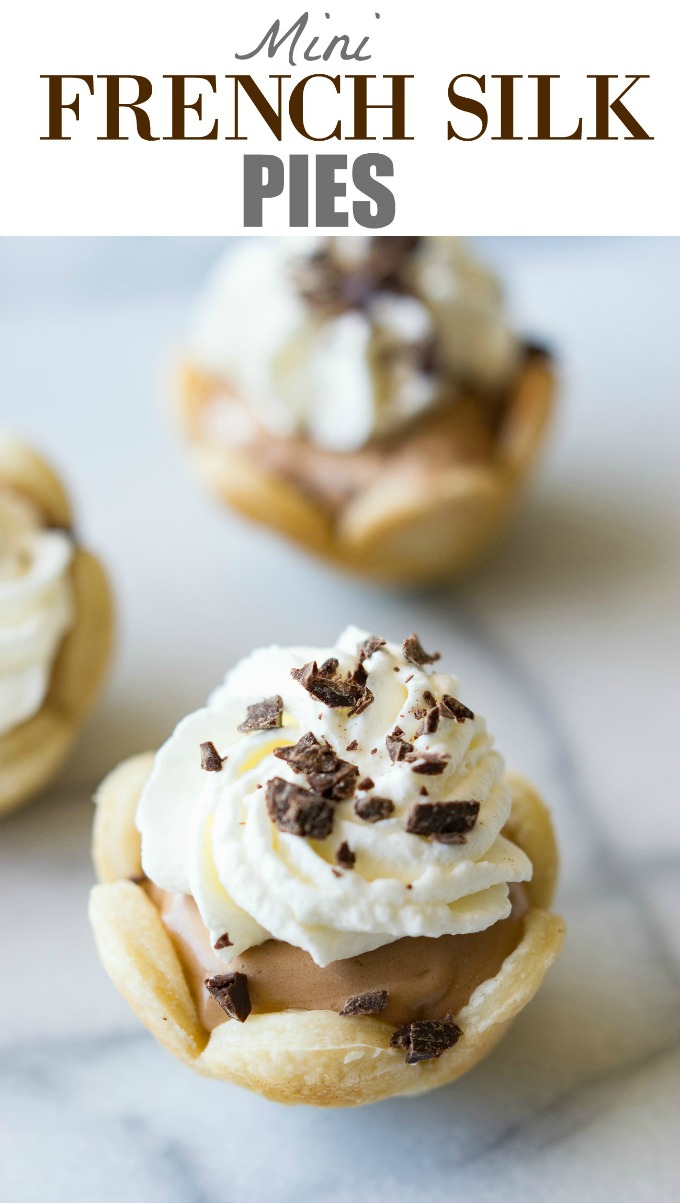
Mini French Silk Pies. Silky. Creamy. Decadent. I'm in love. I have made these little pies a few times now trying to get it just right. And I finally succeeded and I feel super confident that you can make these easily! Since I have all the tips and tricks to help you along the way. I was a little nervous about attempting this since it seems super complicated. But it really isn't. There's just a few particulars that need to be in place. But first. Can we just bask in the beauty of these little pies?! I loooove me a little mini dessert. And given how popular my pecan pies are I have a feeling you feel the same as me. Plus I've worked on my pie crust skills a little bit since then. And I'm super excited to tell you about that too!

So, let's start with the pie crust. I still used the same pillsbury pie crusts. This time I cut them into a fun little flower shape using a flower cookie cutter. Just press that into a greased mini muffin tin, bake for about 7 minutes and they come out soooo cute!! Some of mine have puffed up a little bit while baking, I tried poking the bottom with a fork prior to baking and they still kind of puffed up, but just give a little poke with the fork again after baking and it will go right back down. I was able to make 30 of these little pie crusts out of 2 pre-made pie crusts. I had to gather the scraps and roll out again to get the last 5 though.
Now onto the pie filling. That smooth, delicious, heavenly pie filling. For starters, we are going to need ultra fine sugar. Easy peasy. Just grab some white granulated sugar and pour it into the food processor or blender, pulse it a little bit and you will end up with ultra fine powdery sugar. Perfect for this pie filling. If you don't do this step you will notice a slight gritty texture to the filling and we want pure silk.
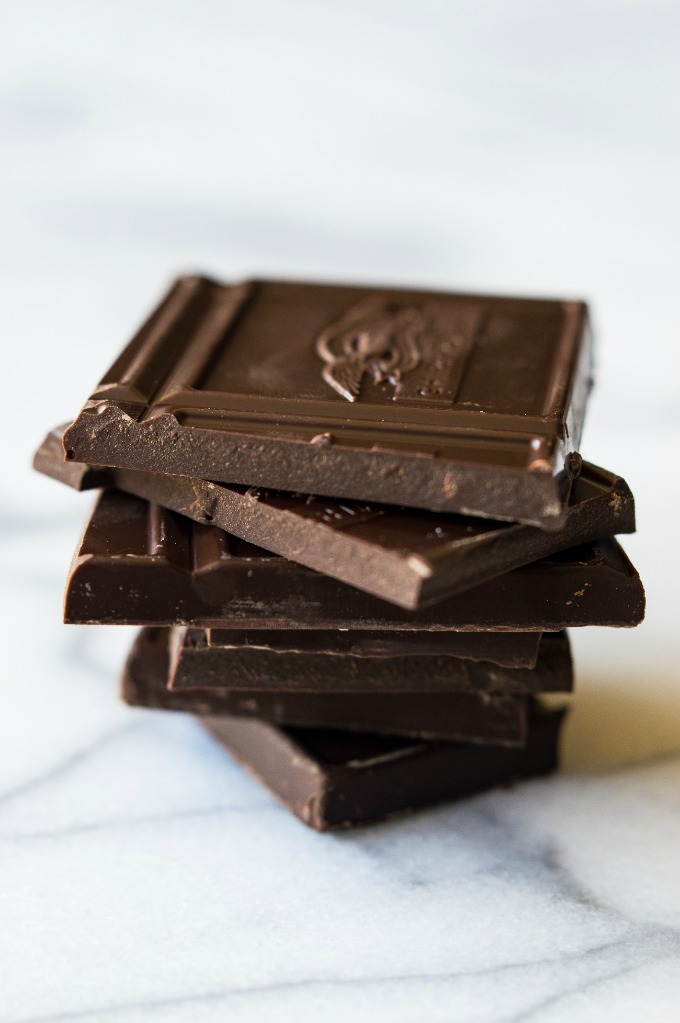
Next. The temperature of the chocolate. The chocolate needs to be melted. But not warm. Warm will melt our butter. And just mess up our mojo. So, melt the chocolate. And then go about your business: do some dishes, check Facebook, text the hubs to tell him how productive you're being today, pour a glass of wine. Just do what you do. Now, check that chocolate. It should be still pourable, stirable, but cooled. Perfection.
Also, know that the butter needs to be soft. Not melted. Just soft. About 30 minutes of sitting out at room temperature should do the trick. Just set out a stick of butter when you start on the pie crusts and all will be good.
Now the fun part. We get to mix the filling. This is where you will give yourself a high five for owning a stand mixer. It's going to do all the work for you and beat this filling into perfect submission. Cream the butter and that ultra fine sugar. Add the chocolate and vanilla. Now. Now comes the fun. We're going to add one egg. A cold one from the fridge. And turn that mixer up to high speed. Let that mixer whip that up for 5 minutes. While you do that..here's a fun video for you:
Totally how I spend my day.
Moving on. Now that you've been mixing for 5 minutes time to add the next egg. And yes, we're going to add it cold from the fridge again. Are you noticing how this recipe likes things to be certain temperatures? It's ok though. It will all be worth it.
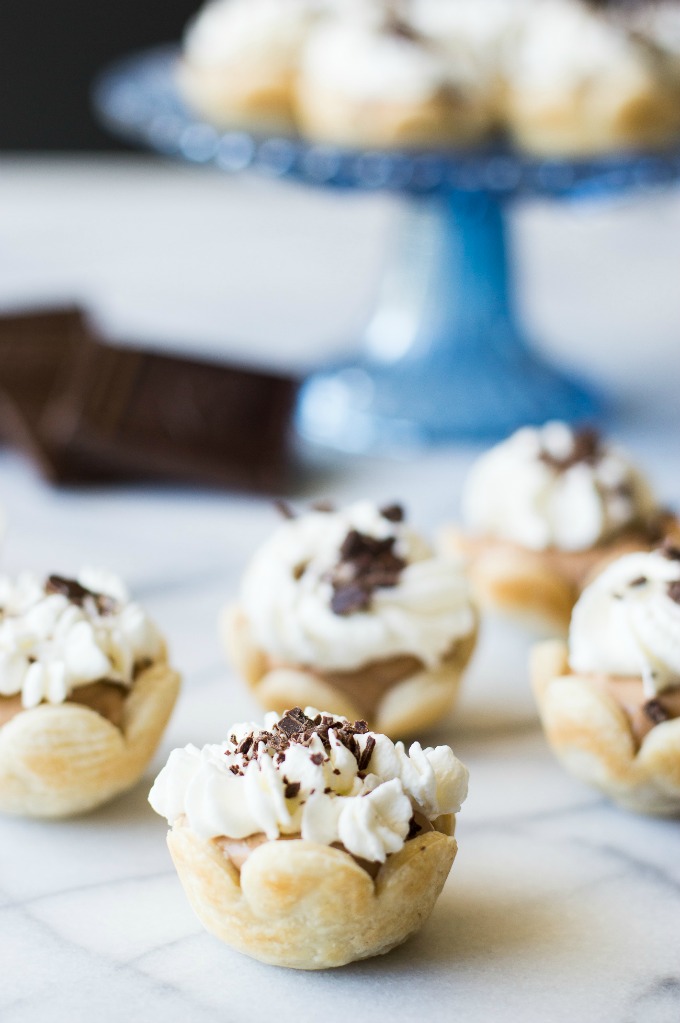
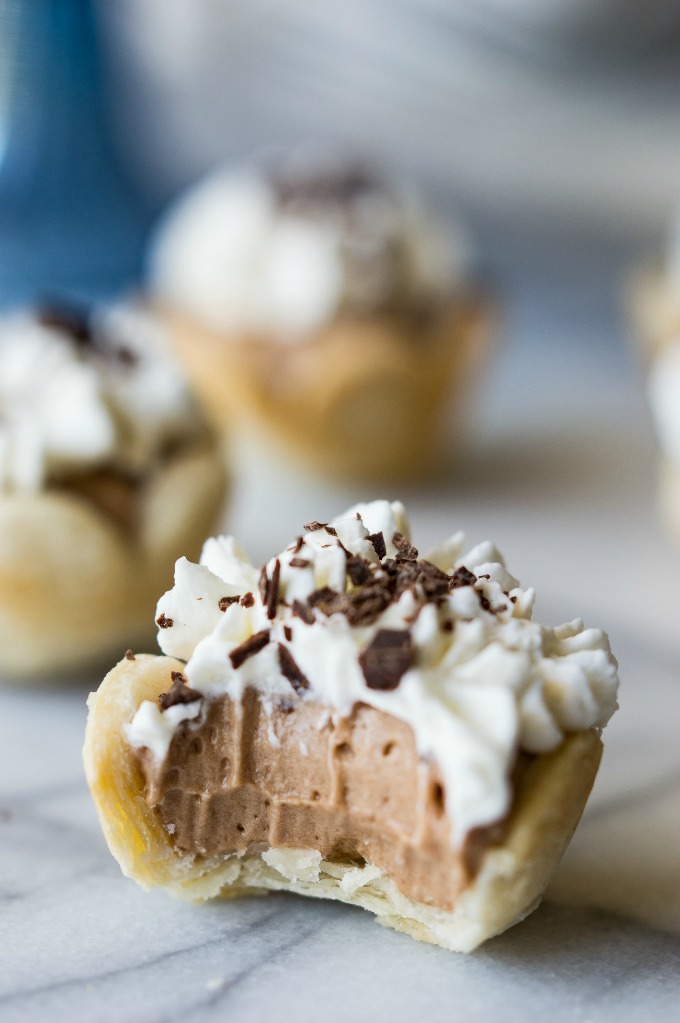
Once we add that second egg we are going to, you guessed it, mix on high speed for 5 minutes. High speed is the best for this recipe. If we don't mix it fast enough then the eggs aren't going to whip up nice and fluffy and we won't have our perfect texture. At the end of the 5 minutes we will be left with creamy, silky, chocolate bliss. Spoon this into the cooled pie crusts, pop them in the fridge and let them chill. Top with whipped cream and of course more chocolate. Boom. Heaven.
I hope you enjoy the recipe! You can follow along with me and never miss a recipe by signing up for my newsletter. Follow me on Instagram and tag #houseofyumm so I can see all the recipes you make. Plus follow me on snapchat! @houseofyumm 💜
Mini French Silk Pies
Serene @ House of Yumm
Ingredients
2 pillsbury pie crusts (or homemade pie crust, enough for two pies)
2 ounces bittersweet chocolate (I used Ghirardelli) -melted and cooled
3/4 cup ultra fine sugar (white granulated sugar that has been blended or through a food processor)
1/2 cup butter softened
1/2 teaspoon vanilla extract
2 large eggs
Whipped Cream
1 cup heavy cream
1/4 cup powdered sugar
1/2 teaspoon vanilla extract
Instructions
Preheat the oven to 350 degrees.
Cut the pie crust into round circles about 3 inches across, or I used a Flower Cookie Cutter, press into a greased Mini Muffin Pan.
Bake for approximately 7 minutes. If the bottom of the pies puff up gently press a fork into the pie crust to deflate it. Allow the pie crusts to cool in the pan about 5 minutes then remove to continue cooling on a wire rack. You will be able to make about 30 mini pie crusts with 2 pre-made pie crusts (this will require taking the scraps and re-rolling the dough out).
To make the pie filling you will need to melt the chocolate and allow it to cool. It should still be stirrable but cool. Melt in the microwave heating in 30 second increments and stirring in between until all chocolate is melted.
Add white granulated sugar to the blender or processor and pulse until sugar is powder like and ultra fine.
In mixer cream the butter and the ultra fine sugar together. Pour in the cooled melted chocolate and mix until combined. Scrape the sides to ensure completely mixed.
Add in the vanilla extract and mix on low to combine.
Add in one egg, cold from the fridge. Mix on high speed for 5 minutes.
Scrape the sides and add the second egg, cold from the fridge. Mix for another 5 minutes on high speed. The mixture will be smooth and silky. Spoon into the cooled pie crusts and place in the fridge to allow the filling to set for about 2 hours.
Prepare the whipped cream by mixing the heavy cream on high speed until thickened, add the powdered sugar and vanilla extract, continue mixing on high speed until stiff peaks form.
Add the whipped cream to a piping bag and pipe onto the mini pies, I used a Wilton 2C tip. Top with pieces of chopped up chocolate.
Serve and enjoy! Store in the refrigerator.
Recipe adapted from Pioneer Woman.
Make sure you check these mini pies too: