
If you're on the hunt for a weekend bonding activity that will engage your whole family, look no further than these kid-approved DIY masterpieces from around the web. Not only do they inspire creativity, hands-on learning and "good clean" fun, these crafts encourage both parents and little ones to work together on a project everybody will love.
Now, let's get started.
1. Shutter Artwork Display
For a unique and quirky way to showcase your child's artistic talents or classroom achievements, A Creative Princess suggests repurposing an old shutter into an eye-catching "brag board." This will also keep your fridge and counter space from getting cluttered with papers.

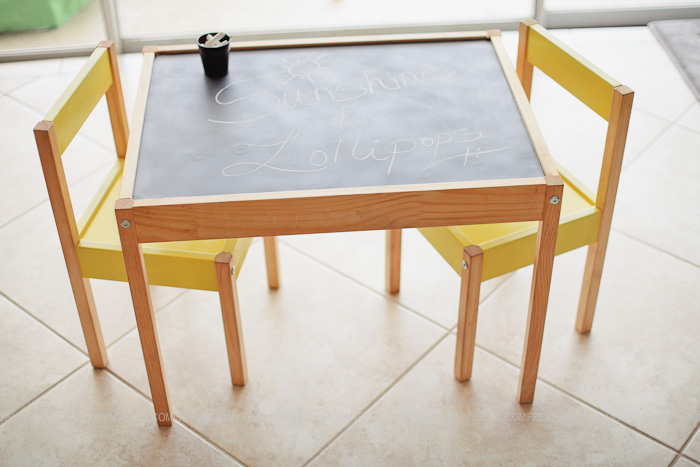
2. Chalkboard Drawing Table
Fresh Mommy Blog suggests an inventive spin on a standard kid's table and chair set. Coat the surface with chalkboard spray paint so your child can mark up the furniture without making a mess. This is a resourceful, inexpensive way to update worn-out playroom pieces.
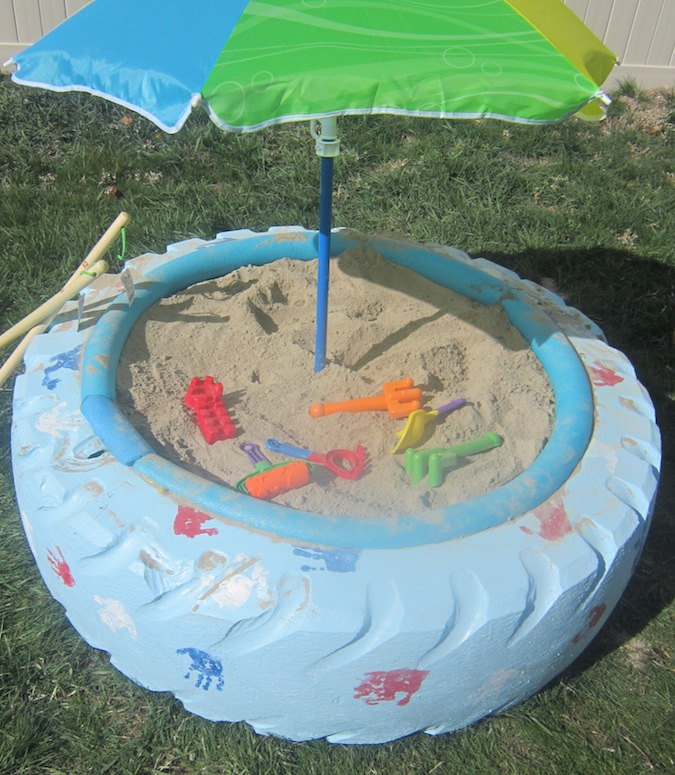
3. Painted Tire Sandbox
For those warm weather months, I Heart Naptime suggests transporting the beach to your backyard by turning an ordinary tractor tire into a sunny "paradise found." This can double as an herb garden planter during the fall and winter seasons -- just swap the sand with soil.
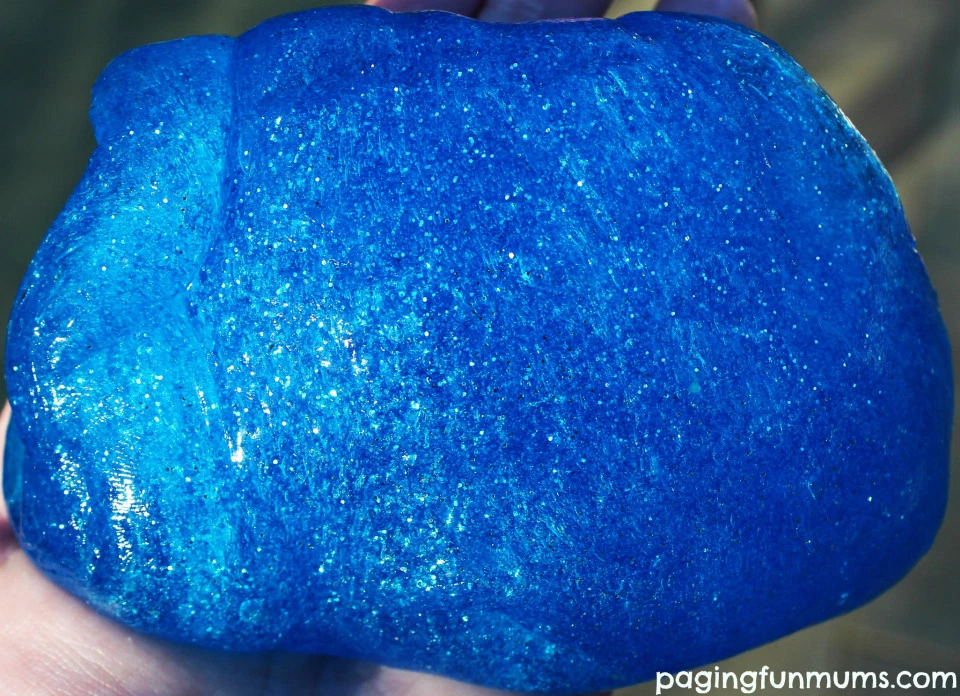
4. "Frozen" Silly Putty
For your little princess who can't get enough Anna and Elsa-themed fun, infuse homemade silly putty with iridescent glitter, icy blue shine and classic Disney magic. This can be kept in an air-tight container or Ziploc bag for easy, effective storage.
Note: In order to achieve the putty's viscous texture, Paging Fun Mums suggests using Borax compound. However, for an allergy-friendly alternative, try liquid starch instead.
5. Rustic Shutter Bookshelf
For a one-of-a-kind niche to organize and display your child's books, transform a shutter into a bold, colorful addition to any playroom, bedroom or reading nook. This idea by All Kinds of Things, provides kids with quick and convenient access to all their favorite stories.

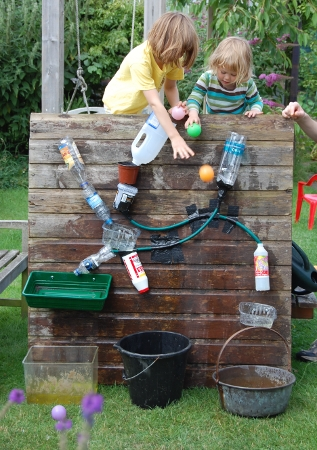
6. Recycled Waterfall Wall
Playing By the Book's whimsical teaching tool shows little ones how to convert ordinary objects into hours of enjoyment by gathering plastic bottles, hose pipes and various buckets. This hodgepodge of recyclables makes a wacky water drainage system.
7. Rainbow Fan Blades
For a brightly hued contraption to keep your kids cool during those lively games of make-believe, give fan blades a full-spectrum makeover with vivid paint shades. This project, by DIY Home Tips, turns an average household appliance into delightful nursery decor.

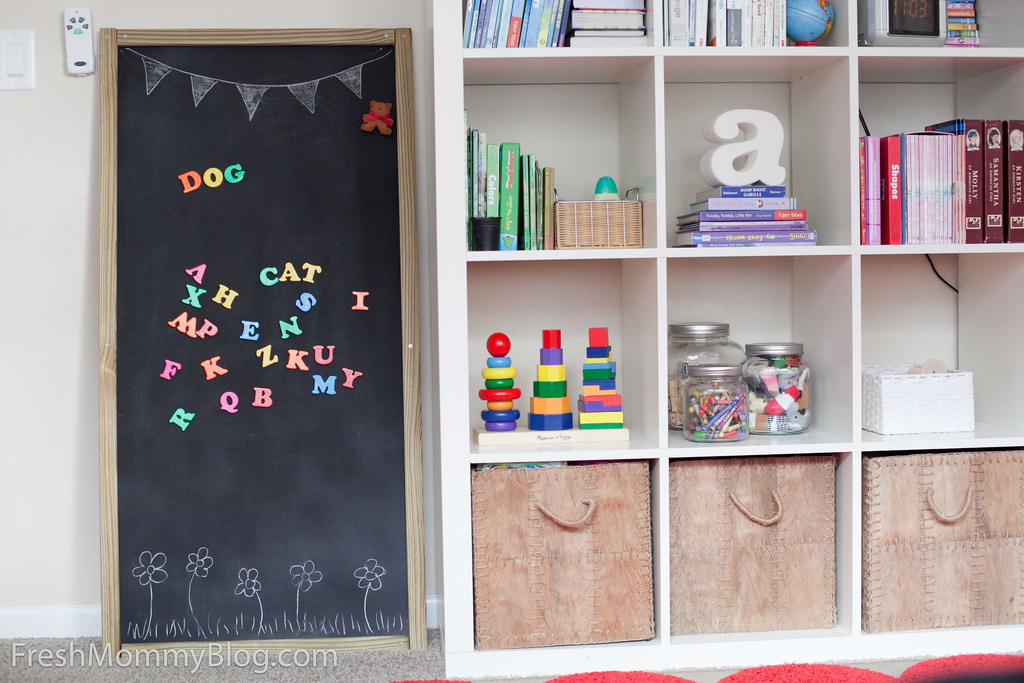
8. Free-Standing Magnetic Chalkboard
For a hands-on method of learning their ABC's, young children especially will love this interactive magnetic board that encourages them to draw, write and piece together words from Fresh Mommy Blog. This nurtures creativity, literacy and mess-free entertainment.
9. Ladybug Tire Swing
For incentive to get your kids outside, revamp a plain tire into a swing that's full of personality. Grab spray paint, eye-bolts, S-hooks and a sturdy chain, then let their imaginations run wild. This durable toy also withstands year-round elements, according to Janis Zettel.

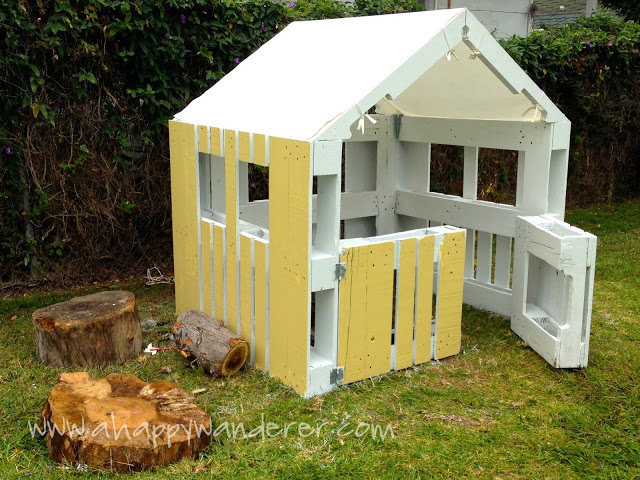
10. Miniature Backyard Playhouse
For a versatile space that can serve any purpose, -- from a secret garden hovel to a cozy fairytale cottage -- build your pint-sized adventurers their own little retreat. A Happy Wander's design can even be customized to reflect the kids' individuality.
Note: The frame is made from wooden pallet pieces, disassembled and cut into right angles to structure the walls and exterior doors. The doors are attached with galvanized screws, hinges and L-brackets to help them open outward. The roof is made from fabric squares with wooden rod framework. The pallets are held together with nails and corner plates. A few standard hardware tools are needed including a drill, hammer, circular saw and crowbar.
Do you plan on introducing your own family to these simple yet fun-filled DIY activities? Or, do you have another kid-tested craft project to share? I'd love to hear any feedback in the comments section below.