Concealer is the Holy Grail of makeup products. The multi-tasker can be used to reduce the appearance of dark circles and pimples, highlight and accentuate areas of the face, and more. Below are a few of my key concealer tricks I use on and off the runway to ensure my clients always look picture perfect.
1) Play up your pout! Apply a light shade of concealer in a W shape under your lips. Ensure the outer points of the W are blended up past the outer corners of your lips with the bottom edge meeting your jaw line. This will help give the illusion of smoother and tighter skin around your chin and raise the corners of your lips. Instant face lift!
2) Not to prime is a crime, I always say, and foundation isn't the only makeup product that requires primer. Eye shadow does too! If you're out of eye primer or simply don't feel like splurging on another beauty product, apply a dab of concealer to your eyelids and blend thoroughly. This will stop product fallout to keep your shadow in place all day long.
3) Prevent lipstick from bleeding! For some women lining lips with a lip pencil just doesn't do the trick to stop lipstick color from bleeding throughout the day. Concealer to the rescue! Simply line the outside of your lips using a precision brush (like my Fine Line Sable Brush 2h) with concealer and voila! No more bleeding, and your lip line will look sharper.
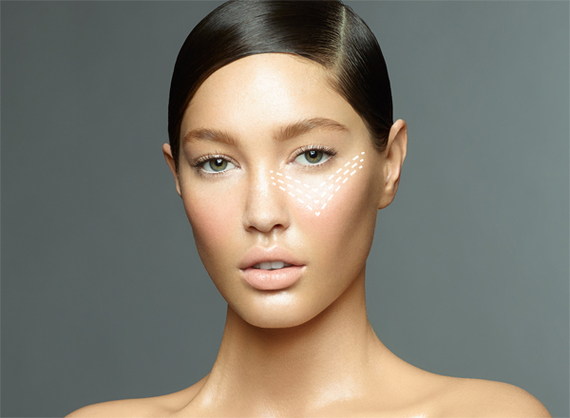
4) Diminish under-eye circles with my Hollywood 'V' technique! The biggest mistake women make when applying concealer is smearing it under the eyes in a crescent moon shape and blending. Instead, apply your concealer with a brush (I recommend one similar to my Full Coverage Brush g12) in the shape of a 'V' under each eye, making sure the 'V' starts on the inside and outside edges of each eye, meeting at the top of each cheekbone. This will create a highlight and make your eyes and the center of your face the focus. Pro tip! If your skin is on the porcelain side, make sure to apply your Hollywood 'V' before your foundation so it blends seamlessly with your skin tone. If you have a darker skin tone, apply your 'V' after your foundation.
5) Highlight! Apply a creamy concealer to your cupid's bow, above the arch of your brow, in the crease of the nostril, and on the center of your forehead. Blend well to erase any hard lines. Highlighting these specific areas tightens the center of the face for a more youthful looking appearance. Who doesn't want that?
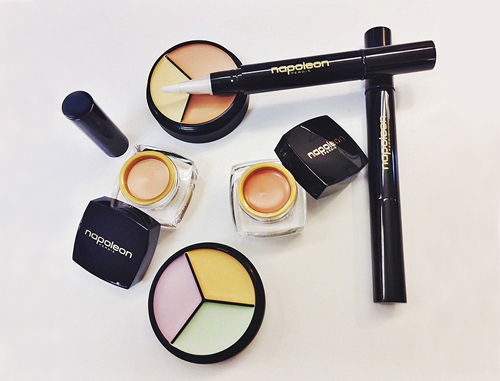
6) Use a green colored concealer to cover blemishes! The green cancels out the redness in the blemish. Begin by covering the entire area with the green concealer, let it set, and follow with a concealer that matches your skin tone.
Want to witness some of these tricks in action? Check out a few YouTube tutorials listed below.
- The Hollywood 'V' Technique
- Diminishing Dark Circles
- Covering Blemishes

