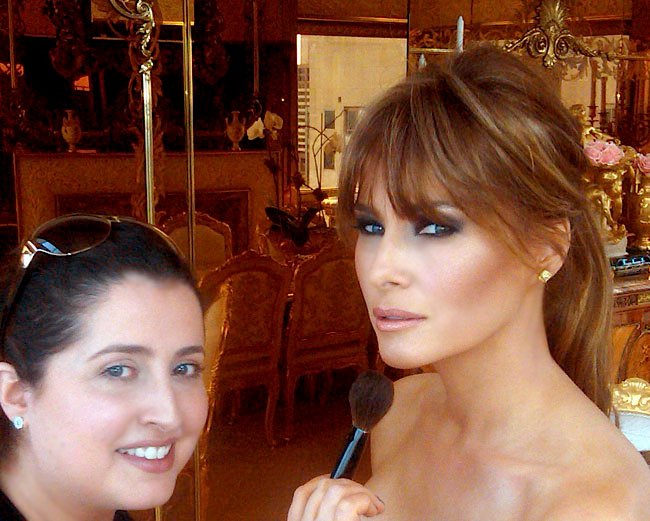
Hello Huffington Post makeup readers! As I have been venturing out more frequently in the evening hours as of late for events, I have noticed (and without judgment of course) that woman do have a hard time getting the "smokey eyed" makeup look down correctly. As most of you feminine beauties try to create something mysterious for yourselves different from your everyday look, you often fall a bit short and dark eyed disaster's spring to life... yikes!
Alas, don't be discouraged! Consider following these few detailed steps which I have whipped together for you today and miracles might just occur!!! Best, NB! xo
Follow me on Facebook for all the Nicole Bryl, Make-Up New York photos.
The Key to Perfect Smokey Eyes:
The key to perfect smokey eyes is proper blending. You must make sure that the shadows you use are blended together flawlessly. If you blend to perfection there will always be a certain "subtle" quality attached to your smokey look and then no matter how intense you want to go with the color you will not have gone "too far."
1. Prime your lid with a waterproof concealer. This absorbs the oil on top of your eyelid (so the shadow won't crease), clears the lid of any discoloration (which will bring out the color of the shadow and ultimately prevent the shadow from moving for hours).
2. Dust a thin veil of translucent loose powder all over primed lid to seal the deal.
3. Apply a light colored shadow all over lid. This will pop the darker color you will next add and aid in your smooth blended look. (Remember, blending is a layering process. Different products and different textures help to create the "blend").
4. Choose your dark shadow color and start by applying it to the outer corners of your eye lid brushing slowly inward towards your nose and upward into your eye crease. When you dip your brush into the dark shadow you will want to apply the first color blast to the outer corners of the upper lid for the most intensity and then with whatever is remaining on the brush blend inward towards nose and upward into eye crease. The object is to avoid sharp edges that don't feather out gently or sloppy uncontrolled edges that make you look like you have a black eye. People make the mistake of blasting the initial dark color on their lids too near to their nose and then work their way out towards their ears. Not good. You have less control of blending that way and it also creates a heaviness to the look of your eye that often does go "too far." As well, you never want to extend the dark shadow excessively past the edges of the upper lashes towards the ear. It just never looks right and in most cases looks like the shadow is wearing you!
5. With a different slightly thicker brush, dip into some loose powder and go over all the edges or corners of your shadow that don't seem blended enough or smoothed out. (If you are using cream shadow, dip into your concealer with a concealer brush and smooth over unblended areas. This step is VERY IMPORTANT in controlling your "blend" and will help you to not take your smokey look too far)!!! You can also smudge some of your dark shadow color to the outer corners under your bottom lashes and work your way inward towards nose. You don't want to make it too dark close to your nose as it often makes the eyes look too small.
6. Add liquid liner above upper lashes. You can go as thick or as thin as you like creating more or less drama. Again, try not to extend the line too far past the outer edges of the upper lashes. Keep the line simple.
7. With a small brush dip into your dark shadow color and go over the entire liquid line with the dark color defusing the eyeliner you've just added working from the outer corner of your eye inward. (Use your blending powder brush after each shadow step to clean up any mistakes and smooth things out).
8. Add a light shimmer color under eyebrows on brow bone to add extra pop.
9. Add mascara to upper and lower lashes (curling lashes is optional).
10. Also optional: Add a few individual eyelashes to upper lashes with dark adhesive glue AFTER mascara. Let dry.
11. Use an eye pencil to line the inside rim of your bottom eyelid to finalize the smokey look.
12. When you are done, if you feel that there are a few places that are muddy or messy just dab a tiny bit of your concealer to those spots and smooth it in. This will clean up and brighten the eye even more!
13. If you go with a smokey eye DO NOT go with a dark lip. Smokey eye = nude lip. Dark lip = nude eye! Stick to this basic rule and you will never "go too far"!