By: Alex Robinson
Credit: Cole Saladino/Thrillist
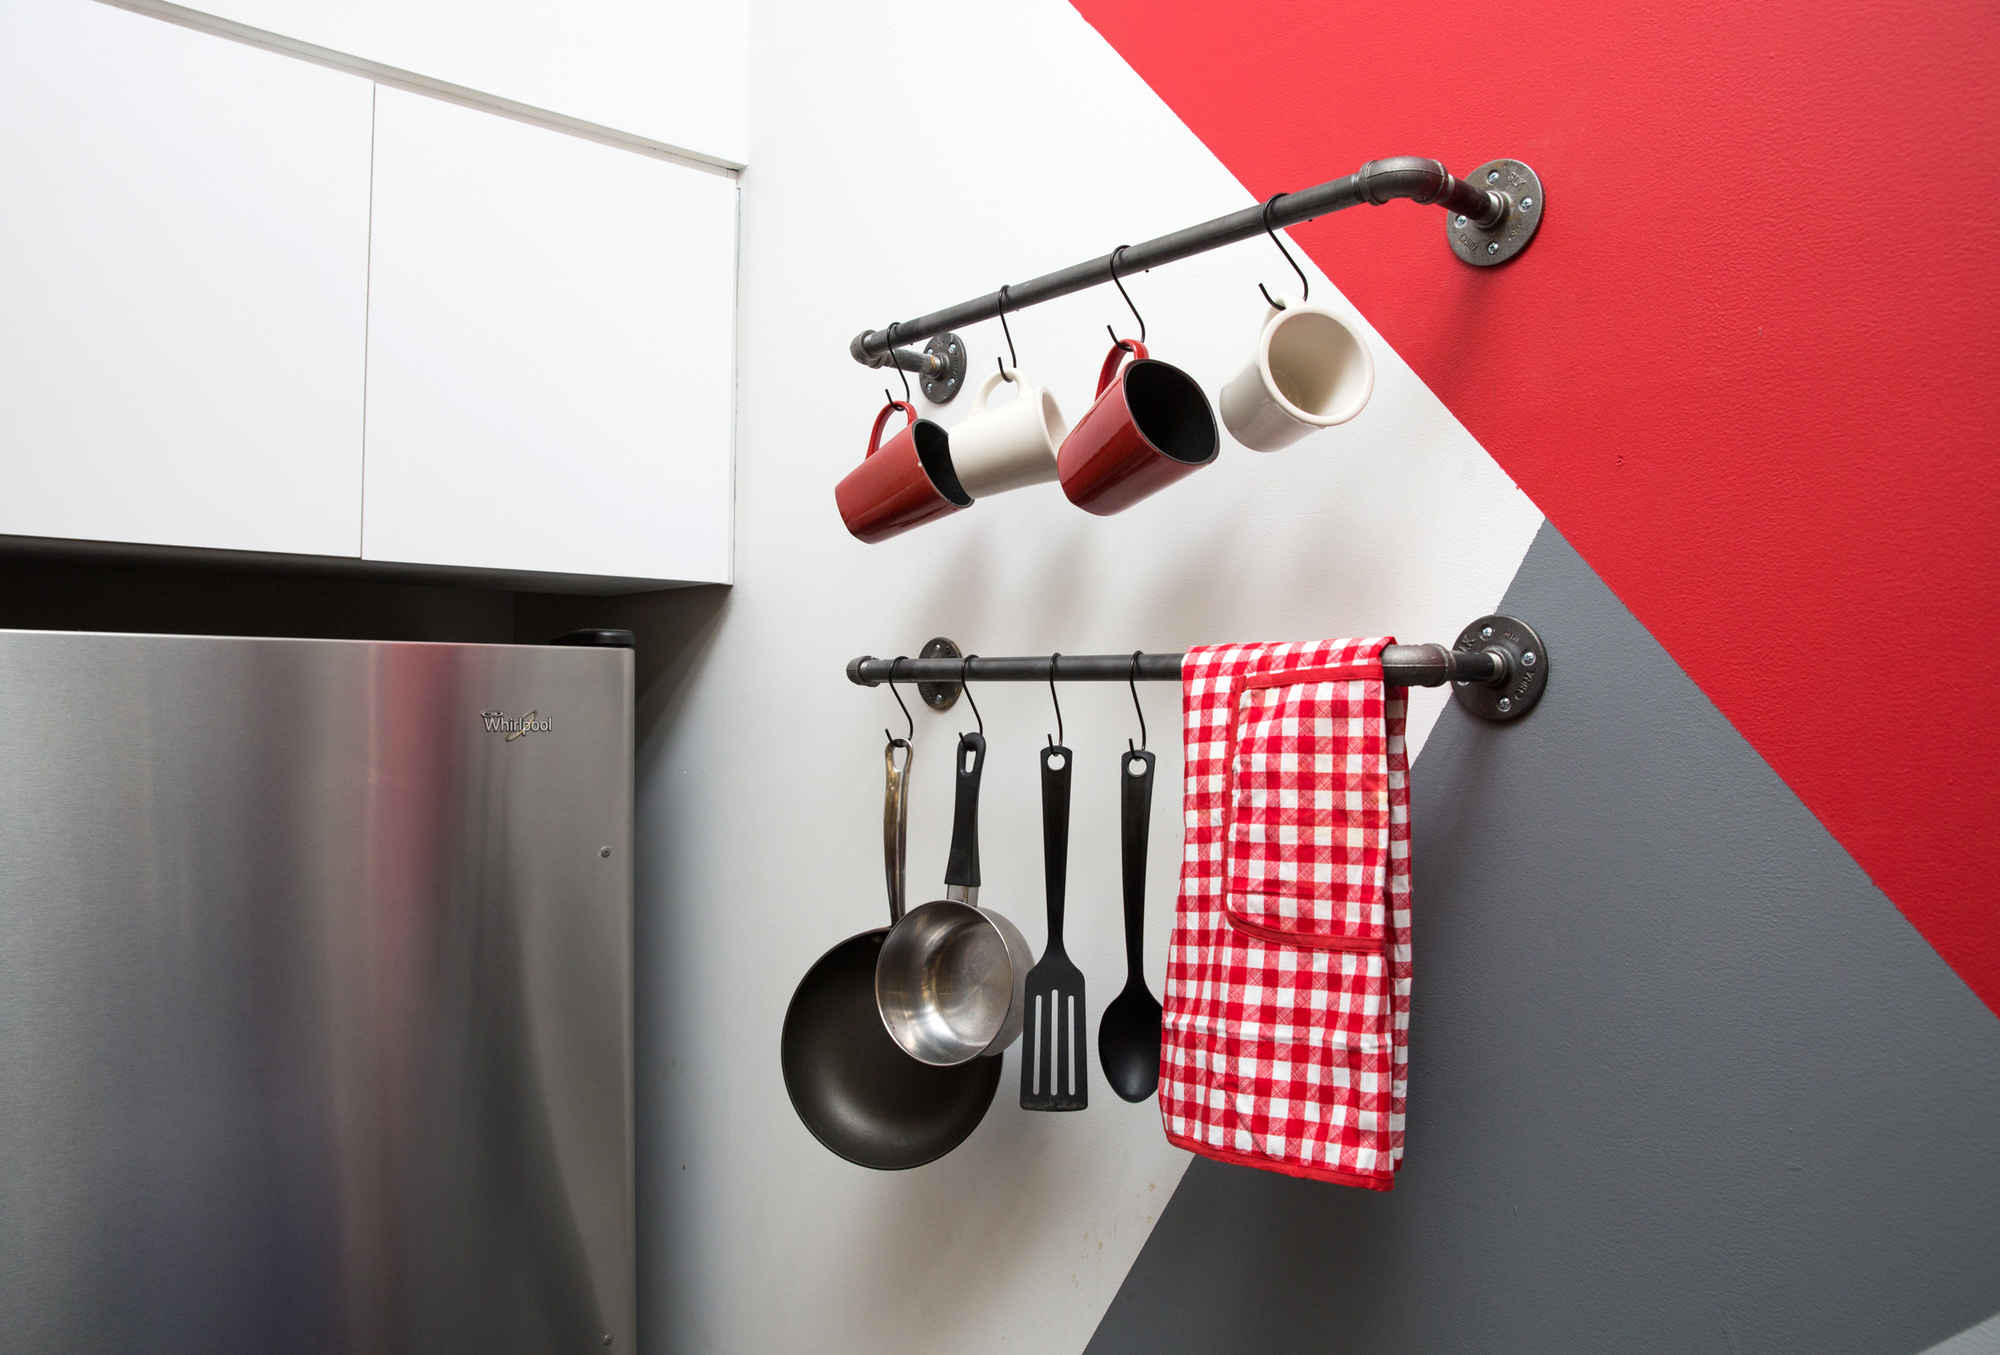
One of the toughest rooms to renovate on a budget is the kitchen. Especially a small-ass kitchen. But here's a clever DIY storage solution that still looks Pinterest board-worthy without costing you an arm and a leg to make. Unless a freak drilling accident happens. Safety first!
Think of me as a budget Bob Vila as I guide you through the steps to give your kitchen an awesome industrial rack on the cheap.
Credit: Cole Saladino/Thrillist
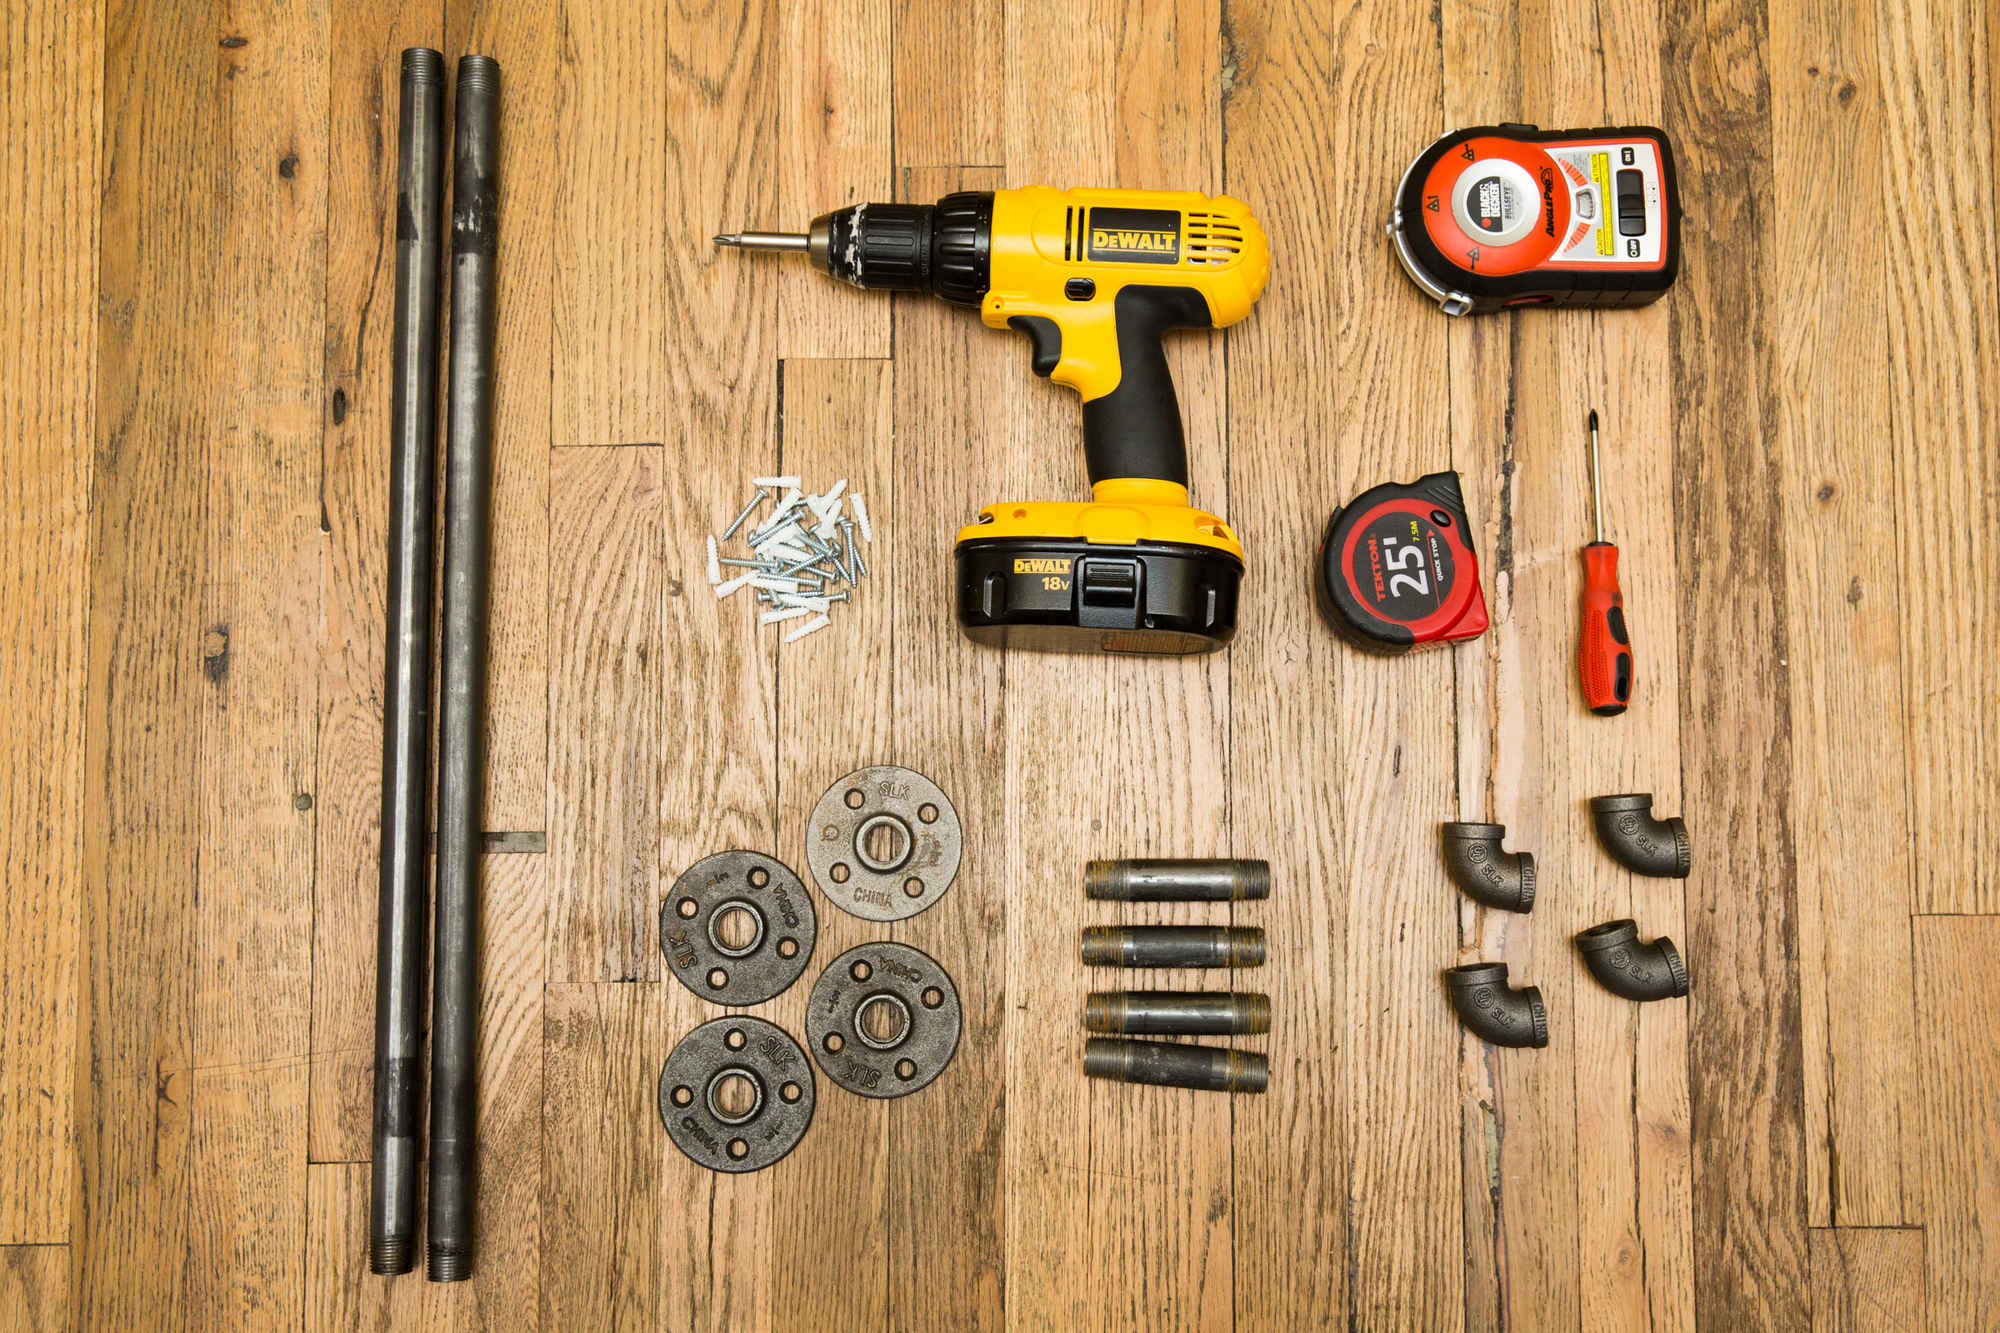
Materials (per rack)
• Drill
• Tape measure
• Level
• 1 steel plumbing tube (length up to you, just measure your space first!)
• 2 steel elbows
• 2 steel nipples
• 2 steel flanges
• 8 screws (and anchors if you're going into drywall)
• Screwdriver (optional, but can sometimes get better leverage than a drill)
• S-hooks (not pictured)
Total Cost: ~$25 per rack

Credit: Cole Saladino/Thrillist
Step one: Assemble
The very first thing you'll want to do is wash and assemble the racks. This requires minimal effort and shockingly little attention to detail. You just line up the pipe threading with the corresponding elbow and flange, screw them together, and boom. Just like that, the rack is made.

Credit: Cole Saladino/Thrillist
Step two: Measure
Next, you'll want to decide where this handsomely functional rack will go. This means you'll need to do some basic measuring. Start from the ground up to lock in a height, and then (pending on the placement), from the sides to center them. Then, using a level, make sure your piping is sitting nice and straight. No one wants their dangling goods sliding all over the place. No one.

Credit: Cole Saladino/Thrillist
Step three: Make your mark
Mark the bottom of the flange with a pencil and then, using a level, mark the opposite side. This will ensure there's no nod in your rod and your beam stays even. If you have help, however, you can probably get away with eyeballing this. After you've got an even line, make a mark inside one of the flange's holes. This is where you'll drill.
Credit: Cole Saladino/Thrillist
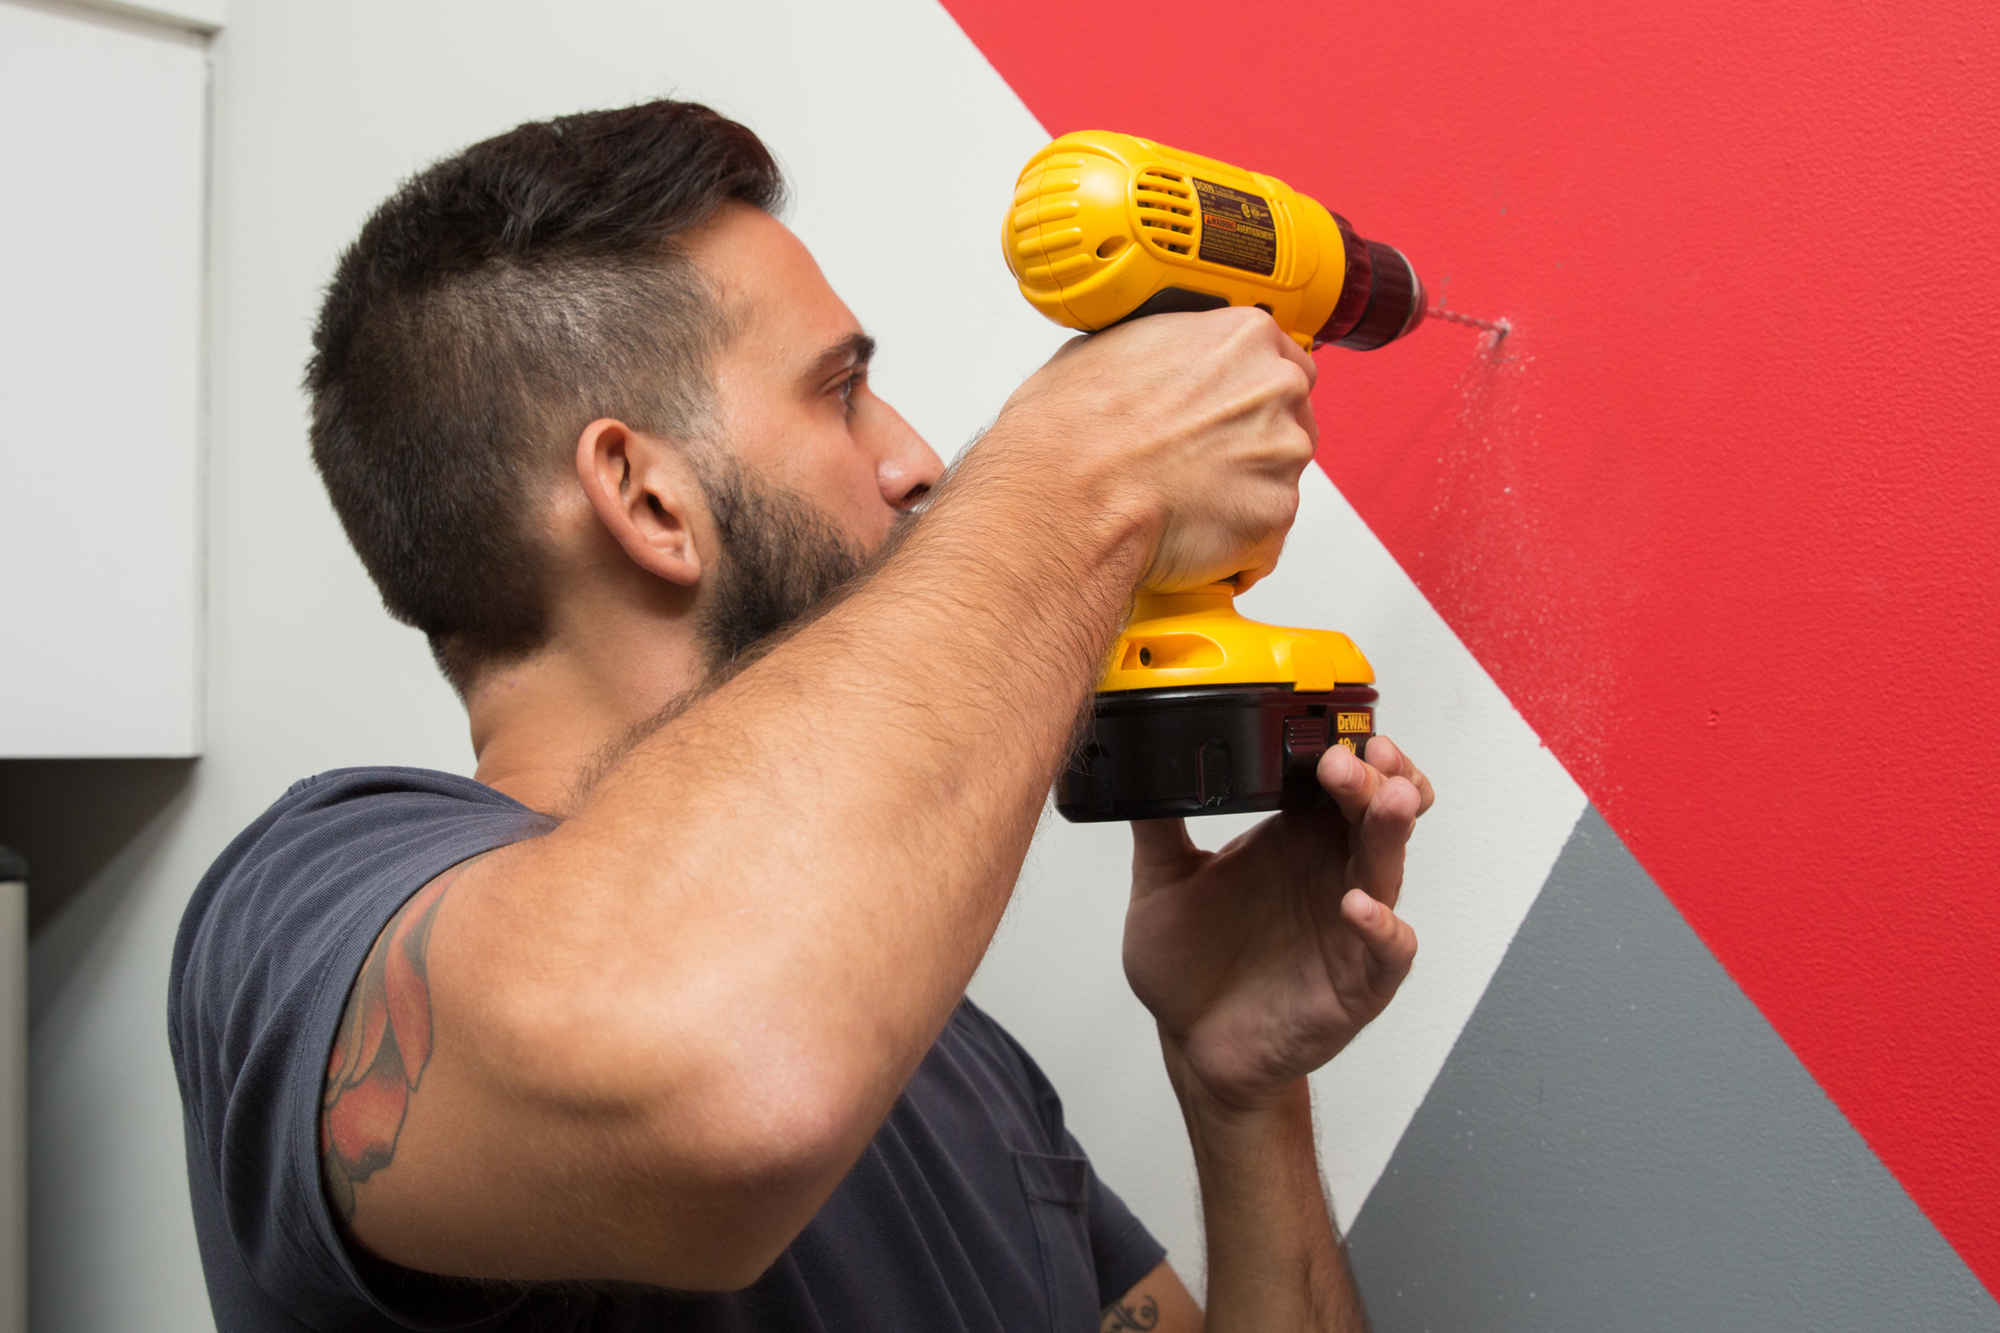
Step four: Drill
Grab your drill like you're Tim "The Toolman" Taylor, make sure you're using the correct bit, and firmly, but slowly make a hole in the drywall -- Al Borland style -- where your anchor will go.
More from Thrillist:
Like Thrillist on Facebook: www.facebook.com/Thrillist
Also on HuffPost:


