
Pinterest stress sufferers, rejoice! The projects in Mike Adamick's new craft collection, Dad's Book of Awesome Projects, aren't designed for experts -- just families who want some good, clean possibly quite messy fun.
Adamick, a thoughtful blogger and devoted dad to his daughter, Emmeline, shares tutorials for crafts ranging from the relatively easy (homemade Play-Doh) to the more ambitious (a backyard swing set). His inspiration? As he writes in the book: "I'm just some stay-at-home dad who became obsessed and overjoyed at the prospect of working with my daughter to make our own fun around the house."
Here are two projects from the book that we look forward to trying ourselves. And if you can't get to them this weekend, don't worry -- you have the whole summer ahead of you!
*****
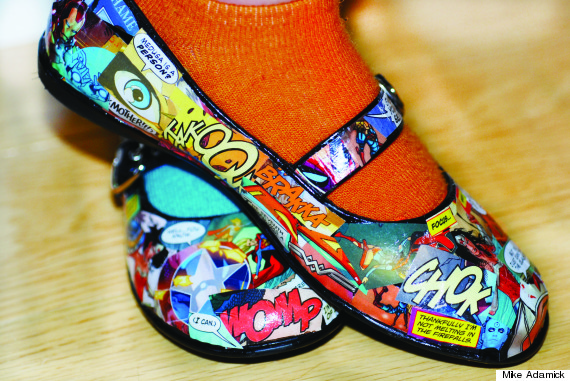
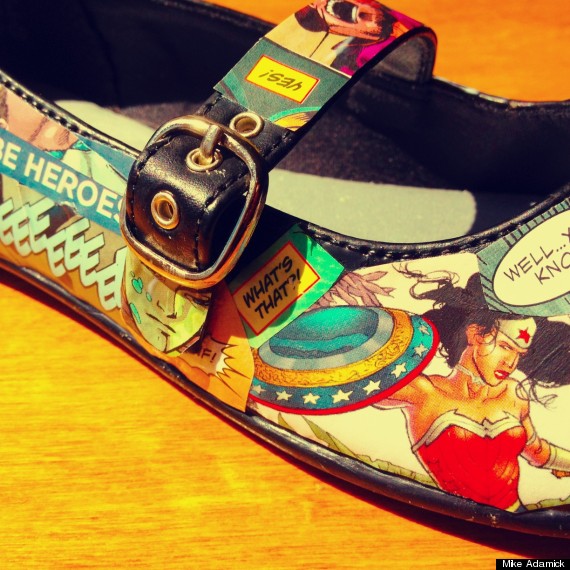
Comic Book Shoes
Here’s What You Need:
- Old leather shoes -- patent leather works best for smooth surfaces (you can also find a really cheap, new pair at discount shoe retailers).
- Comic books
- Mod Podge glossy glue
- Tools -- Art paintbrush, scissors
Here’s What You Do:
- Round up your favorite comic books. Hmm, let me take that back. Maybe not your favorite. That first edition Superman could make for some pretty cool albeit ridiculously pricey kids’ shoes. Scratch that. Round up some old comic books and start cutting. Cut out small characters, cool drawings, all the POW!s and KaBLAM!s and whatever else you want. I’m particularly fond of inserting non sequiturs, like a dialogue bubble that says, “Ow! My arm!” or “Thankfully I’m not melting in the firewalls.” In the books, in context, they make sense. On the shoes, they are a riot. The point is, cut out a lot of snippets and words and small characters that won’t get lost or won’t, conversely, take over (looking at you, Wolverine). Make sure a lot of them have straight bottoms or straight tops. You’ll need these to glue on where the shoe leather meets the soles.
Dad Tip:
Don’t be afraid to overlap pieces. If you need to fill a gap, just add some more Mod Podge and cut out a piece to fit. You’ll notice that by the second shoe, you’re a real pro at this. This project was so much fun and so easy that we started making them as gifts for friends.
Next: Homemade Ice Cream
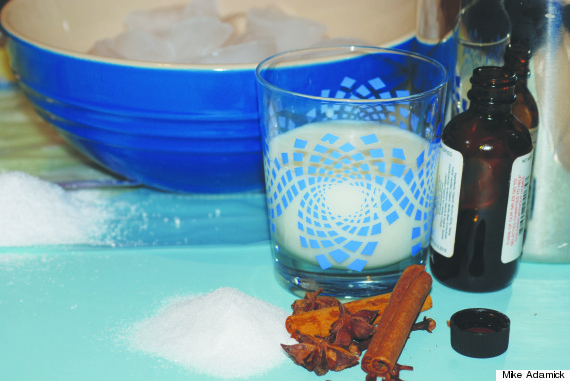
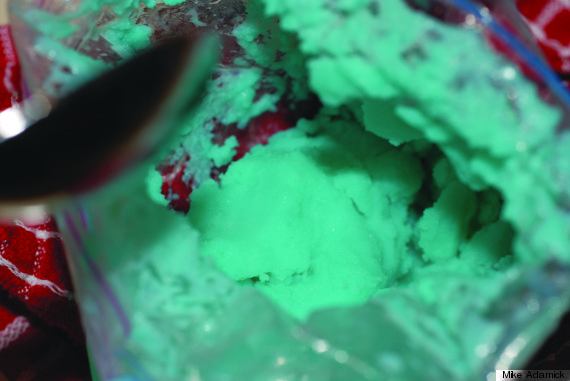
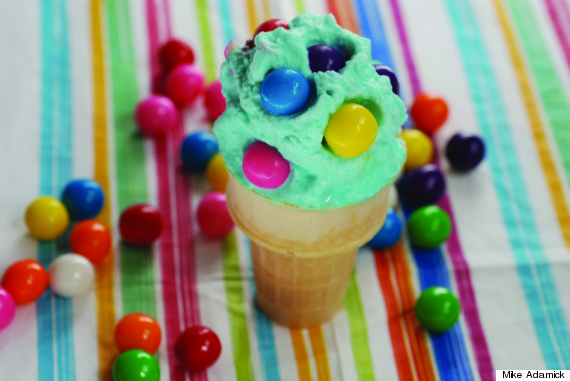
Homemade Ice Cream
Here’s What You Need:
- 1/2 cup whole milk (Half and half is best if you have it.)
- 1 tablespoon sugar
- 1 capful vanilla flavoring (or your favorite)
- Food coloring
- 2 Ziploc bags -- one sandwich size and one freezer bag in gallon or two-gallon size
- Ice -- lots!
- Salt -- lots!
- 1 dish towel
Here’s What You Do:
- Mix the milk, sugar, flavoring, and food coloring in the small Ziploc bag and seal with as little air as possible in bag. Seriously, you are almost done. It’s that simple. You’ve already done the hard part. Hope you’re not too exhausted.
Dad Tip:
That's the basic recipe, but you can tinker with the milk or ice cream before you put it in the bag. For instance, instead of adding a capful of flavor, try simmering ginger or cinnamon sticks with the milk over the stove for about ten minutes. Then strain, cool and use that milk to make the ice cream. What about orange cardamom? Simmer milk with orange peel and the spice for ten minutes ... mmm. You can also alter the sugar amount to make it less cloying, although more sugar means a smoother texture. Have fun with it and experiment with a lot of batches. You can't really go wrong.
Excerpted from DAD'S BOOK OF AWESOME PROJECTS: From Stilts and Super-Hero Capes to Tinker Boxes and Seesaws, 25+ Fun Do-It-Yourself Projects for Families by Mike Adamick, published by Adams Media.
Related
Before You Go
