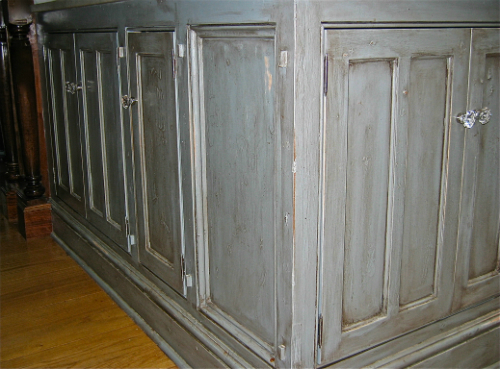
When I built this kitchen island, I wanted it to look old; a common request from many of my clients. Achieving the "old" look can be done in many ways, however I have created my own method that seems to work just perfect!
First, you will need to 'age' the raw wood by hitting it with a hammer in various places, using an awl to make areas of 'worm holes', and anything else that could give the wood a well aged feel. Once done, you will want to sand many of these surfaces smooth, especially if they are on the corners. Remember, if we are trying to achieve an old piece of furniture, there will be no sharp corners, just areas of wear and tear that have smoothed over the years.
Now, you can prime the bare wood. Once dry, give a light sanding with 220 grit sandpaper.
Here is where you can get creative. I like to paint the piece a color that will contrast with the final finish color. The idea being, that we can lightly sand through small areas of the final topcoat, to reveal this contrasting color underneath. This will simulate years of different paint colors.
Once this base layer is dry, now you can put a topcoat on with your finish color.
When the finish color is dry, you can have some fun by sanding through that finish color on a few corners and select spots, to reveal that contrasting base color. 220 grit sandpaper will work fine.
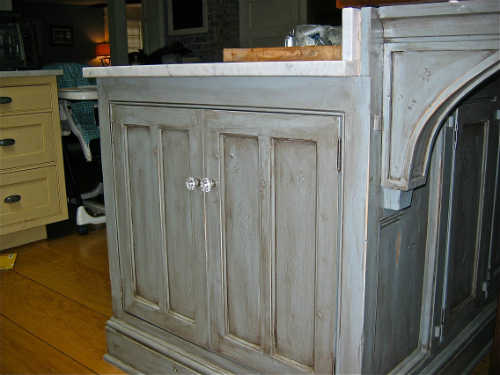
At this point, we can dirty up the piece. Take a water based dark stain (walnut works well) and cover everything, then wipe off with a rag. You will take most everything off, but leave the stain in nooks and crannies, corners and dents. You'll notice the stain pooling in the dents and little worm holes, this is what we want!
Once dry, cover the whole piece in a water based polyurethane, and you are done!
For more, visit www.kelseyonthehouse.com