
DIY haircuts can be disastrous. Many of us have a horror story about those late-night, wine-fueled baby bangs that quickly became a colossal hack job — snip by tiny snip — and required an emergency trip to your stylist, where you cried, groveled and begged for forgiveness.
Not all cuts that happen in the privacy of your own home need to be regrettable, however. While we don’t recommend going from super-long lengths to a short, architectural cut using a pair of orange-handled scissors and a hand mirror, you can trim split ends and even shorten up without causing a big ol’ mess that needs to me fixed by a pro.
“Not all cuts that happen in the privacy of your own home need to be regrettable, however.”
To wit: There are a few at-home tricks that could save you from the hair walk-of-shame. One, in particular, is so fail-proof that even a monkey with scissors could do it. I share it with my clients when they can’t squeeze trims into their schedules.
As a hair pro, I’m cautious to condone extensive do-it-yourself cutting or coloring, but I have been trimming my own layers for years with this easy technique — and you can, too. This easy trick is perfect for helping keep your layers looking lovely as they grow out. Hey, we all know trimming your split ends is an absolute must.
Ahead, everything you need to know to trim your own ’do at home.

Trimming is essential to growing out your strands in a healthy way, because removing the ends will keep them from splitting up the hair shaft. A good trim every six weeks works wonders for longer hair, and a dusting every three to four weeks is great for shorter cuts. A dusting, also called a micro-trim, means removing the barest minimum off the dry ends.
I consider a trim to mean removing just a tad above the split ends — generally, a half inch to an inch, tops. How do you know when it's trim time? When you keep having bad hair days, and you can't explain them. When your straight hair feels dry, dull, and straw-like, when your curls are frizzy and rough, when your 'fro is fuzzy — and nothing seems to make it right. Hey, we all know that when your hair is behaving, life runs smoother.
My DIY-trim tip is great for layered haircuts that are shoulder-length and longer, and it works well on most hair textures. You can also use this technique to add layers if you're feeling brave about taking off a bit more. If your hair is curly, coily, or kinky, this trick may not be for you, but here are some great ideas for your own at-home-trimming tool kit. For the rest of you, keep clicking to learn the secret.

Start with damp hair. You can either spray it down with water or towel-dry it after showering. Detangle with a wide-tooth comb or paddle brush, and then brush it into a ponytail on the very top of your head and secure with an elastic. The ponytail should be very smooth and centered, with the hair tie as tight as possible.

Stand in front of a mirror. With your non-dominant hand, squeeze the hair elastic at the base of your ponytail and begin pulling it straight up, toward your ends. Stop about three inches from the ends and hold tightly.

Next, using a pair of sharp hair-cutting shears, begin cutting into the ends of the ponytail. Take it slow, and cut just a bit at a time, working your way through all of the ends.

For a dusting, just barely cut across the tops of your ends, removing only the longest split hairs. To remove more, you can cut straight across the top of the ponytail holder, taking off all of the ends. Then, remove the elastic. That's it!

Bonus: Now that you’ve cleaned up your ends, it’s time to move on to your fringe. Trimming your own bangs is a different technique — but it’s just as simple. Make sure you’re using sharp scissors and your hair is damp.
Begin by sectioning off your bang area. This can be done easily by making a center-part, then making a diagonal parting from either side of the center-part, which creates a triangular section of hair. Using the outer corners of the eyes is generally a good reference for two points of the triangle.
Got your bangs sectioned off? Great. Using a fine-toothed comb, bring all the hair from your bang section forward (lifted off your forehead) and begin to trim just the ends, cutting into the hair with tiny points. This is called point-cutting. Go slowly, cutting one small section at a time until you’ve trimmed all the hair.

Let your hair down, and shake it out. Run your fingers through it, and see how nice it feels to have your split ends gone. Check out your hair in the mirror — you've got healthy, even layers. You did it all yourself: Congrats!
Feeling emboldened by your newfound skills? Here are some more fail-proof, DIY hair-cutting techniques that you will love once you've mastered this one.
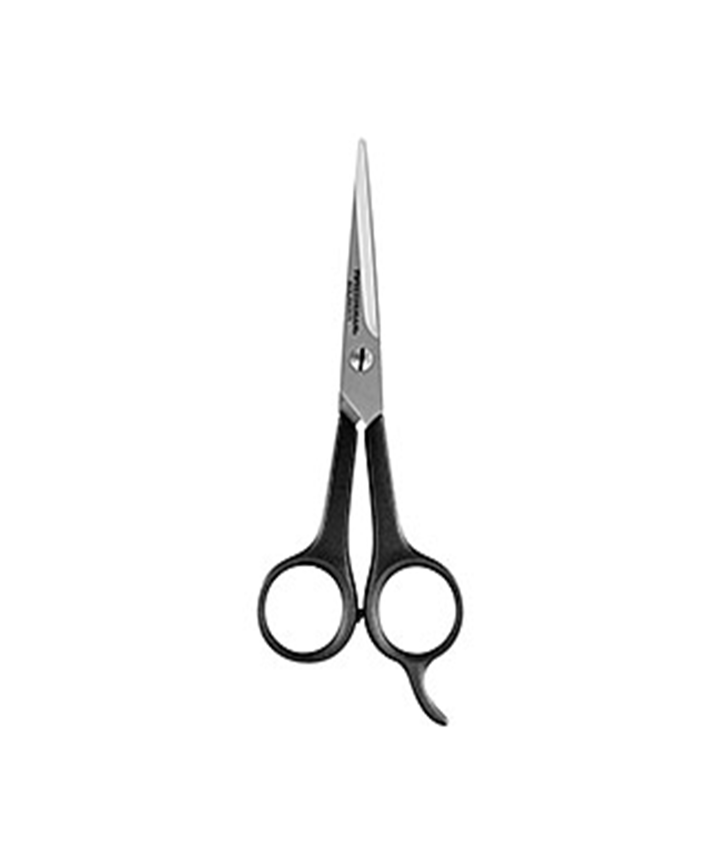
It's as easy as going to Sephora, where you'll find this classic pair of sharp shears to DIY your trim.
Tweezerman Hair Shears, $30, available at Sephora.
By: Roxie Jane Hunt